The Best 3D Paper Art Projects That Are A Cut Above


Gallery
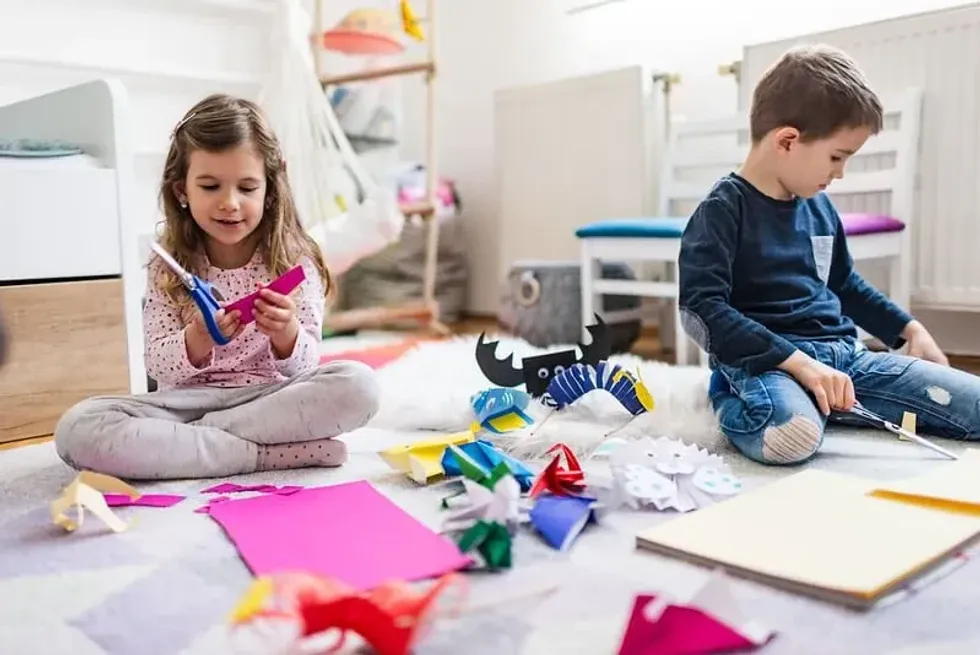
3D art with paper is one of the best ways to use your imagination and art and craft skills, and these projects are particularly good for long afternoons or rainy days indoors.
We have gathered five of the best paper art projects to try - so why not get your art and craft box out and give them a go? There is a simple origami dog to try, as well as instructions for making a 3D paper lantern and other room decorations.
1. Get Festive With These Chinese Paper Lanterns

Image © Creative Jewish Mom
This is one of the most simple 3d paper art projects, and if you use lots of different coloured papers, the lanterns look beautiful when they are strung together and hung from the ceiling.
This is a great excuse to try lots of art techniques to design patterned paper - for example, why not use home-made marbled paper for your lanterns?
What You'll Need:
Sheets of coloured paper
Scissors
Tape or a stapler
String
Ruler
Pencil and Rubber
Craft materials for decoration, like ribbons, streamers, stamps and stickers
Method:
1. Start by cutting a thin strip from the short edge of the sheet of paper, then put the strip aside, as it will become the lantern's handle. Next, fold the paper in half lengthwise (it should look like a birthday card) and draw a line 1.5 cm in from the open edge.
2. Next, draw lines at regular intervals (roughly every 1 - 1.5 cm) that link the drawn pencil line to the folded edge.
With the scissors, cut along these lines from the folded edge up to the pencil line - be sure that you don't cut into the 1.5 cm border on the open edge, as this is what keeps the lantern together.
3. Once all the lines have been cut, unfold the piece of paper and turn it so that the cut lines run vertically. Roll the paper into a cylinder, and secure in place at the top and bottom with tape or a staple. Lastly, attach the strip of paper you cut off at the beginning to make a handle.
4. This simple craft project can be done from start to finish by even young kids - and once they understand the basic design, they can get creative, changing and adapting the design or decorating the paper before or after making the lantern.
2. Fun 3D Fish That Wiggle And Move

Image © Great Beginnings
These amazing 3D fish come complete with scales, fins and a tail. The design is similar to the Chinese lantern, so it is a great art activity to try if your kids enjoyed making lanterns and want to get more creative.
What You'll Need:
Square of coloured paper for the body of the fish
Another sheet of coloured paper for the tail and fins
Scissors
Pen
Glue
Method:
1. Fold the square in half to form a triangle, then unfold.
2. Next, fold one side of the square so that the whole length of this side lines up with the folded line that you just made.
3. Repeat this again on the other side. This should form a sharp point or triangle, like a paper aeroplane.
4. Unfold these last two folds, so that the square sheet becomes a triangle again, and then snip at regular intervals with scissors along the folded line, stopping at the folded line and only going about two-thirds of the way along the paper.
5. Unfold the paper, and glue the two uncut segments together so that the square forms a cone shape - with the cut strips along the top edge.
At the open end, use the scissors to cut the sharp point into a rounded shape, and then glue another piece of paper onto the bottom of the cone, cutting it into a similar, rounded shape.
6. Using a different colour paper, cut oval shapes for the fins and a forked tail, and from white paper cut two small circles for eyes, using a black marker pen to add extra detail. Glue the fins and tail onto the underside of the fish, and finish with the eyes.
3. Cute Origami Paper Dog

Image © Click2papercrafts
Origami is one of the best known 3D paper crafts, and this cute 3D dog is a great introduction to this Japanese art form.
What You'll Need:
A square of paper
A black pen
Method:
1. Fold the square of paper diagonally to make a triangle, then unfold and do the same again, so that the folded lines form the shape of an X.
2. Next, fold the four corners into the centre, forming a smaller square.
3. Unfold one of the corners, and fold the point of the triangle inwards to meet the folded line.
4. Fold the segment back in again to reform the square.
5. On the opposite triangle, fold the point backwards so that it sticks out of the square shape.
6. Then take the square and fold it in half to make a rectangle. The small triangle will be folded in half, sticking out to form the tail.
7. With the dogs tail on the top right of the rectangle, take the bottom left corner and unfold the triangle that was tucked inside.
8. Bend this side back to create a fold that runs from the top left corner to the bottom right corner, and then fold down the triangle that was previously tucked on the inside.
9. Do this again on the other side, so that both sides mirror each other.
10. Pull the flat paper shape open to form a 3D dog, pulling the small triangle that is folded inside the dog's face to form its mouth.
11. Finally, use a pen to add details like eyes and a nose!
4. Beautiful 3D Paper Flowers

Image © Factory Direct Craft
Take a look at our blog dedicated to making beautiful 3D flowers from paper. Decorate your room, fill a vase or gift a bouquet of paper flowers - there are lots of ideas and inspiration to be found here.
5. Snail Trails

Image © David's Creative School
This lovely 3D paper art project is simple and quick to make, and the kids will enjoy playing with their new toys after they have designed and made them.
What You'll Need:
Two strips of coloured paper, around 30 x 3 cm each
Scissors
Glue
Ruler
Pens
Method:
1. Bend one of the strips in half, glueing it so it is double the thickness.
2. Fold it in half again to form an L-shape, and cut out a small square from the middle of the strip, leaving two thin strips that stick up, which will become the snails 'eyes'.
3.Using the other strip of paper, create a coil or heart shape (or any other shape you can think of) for the body, glueing it onto the bottom of the L-shape.
4. Use the pens to add dots for eyes, and a smiley mouth, then get playing!


We Want Your Photos!
More for You


See All
Bachelor of Arts specializing in Fine Art
Rosanna RobertsonBachelor of Arts specializing in Fine Art
Rosanna is a creative and enthusiastic individual who enjoys finding ways to entertain kids through art and crafts, games, and cooking. With a Bachelor's degree in Fine Art from the Central Saint Martins College of Art & Design, she brings a unique perspective to her projects, making them both colorful and educational. She is always full of ideas for homemade cards, handcrafted gifts, toys, and decorations that are perfect for children of all ages.
Disclaimer
1) Kidadl is independent and to make our service free to you the reader we are supported by advertising. We hope you love our recommendations for products and services! What we suggest is selected independently by the Kidadl team. If you purchase using the Buy Now button we may earn a small commission. This does not influence our choices. Prices are correct and items are available at the time the article was published but we cannot guarantee that on the time of reading. Please note that Kidadl is a participant in the Amazon Services LLC Associates Program, an affiliate advertising program designed to provide a means for sites to earn advertising fees by advertising and linking to Amazon. We also link to other websites, but are not responsible for their content.
2) At Kidadl, we strive to recommend the very best activities and events. We will always aim to give you accurate information at the date of publication - however, information does change, so it’s important you do your own research, double-check and make the decision that is right for your family. We recognise that not all activities and ideas are appropriate for all children and families or in all circumstances. Our recommended activities are based on age but these are a guide. We recommend that these ideas are used as inspiration, that ideas are undertaken with appropriate adult supervision, and that each adult uses their own discretion and knowledge of their children to consider the safety and suitability. Kidadl cannot accept liability for the execution of these ideas, and parental supervision is advised at all times, as safety is paramount. Anyone using the information provided by Kidadl does so at their own risk and we can not accept liability if things go wrong.
3) Because we are an educational resource, we have quotes and facts about a range of historical and modern figures. We do not endorse the actions of or rhetoric of all the people included in these collections, but we think they are important for growing minds to learn about under the guidance of parents or guardians.