55 Clothespin Crafts


Gallery
Clothespins are one of the most useful craft items you can find!
The clothespin is mainly used to hang clothes, but it may be used for much more. A basic clothespin may be transformed into various beautiful creations with some imagination and effort. The clothespin is an excellent addition to your crafting supplies for many DIY projects. Clothespin kids' crafts ideas are infinite and can be fun and practical.
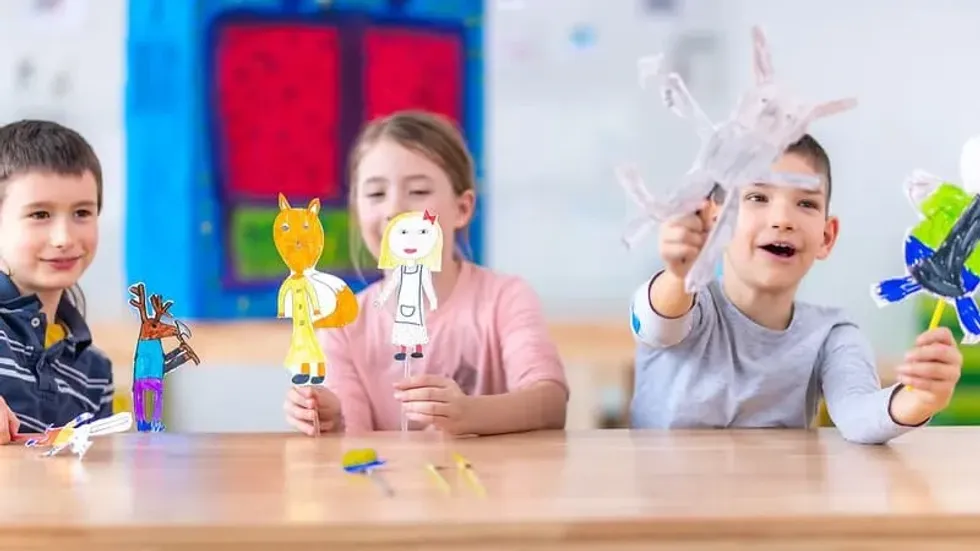
Make creative paper characters, shadow puppets, and Jumping Jacks using just paper and some clothespins. Follow our list of clothespin craft ideas - or use the list as inspiration and come up with your DIY designs for puppets, dolls, and other clothespin crafts and activities.

1. DIY Clothespin Clock
This simple DIY can add an extra element to an ordinary clock and elevate the design completely. Its easy, its simple and it look stunning!
Materials Required:
- Wood clothespins
- Craft glue
- Clock movement kit
- Spray paint – color of your choice
- Wood circles (2 1/2″) – 2
- Drill (bit to fit your movement)
Instructions:
Begin by separating the wooden clothespins carefully. This can be done by twisting two halves and removing the spring between them. Glue the flat sides of your clothespin with an adhesive like a craft glue.
You will need 32 pairs of clothespins. Lay out these clothespins in a circular shape to make a clock base. Sandwich the clothespins one by one and glue them till you make a complete circle.
Now, take the wood circles and drill a small circle in the center. Spray paint both the sides of your clothespin clock base as well as the center circle.
Glue one of the circle on the back in the center of your clock base. Fit the movement from the back of the clock base and attach the clock hands. Finally, glue another circle onto the front of the clock over the movement.
Use a marker to write numbers on your clock, and your own DIY home décor is ready!
2. DIY Clothespin Doll
Create a cute doll as a centerpiece for your mantel and customize her as you please! You can create an entire doll family that is an ode to your real one.
Materials Required:
- Round Clothespins
- Doll heads
- Doll stands
- Small wood beads
- Acrylic craft paint
- Pipe cleaners
- Fabric
- Ribbon and Tulle
- Craft glue
- Paint brushes
Instructions:
Place a doll head on a clothespin and use it as a handle to paint hair and facial features onto the head with acrylic craft paint. Make arms by wrapping a longer length of pipe cleaner around the clothespin and gluing it in place.
Cut a round piece of fabric to make a basic circle dress. Fold the fabric into quarters and snip off the tip, leaving a hole to fit over the top of the clothespin. You can use glue to secure the garment to the clothespin. Cover the top of the dress with ribbon and glue it in place.
When all your painted and glued pieces are dry, assemble your doll by pushing the painted head into the dressed clothespin and then pressing the clothespin base into the painted stand.
3. DIY Clothespin Trivets
These simple trivets looks gorgeous while doing an efficient job. This DIY project can be used to decorate the table for every meal.
Materials Required:
- Wooden clothespins
- Wood glue
Instructions:
Begin by twisting the clothespin in half and removing each side. Keep your clothespins and glue ready because you'll be gluing many pairs together! Begin by gluing the flat sides of clothespins together.
Apply glue on the flat surface of a clothespin half and push the other side to it. Hold and allow to dry. Repeat with the remaining clothespins and set them aside to dry.
Arrange your clothespins into a circular form before you glue them together, and ensure everything fits properly. Once you are sure, start gluing the clothespin pairs side by side and repeat until you achieve a circular-shaped trivet.

4. DIY Clothespin Cake Topper
Be it a wedding or a party, this easy craft idea has lots of room for creativity and customization.
Materials Required:
- Clothespins
- Acrylic Paint
- Paintbrushes
- Pencil
- Lace or tulle
- Glue gun
Instructions:
Take a clothespin and flip it over. Draw the pattern of a tuxedo and bow tie on one side of the clothespin and the bride's gown on the other using your pencil.
Be creative with this; decide your colors and what you want your bride and groom to be wearing. You can also add a lace or tulle veil on the bride's head with glue and draw some makeup and accessories. And your cake topper is ready for the wedding!
5. DIY Clothespin Party Banner
Looking for a simple and easy way to spruce up your party décor? This DIY is one way to create an interesting party banner at home.
Materials Required:
- Craft paints
- Permanent markers
- Paintbrushes
- Mini clothespins
- Scissors
- White card stock
- Glue
- Yarn/twine
Instructions:
Try this simple DIY with clothespins to create party banners for different occasions. To make the party banner, start with pieces of paper cut in rectangles or shapes you like. Write on the cards using markers and color them as per your theme.
Once all your cards are done, take a string and measure and cut it according to the banner size you require. Now, take the cards and attach them to the string with the help of mini clothespins. You can also add patterns, glitters, and paint your clothespins for this vibrant decor idea.
6. Templates for Quick and Easy Clothespin Characters
These tiny figurines will put a smile on anyone's face! Spend time perfecting your character design and let your imagination flow!
What You'll Need:
- Free printable template
- Printer
- Scissors
- Clothespins
- Colouring pens and pencils
Instructions:
Choose and print your template - use the blank template if your child wants to color the character themselves, or print the full-color template if you're going to cut and assemble the character quickly.
Cut out the individual pieces, and following the markings on the template, push the clothespins through the paper to connect the pieces into a moving toy.
There are many animals and characters to choose from - including a turtle, a cow, a kangaroo, a robot, a royal guard, and plenty of others, so there's something for everyone.
7. DIY Clothespin Bucket
Plant flowers or simply use as a chic décor piece, this DIY is an easy craft that anyone can do.
What you'll need:
- Clothespins
- Wood Glue
- A small pot
- Fabric
- Lace
Instructions:
Take a small pot, preferably with a height similar to your clothespin, and paint it your favorite color. Remove the wires from the clothespins carefully and split them into two. Make two holes in the pot on opposite sides and keep it for later.
Now, stick your clothespins on the pot vertically and repeat until the pot has been covered. Be careful to leave some space for the holes on top. Now, take a piece of lace and stick it on the upper end of the bucket. You can also use pom-poms and decorate your DIY project any way you like.
For the handle, take a wire, measure it according to your bucket's size and attach it to the holes on the upper sides of the bucket. And voila! Your own DIY clothespin crafts bucket is ready to use.
8. DIY Clothespin Wreath
Come the festive season, we are always looking for some decorative pieces to hang around the house. This DIY idea is a great way to do something creative from materials that you already have at home.
Materials Required:
- Clothespins
- A wire wreath frame
- Ribbon
Instructions:
Start by clipping one clothespin to the innermost circle and clip another beside it. Repeat this process until the entire inner ring is covered. Take the outer ring and clip the clothespins covering the whole circumference. Finally, add a ribbon to make a bow on the top of the wreath.
You can paint the clips with combinations of bright colors and even use glitter, flowers, and stars to decorate your DIY wreath.
9. DIY Clothespin Butterflies
We all love butterflies! This simple DIY project can be used to
Materials Required:
- Wood clothespins
- Craft paint
- Craft glue
- Paintbrushes
- Pipe cleaners
- Scissors
Instructions:
Begin by separating your clothespins carefully. Now take a separated clothespin and glue them together on the opposite end. Paint this using craft paint, and the body is ready!
Now, lay out your separated clothespins in a butterfly wing pattern. Assemble your clothespins in pairs of opposites to create a pattern. When you are satisfied with how your butterfly wing will look, start gluing them together.
Once you have glued the pins into two wings, use acrylic craft paint to color your butterfly. You can also use glitters and patterns on your DIY craft project. Finally, measure and cut two pipe cleaners and attach them to the butterfly's head to make the antennae.
10. DIY Clothespin Dragonflies
Materials Required:
- 2 Pipe cleaners
- Clothespin
- Googly eyes
- Paint
- Glue
Instructions:
To make this a fun project, start by painting horizontal stripes on the clothespin. Apply glue dots to the front (head) and stick two googly eyes. Take a pipe cleaner and twist both sides to the center to make a wing-like pattern.
When you have two, crisscross them and attach them inside the clothespin with glue. Your clothespin dragonfly is ready! You can also use paper cutouts to make the wings.
More Clothespin Craft Ideas
Clothespins aren't just useful for hanging clothes; they can also be used to create adorable clothespin crafts! Let's have a look at these ideas and get some inspiration for your next fun and easy craft idea.
- Clothespin Coasters
- Clothespin Napkin Holder
- Clothespin Jumping Jack
- Clothespin Airplanes
- DIY Clothespin Fairy
- DIY Clothespin Angels
- Clothespin Easter Bunny
- DIY Clothespin Bee
- Clothespin Catapult
- Clothespin Bunny
- Clothespin Mini Fooseball Table
- Pom-Poms Turkey
- DIY Clothespin Dragon
- DIY Moving Cartoon Heads
- DIY Clothespin Headphones Organiser
- DIY Clothespin Bag Closure
- Clothespin Photo Holder
- DIY Clothespin Pendant Lamp
- DIY Christmas cards
- DIY 4th of July Wreath
- DIY Clothespin Candle Holder
- DIY Clothespin Lampshade
- DIY Clothespin Planter
- DIY Clothespin Accessory Holder
- DIY Clothespin Scarf Holder
- Clothespin Giraffe
- Clothespin Hedgehog
- Clothespin Sunshine
- DIY Clothespin Butterfly with Cupcake Liner
- Clothespin Grasshopper
- Clothespin Paper Puppets
- Clothespin Aligator
- Clothespin Peek-A-Boo Craft
- Clothespin Race Car
- Clothespin Paper Fan
- DIY Clothespin Bats
- DIY Clothespin Superhero
- DIY Glitter Clothespin Basket
- DIY Clothespin People
- DIY Clothespin Birds
- DIY Clothespin Napkin Labels
- DIY Clothespin Plant Labels
- DIY Locker Clips
- DIY Clip-on Clothespin Bow
- DIY Washi Tape Clothespin Holders
What types of clothespins are best for crafting?
Wooden clothespins are typically best for crafting due to their sturdiness and ease of gluing, painting, and decorating. Plastic clothespins can also be used, but they might not hold paint or glue as well. Classic spring-loaded clothespins offer more flexibility for different projects compared to peg style clothespins.
What basic supplies do I need for clothespin crafts?
Along with clothespins, you'll likely need craft glue or a hot glue gun, acrylic paint, paintbrushes, and decorative materials such as glitter, fabric, washi tape, or markers. Depending on the project, you might also need additional items like magnets, string, or wooden beads.
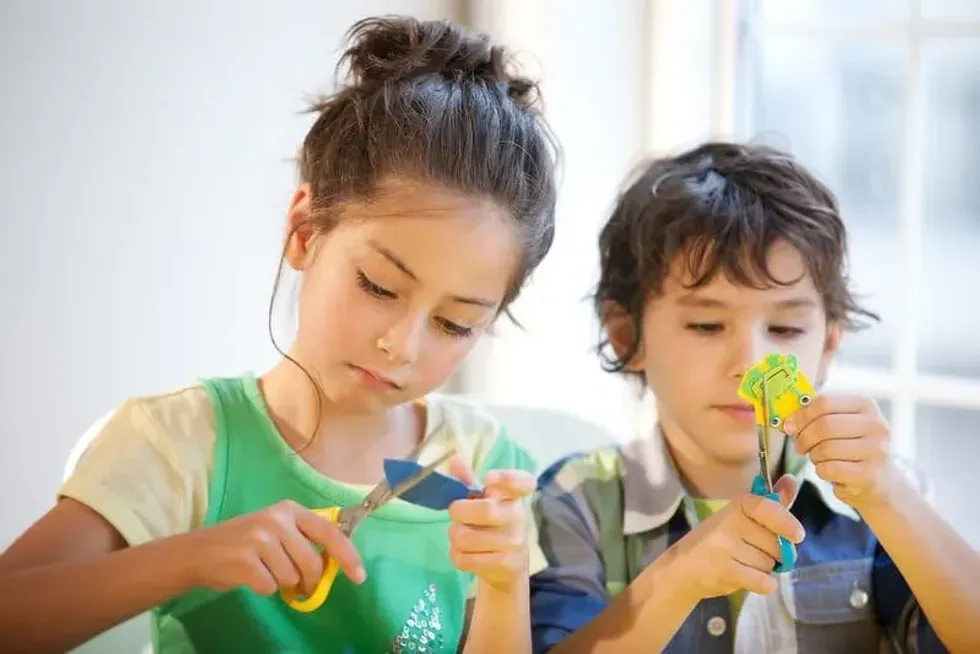
How can I involve children in clothespin crafts safely?
When crafting with children, choose non-toxic paints and glues and supervise the use of any tools, especially hot glue guns. Begin with simple projects that do not require sharp tools, such as decorating clothespins with markers and stickers or making simple clip-on characters. Always ensure that the crafting area is safe and suitable for the age of the children involved.


We Want Your Photos!
More for You


See All
Bachelor of Arts specializing in Fine Art
Rosanna RobertsonBachelor of Arts specializing in Fine Art
Rosanna is a creative and enthusiastic individual who enjoys finding ways to entertain kids through art and crafts, games, and cooking. With a Bachelor's degree in Fine Art from the Central Saint Martins College of Art & Design, she brings a unique perspective to her projects, making them both colorful and educational. She is always full of ideas for homemade cards, handcrafted gifts, toys, and decorations that are perfect for children of all ages.
Disclaimer
1) Kidadl is independent and to make our service free to you the reader we are supported by advertising. We hope you love our recommendations for products and services! What we suggest is selected independently by the Kidadl team. If you purchase using the Buy Now button we may earn a small commission. This does not influence our choices. Prices are correct and items are available at the time the article was published but we cannot guarantee that on the time of reading. Please note that Kidadl is a participant in the Amazon Services LLC Associates Program, an affiliate advertising program designed to provide a means for sites to earn advertising fees by advertising and linking to Amazon. We also link to other websites, but are not responsible for their content.
2) At Kidadl, we strive to recommend the very best activities and events. We will always aim to give you accurate information at the date of publication - however, information does change, so it’s important you do your own research, double-check and make the decision that is right for your family. We recognise that not all activities and ideas are appropriate for all children and families or in all circumstances. Our recommended activities are based on age but these are a guide. We recommend that these ideas are used as inspiration, that ideas are undertaken with appropriate adult supervision, and that each adult uses their own discretion and knowledge of their children to consider the safety and suitability. Kidadl cannot accept liability for the execution of these ideas, and parental supervision is advised at all times, as safety is paramount. Anyone using the information provided by Kidadl does so at their own risk and we can not accept liability if things go wrong.
3) Because we are an educational resource, we have quotes and facts about a range of historical and modern figures. We do not endorse the actions of or rhetoric of all the people included in these collections, but we think they are important for growing minds to learn about under the guidance of parents or guardians.