How To Make An Origami Squirrel: Easy Step By Step Guide


Gallery
Image © rawpixel.com, under a Creative Commons license.
Origami is a traditional craft, with roots in Japan, China and Europe, that involves folding paper to make origami models, origami animals and origami decorations.
Origami is a great craft to do at home with children as it doesn't require a lot of equipment to do, improves fine motor skills and concentration, and you can choose an origami difficulty level that is appropriate for your children.
Our easy origami tutorial gives you step by step instructions on how to make a cute origami squirrel for the perfect autumn activity.
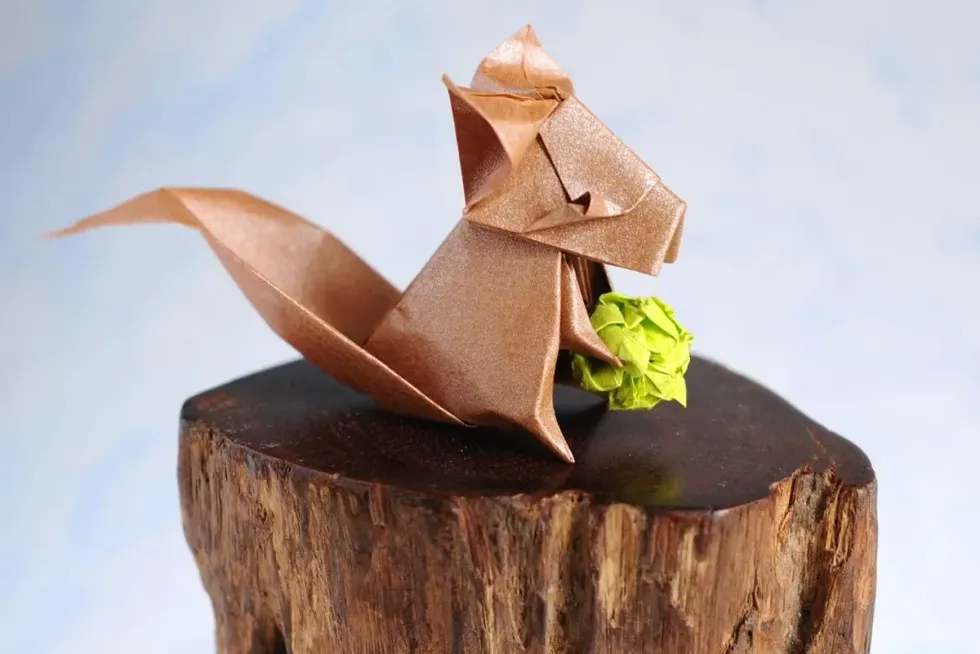
Image © WinsomeMan, under a Creative Commons license.
You Will Need:
One sheet of square origami paper, like this one in traditional brown.
Origami Squirrel Instructions
1) To make an origami squirrel, the first step is to place your origami paper coloured side down. Fold in half vertically, crease well and unfold. Do the same horizontally.
2) Next, fold the top edge down to the centre crease and do the same with the bottom edge, bringing it up to the centre crease.
3) Fold each corner at a 45 degree angle to the centre line.
4) Open up each corner and swivel fold them flat to create a triangle. When you open each corner up, there should be a crease already there to help guide you.
5) From the left hand point, fold each side of the paper behind itself at an angle, to meet the centre crease and to create a kite-like shape.
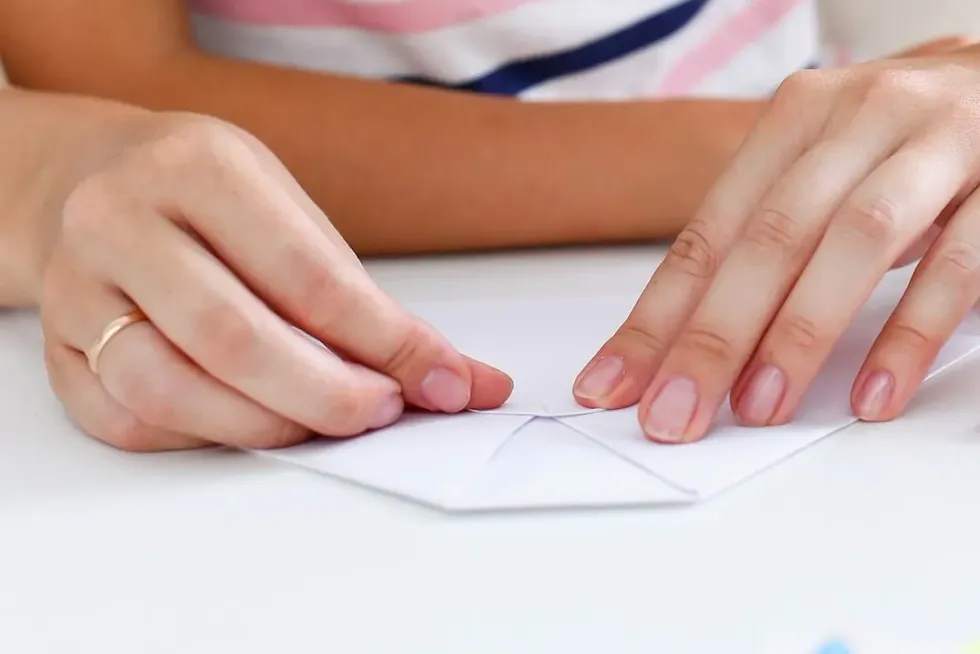
Image © kuprevich, under a Creative Commons license.
6) There should now be two triangle flaps to the left hand side of your origami model. Fold the tip of each down and inwards slightly so that they overlap.
7) Fold your paper in half along the centre crease and then flip over so that the triangle flaps are facing downwards.
8) Keeping the left hand side of your model pressed closed with one hand, use the other hand to open up the other end and then use a reverse fold to fold it back in on itself along the centre crease and press this closed.
9) Rotate your paper 90 degrees clockwise. At this step, you should be able to see which part of the model is the tail of the squirrel, which is the feet and which are the paws.
10) Use an outside reverse fold to fold down the top point at a 45 degree angle to create what will be the face of your origami squirrel.
11) At this step, the nose of the squirrel will look too pointy. Open the head section of your paper slightly and reverse fold the point inside to create a nose which protrudes less and is straight.
12) The final step in this easy origami tutorial is to fold the bottom right corners of your paper up inside the model to give a better shape to the tail and allow your origami squirrel to stand up on its own.
All the folding of your model is now complete and you can move on to decorating your squirrel.

Image © freepik, under a Creative Commons license.
Finishing Touches To Your Origami Squirrel
To finish making your squirrel use your colouring pens or pencils to add facial features and make it look furry.
If you want to give it an even more lifelike appearance, you can stick two small pieces of paper at the top to create ears and even add some fluff to the tail to give it a bushy look.
Tips And Tricks
These squirrels are perfect for decorating any autumn occasion and using origami paper that is brown or orange will add to that autumnal feel and make your squirrel look as real as possible.
If you want to extend this craft, you could head outside with your kids to gather crunchy leaves, twigs, acorns and conkers and then use these items to create an autumn artwork by arranging and sticking them to a sheet of paper with your squirrel as the star of the scene.
Now you have completed our easy squirrel origami, why not try some of our other easy origami tutorials to make a complete woodland scene?


We Want Your Photos!
More for You


See All
Master of Science specializing in Criminal Investigation, Criminal Justice/Police Science, PCGE in Primary Education, Professional Diploma in User Experience Design
Jade ScottMaster of Science specializing in Criminal Investigation, Criminal Justice/Police Science, PCGE in Primary Education, Professional Diploma in User Experience Design
Hailing from London, Jade now calls Lincolnshire home and enjoys the serene countryside that surrounds her. She has a wealth of experience as a primary school teacher, possessing a strong understanding of the curriculum, games, activities, and learning opportunities for children aged between 3-11. Jade is constantly on the lookout for new outdoor adventures and educational attractions to share with her two nephews. Her interests in science and crafts also enable her to provide fun, engaging, and educational activities for children to enjoy on rainy days. With a passion for discovering new experiences, she is always seeking out the latest deals and attractions to ensure a memorable time for all.
Disclaimer
1) Kidadl is independent and to make our service free to you the reader we are supported by advertising. We hope you love our recommendations for products and services! What we suggest is selected independently by the Kidadl team. If you purchase using the Buy Now button we may earn a small commission. This does not influence our choices. Prices are correct and items are available at the time the article was published but we cannot guarantee that on the time of reading. Please note that Kidadl is a participant in the Amazon Services LLC Associates Program, an affiliate advertising program designed to provide a means for sites to earn advertising fees by advertising and linking to Amazon. We also link to other websites, but are not responsible for their content.
2) At Kidadl, we strive to recommend the very best activities and events. We will always aim to give you accurate information at the date of publication - however, information does change, so it’s important you do your own research, double-check and make the decision that is right for your family. We recognise that not all activities and ideas are appropriate for all children and families or in all circumstances. Our recommended activities are based on age but these are a guide. We recommend that these ideas are used as inspiration, that ideas are undertaken with appropriate adult supervision, and that each adult uses their own discretion and knowledge of their children to consider the safety and suitability. Kidadl cannot accept liability for the execution of these ideas, and parental supervision is advised at all times, as safety is paramount. Anyone using the information provided by Kidadl does so at their own risk and we can not accept liability if things go wrong.
3) Because we are an educational resource, we have quotes and facts about a range of historical and modern figures. We do not endorse the actions of or rhetoric of all the people included in these collections, but we think they are important for growing minds to learn about under the guidance of parents or guardians.