How To Make An Origami Crow

Jade Scott
Dec 12, 2023 By Jade Scott
Originally Published on Sep 02, 2020
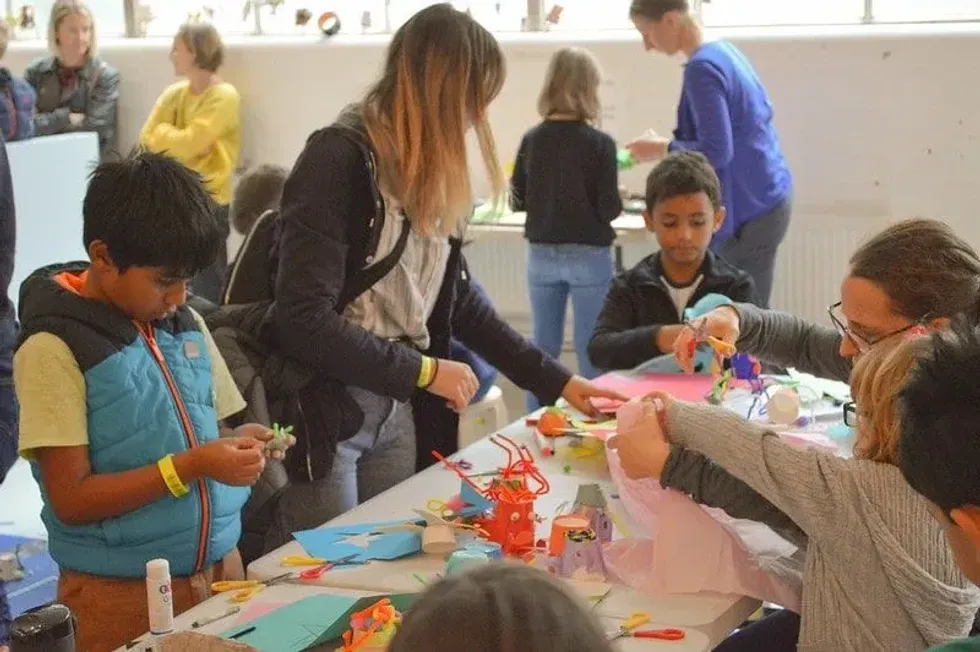
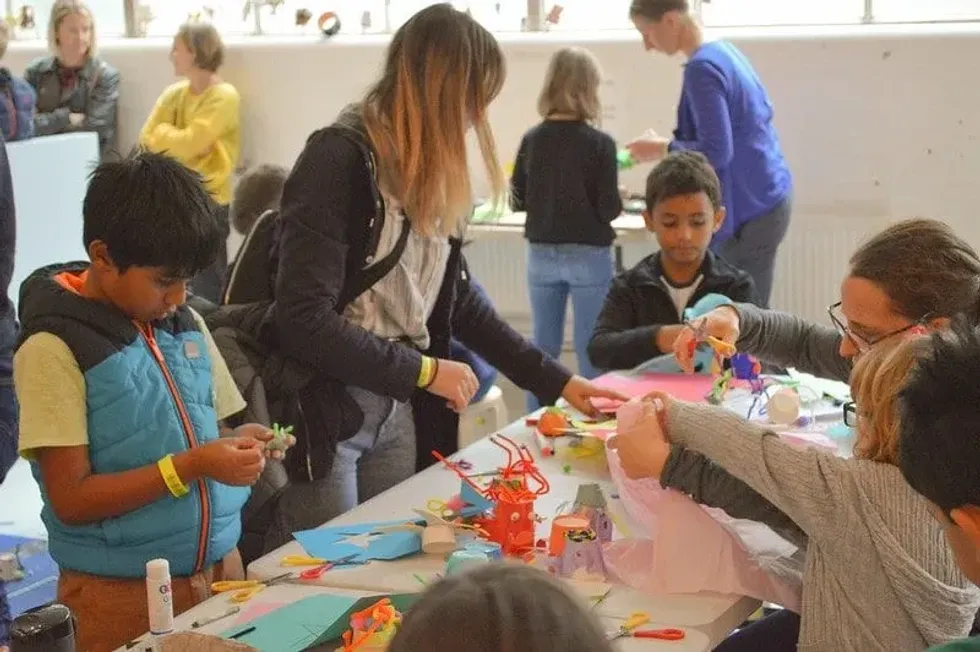
Kids in a classroom sat around the desk doing arts and crafts.
?
Age: 0-99
Read time: 4.0 Min

Traditional origami is the ancient craft of folding paper to make beautiful structures and models without needing glue, tape or anything else to hold them together.

Of all origami designs, perhaps the most famous is the traditional origami paper crane. With our guide, you'll learn how to make a different type of origami bird: a paper crow.

Our easy origami instructions are set out step by step so that you, your children and their friends can make a Halloween crow that, when you're done, will help create a spooky scene as they perch on the side or stand at the window.

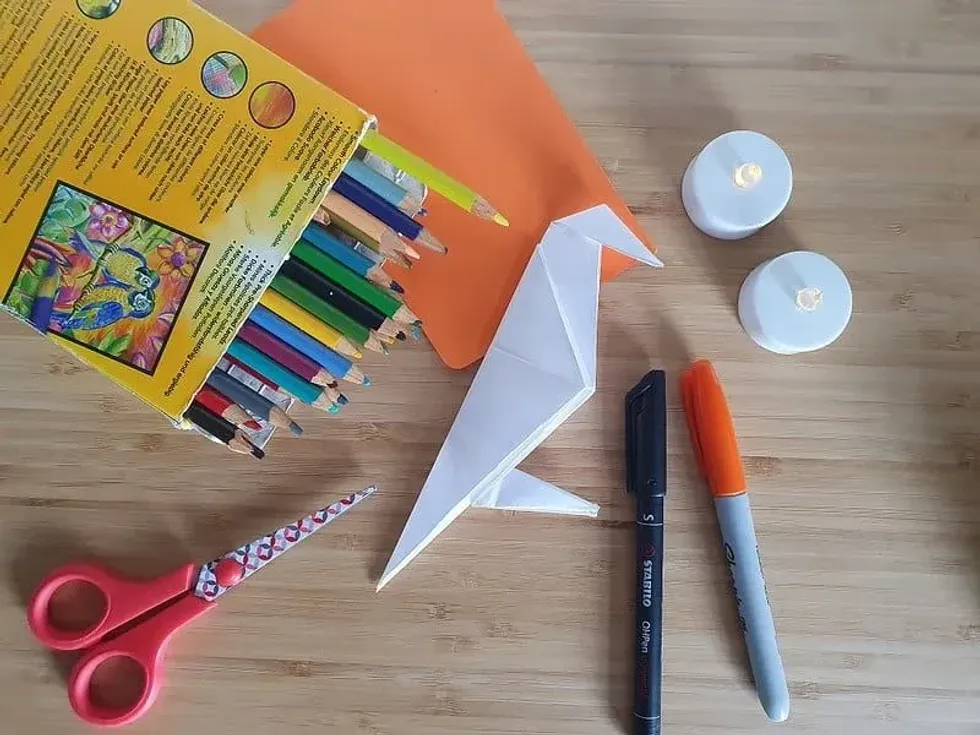
White origami crow on the table with pens and colouring pencils next to it.

Image © Jade Scott

You Will Need

One square of black paper per origami crow. The paper should be coloured on both sides and ideally, 6 inches by 6 inches.

Coloured paper, pens and any other craft supplies you'd like to decorate your origami paper crows with.

How To Make A Crow

Fold your piece of paper in half from left to right, make a crease and unfold. Then, fold your paper in half from top to bottom, making another crease and unfold again.

Next, flip your paper over. Take the top left corner and fold it down to the bottom right corner. Crease the paper and unfold. Do the same again, but with the top right corner to the bottom left corner. This should leave you with a + crease and an X crease in your origami paper.

Flip your paper back to the other side and rotate it so that it is a diamond shape rather than square.

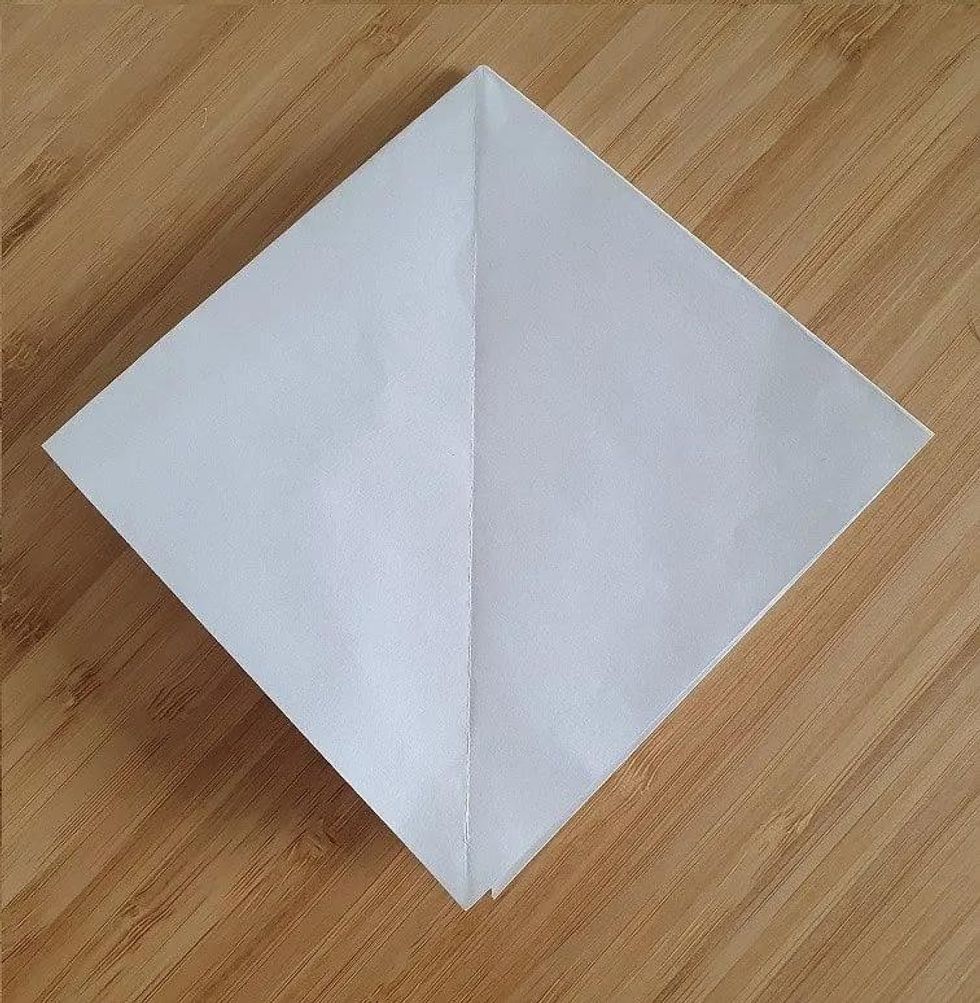
Bring the left and right corners together into the centre. This should cause the top corner to fold into the centre on top of them. This will create a shape known as a "square base".

the traditional origami paper crane

Image © Jade Scott

Now you have your origami paper square base, the next step is to use this to create an "origami bird base".

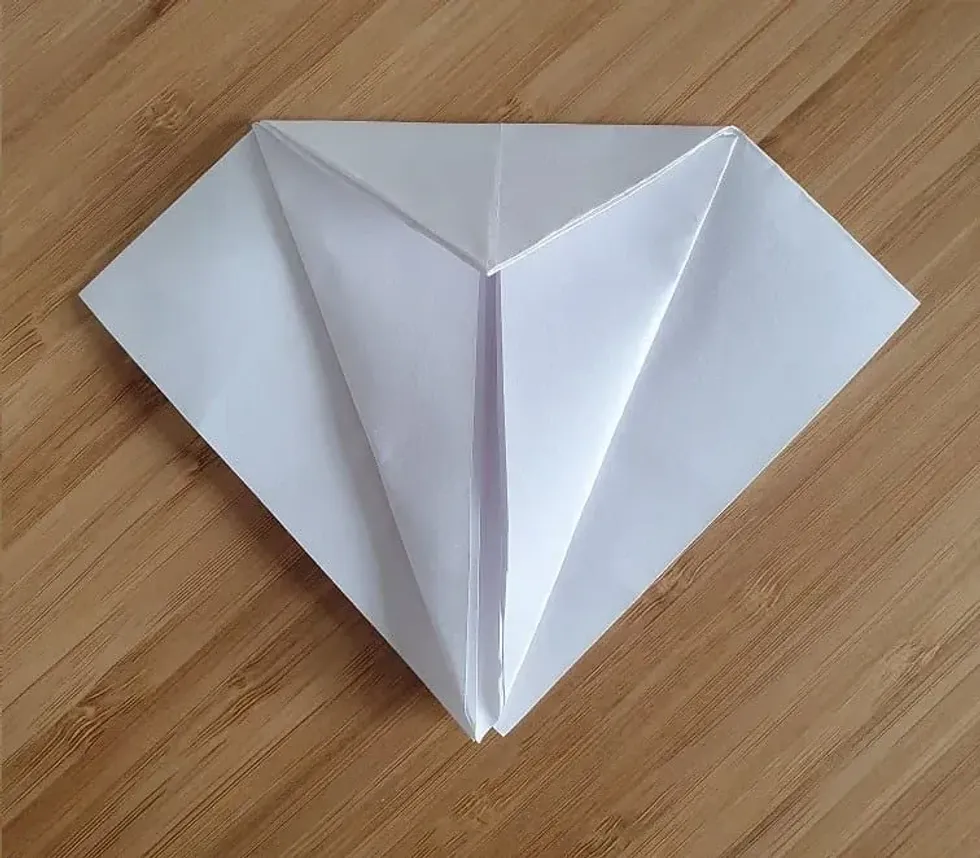
Fold the bottom left and right edges to the central crease of your shape. Then, fold down the top corner to make the shape shown below.

Step 2 to making an origami crow.

Image © Jade Scott

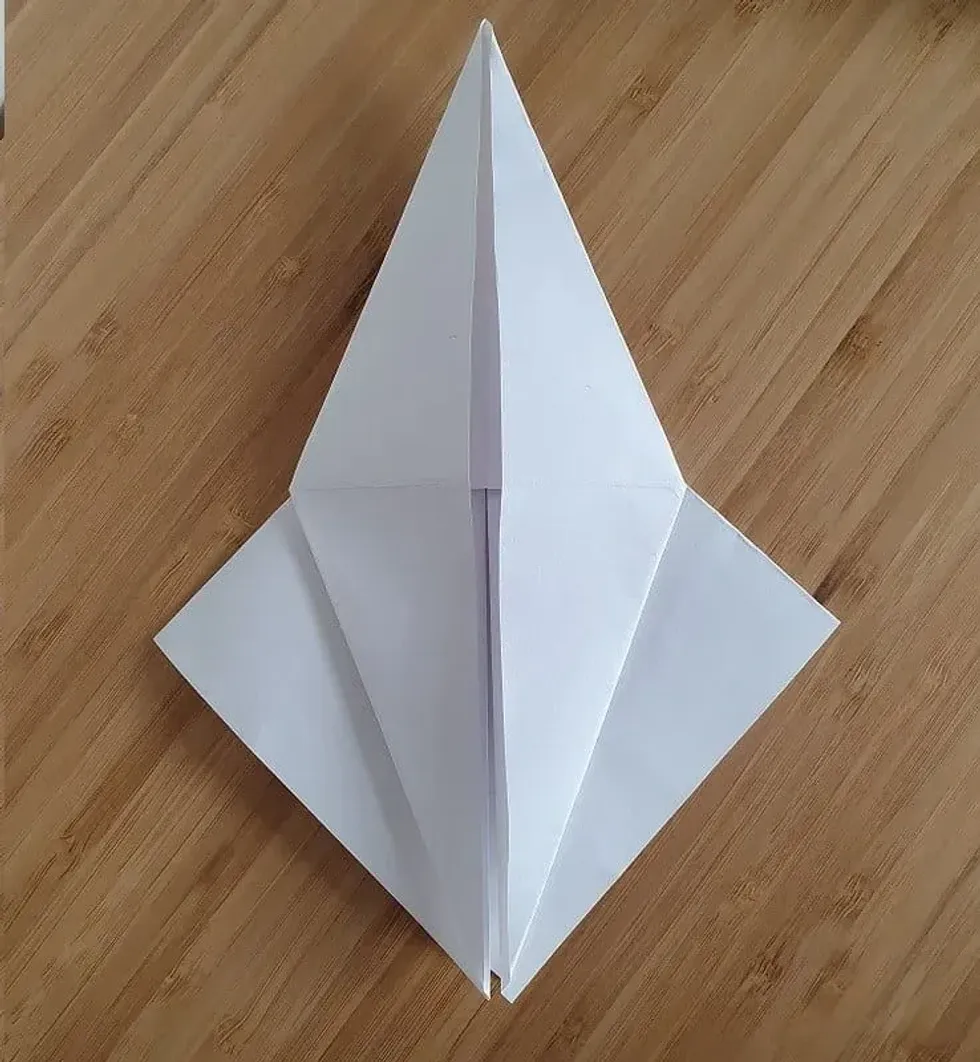
Unfold the sides and fold them back behind to structure to the centre crease and unfold them again. Open up the top layer of paper and fold it back in on itself.

Step 3 to making an origami crow.

Image © Jade Scott

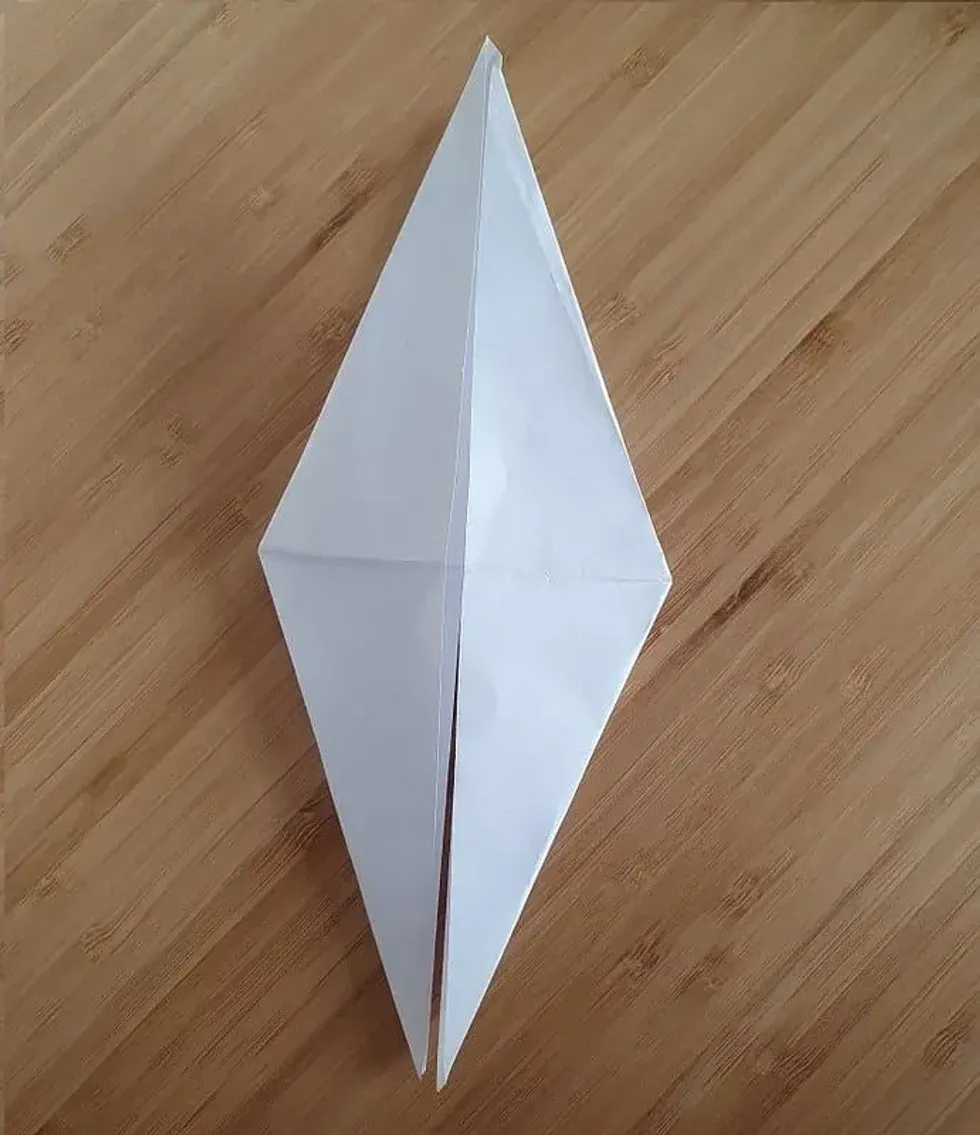
Flip your model over and repeat the last two steps for that side and your origami bird base is now complete.

Step 4 to making an origami crow.

Image © Jade Scott

Finishing Your Crow Origami

Now you have the base for your origami crow, you can now finish it by giving it legs and a head.

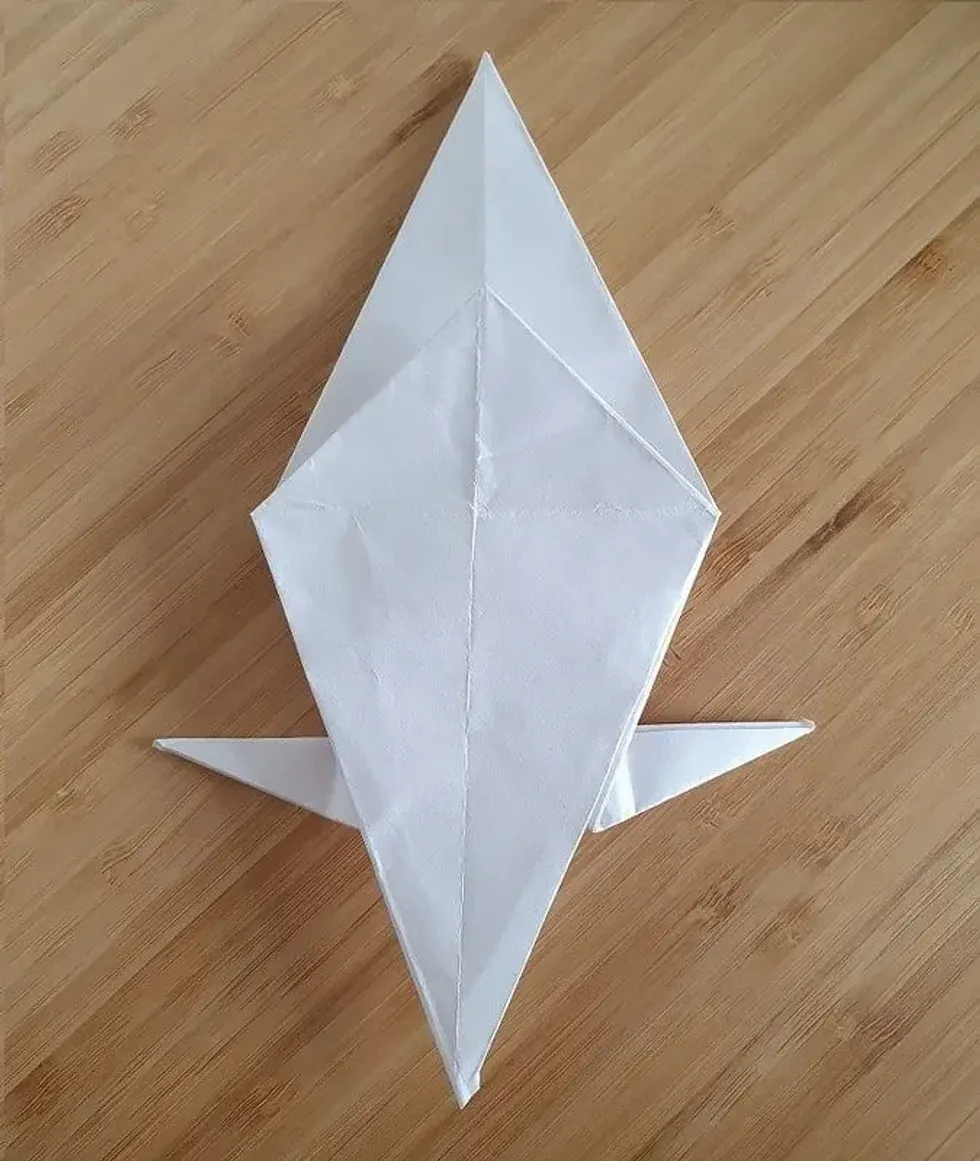
Fold the points of the two bottom flaps up to the centre crease. These are what will form the legs. Then, fold them both down over themselves out to opposite sides.

Flip the paper to the other side. This is what becomes the back and tail of your origami crow.

Step 5 to making an origami crow.

Image © Jade Scott

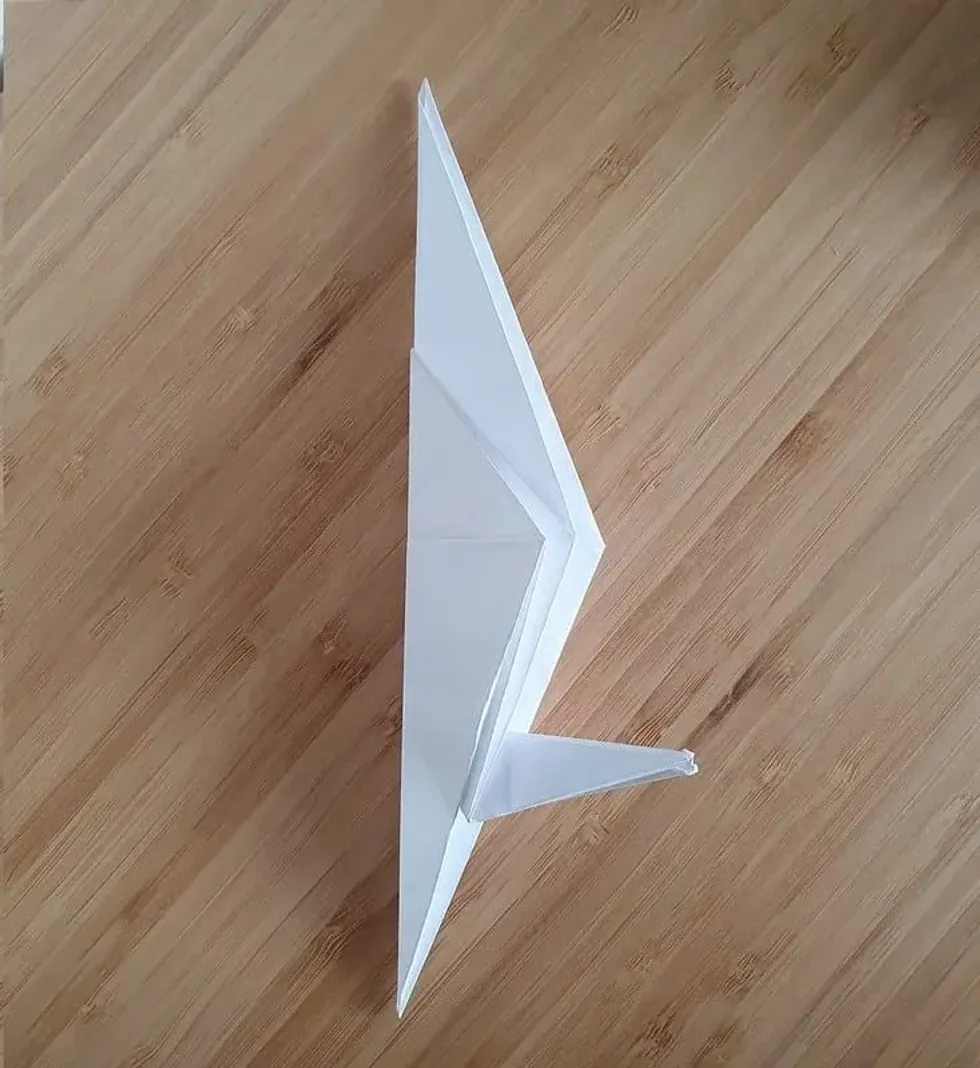
Now, fold your model in half as shown below.

Step 6 to making an origami crow.

Image © Jade Scott

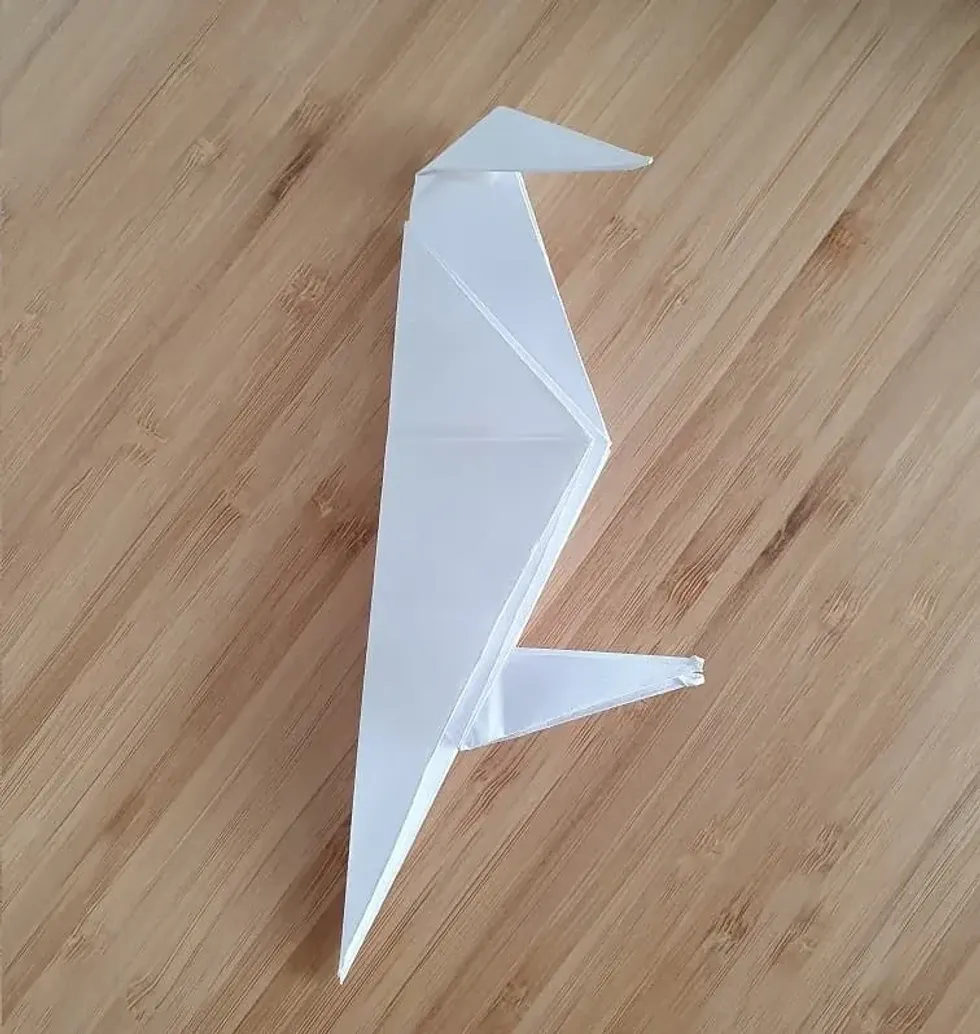
For the final step, fold over the top point to the desired angle to make the head of your origami crow and you have finished these easy origami instructions!

Step 7 to making an origami crow.

Image © Jade Scott

If you want to, you can now add a small piece of orange paper to make a beak or maybe even stick on a few feathers to give it a realistic look.

Now you know how to make an origami crow, if you don't want to make just one, grab a few more sheets of origami paper and make a whole flock of origami birds.

Top Tips

These origami crows make great decorations for any Halloween event. They can be perched on a surface or strung together to make bunting. You could even hang them from the ceiling to make them look like they are flying.

Why not try making some other spooky origami animals too such as bats or spiders to guarantee a spine-chilling scene!

We Want Your Photos!

We Want Your Photos!

Do you have a photo you are happy to share that would improve this article?
Email your photos

More for You

See All

Written by Jade Scott

Master of Science specializing in Criminal Investigation, Criminal Justice/Police Science, PCGE in Primary Education, Professional Diploma in User Experience Design

Jade Scott picture

Jade ScottMaster of Science specializing in Criminal Investigation, Criminal Justice/Police Science, PCGE in Primary Education, Professional Diploma in User Experience Design

Hailing from London, Jade now calls Lincolnshire home and enjoys the serene countryside that surrounds her. She has a wealth of experience as a primary school teacher, possessing a strong understanding of the curriculum, games, activities, and learning opportunities for children aged between 3-11. Jade is constantly on the lookout for new outdoor adventures and educational attractions to share with her two nephews. Her interests in science and crafts also enable her to provide fun, engaging, and educational activities for children to enjoy on rainy days. With a passion for discovering new experiences, she is always seeking out the latest deals and attractions to ensure a memorable time for all.

Read full bio >