How To Make An Origami Rhino That Stands Up!


Gallery
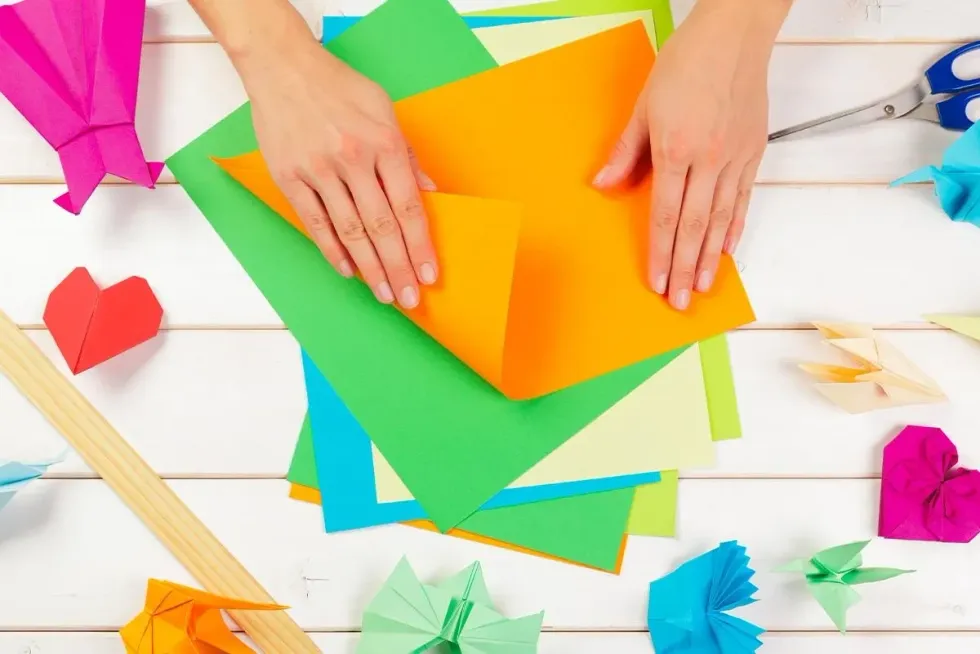
Image © fabrikasimf, under a Creative Commons license.
Origami is the ancient art of paper folding to make all manner of shapes, structures and origami art without the need to cut, glue or tape the paper for it to keep its form.
There are hundreds of easy origami animals that can be created this way such as bunnies, dolphins and dogs, with one of the most popular being the origami crane.
Learning how to make origami animals is a great craft for children as it helps with their motor skills, patience and creativity, but can also tie in with other activities as well, such as following a visit to a farm or when learning about life cycles.
For a quick, fun and relatively mess-free craft, our step by step origami tutorial shows you how to make an origami rhino that stands up on its own. So, find a flat surface to work on and let's get started with some simple origami for kids.
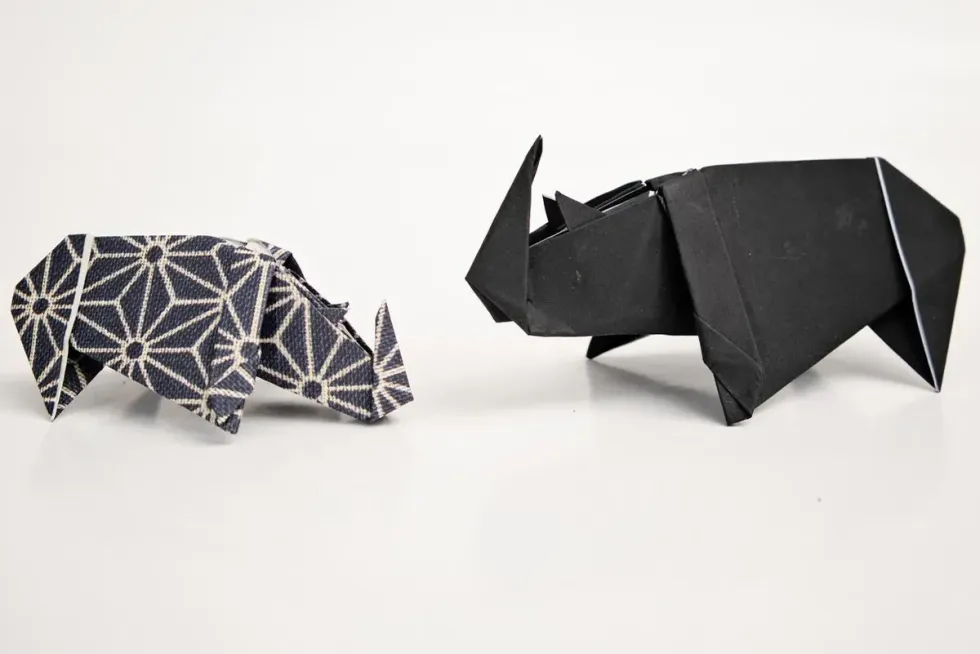
Image © ocipalla, under a Creative Commons license.
Equipment
Most origami tutorials require very little equipment and this rhino origami is no different. For each origami rhinoceros, all you will need is one sheet of square origami paper. Grey paper is recommended but you can use any colour or patterned paper that you like.
Rhino Origami Instructions
1) To begin your paper folding, start with your origami paper with the coloured side facing down. Fold it in half vertically, crease well and open and then do the same horizontally.
2) Fold the top and bottom right hand corners into the centre.
3) Fold the top and bottom left hand corners in slightly, so that the corner roughly meets the middle of the quadrant it is in.
4) Fold these both back on themselves, but not all the way to create a zig zag fold. These pieces are what will become the hind legs of your origami rhino.
5) Next, fold your origami rhino model in half along the horizontal crease.
6) Keeping the left of your rhino origami pressed closed, open the right hand side up and squash fold it flat over to the left. This should create a diamond shape facing upwards with a vertical crease visible down the centre.

Image © rawpixel.com, under a Creative Commons license.
7) Fold the right hand side of the diamond behind the model along the centre crease.
8) Pull the right hand side of your origami rhino out slightly and press down to create a point. This is what will become the face of your origami rhino.
9) Fold this point about a third of the way back over on itself, crease well and then unfold.
10) Use an inside reverse fold to fold the point inside itself at the crease you have just made.
11) Use another inside reverse fold to bring the very end of the point back out on itself. This will be the horn of your origami rhino.
12) On the horn piece of your origami rhino, fold the outer edge in on itself ever so slightly and repeat on the other side to create a pointer horn.
13) Shape the head area of your origami rhino by folding the top edge behind slightly and the left point behind itself. You should now have the perfect head shape for your origami rhinoceros.
14) Fold the top left corner of your model behind itself, crease well and then unfold. Use a reverse fold to then fold this in on itself along the crease you have just made.
15) Pull each side of your origami rhino out ever so slightly and then stand it on a flat surface - your rhino should stand on its own and the origami tutorial is now complete!

Image © andreycherkasov, under a Creative Commons license.
Tips And Tricks
If you want to add details to your origami rhino, you could always stick on a pair of googly eyes and two little ears.
If you want to have another go at this tutorial, try using different sizes of origami paper and you can make a whole crash of rhinos.
Why not also try some of our other origami tutorials that give step by step instructions on how to make paper animals. You could create a whole safari!


We Want Your Photos!
More for You


See All
Master of Science specializing in Criminal Investigation, Criminal Justice/Police Science, PCGE in Primary Education, Professional Diploma in User Experience Design
Jade ScottMaster of Science specializing in Criminal Investigation, Criminal Justice/Police Science, PCGE in Primary Education, Professional Diploma in User Experience Design
Hailing from London, Jade now calls Lincolnshire home and enjoys the serene countryside that surrounds her. She has a wealth of experience as a primary school teacher, possessing a strong understanding of the curriculum, games, activities, and learning opportunities for children aged between 3-11. Jade is constantly on the lookout for new outdoor adventures and educational attractions to share with her two nephews. Her interests in science and crafts also enable her to provide fun, engaging, and educational activities for children to enjoy on rainy days. With a passion for discovering new experiences, she is always seeking out the latest deals and attractions to ensure a memorable time for all.
Disclaimer
1) Kidadl is independent and to make our service free to you the reader we are supported by advertising. We hope you love our recommendations for products and services! What we suggest is selected independently by the Kidadl team. If you purchase using the Buy Now button we may earn a small commission. This does not influence our choices. Prices are correct and items are available at the time the article was published but we cannot guarantee that on the time of reading. Please note that Kidadl is a participant in the Amazon Services LLC Associates Program, an affiliate advertising program designed to provide a means for sites to earn advertising fees by advertising and linking to Amazon. We also link to other websites, but are not responsible for their content.
2) At Kidadl, we strive to recommend the very best activities and events. We will always aim to give you accurate information at the date of publication - however, information does change, so it’s important you do your own research, double-check and make the decision that is right for your family. We recognise that not all activities and ideas are appropriate for all children and families or in all circumstances. Our recommended activities are based on age but these are a guide. We recommend that these ideas are used as inspiration, that ideas are undertaken with appropriate adult supervision, and that each adult uses their own discretion and knowledge of their children to consider the safety and suitability. Kidadl cannot accept liability for the execution of these ideas, and parental supervision is advised at all times, as safety is paramount. Anyone using the information provided by Kidadl does so at their own risk and we can not accept liability if things go wrong.
3) Because we are an educational resource, we have quotes and facts about a range of historical and modern figures. We do not endorse the actions of or rhetoric of all the people included in these collections, but we think they are important for growing minds to learn about under the guidance of parents or guardians.