How To Make An Origami Water Bomb: Step By Step Guide

Persis Love
Dec 12, 2023 By Persis Love
Originally Published on Aug 28, 2020
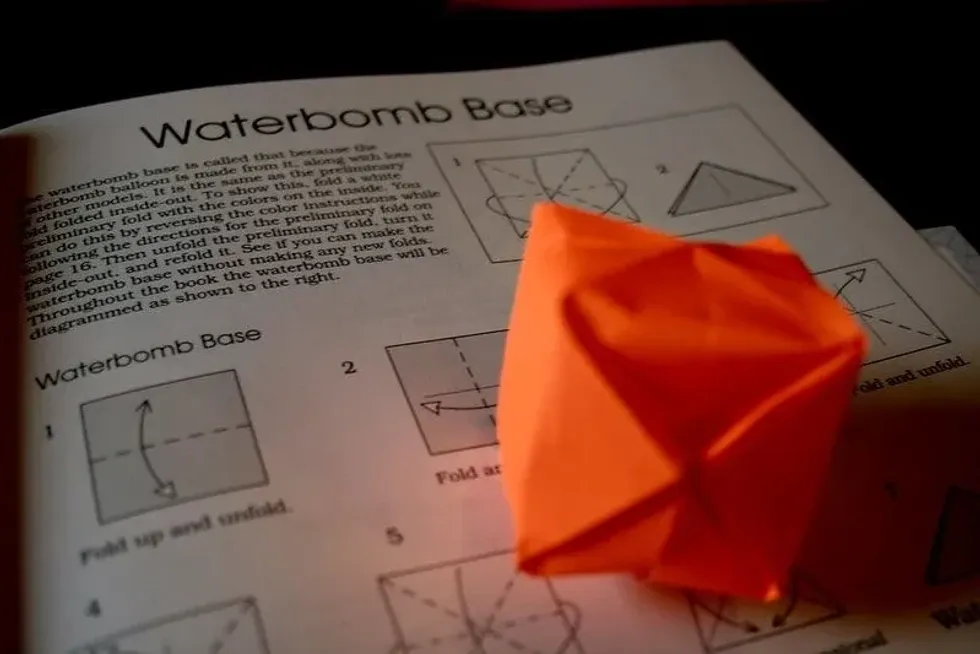
An origami water bomb resting on the page of an open book containing a guide for making an origami water bomb.
?
Age: 6-12
Read time: 4.2 Min

Image © Tosojan.

Origami is the ancient art of folding paper to make 3D objects and trinkets, commonly thought to have come from Japan. The word 'origami' comes from the Japanese oru (meaning to fold) and kami (paper).

The water balloon is an origami classic: not only do you and your children get to practice your paper folding skills but you also make an actual toy to play with afterwards. Plus, the water bomb is one of just a few origami crafts that you have to inflate to get your finished piece.

Besides being a fun and cheap way of making cute paper crafts (no glue or tape needed), origami has loads of benefits for the brain in both children and adults. It can help to improve hand-eye coordination, mental concentration and memory skills.

Also, it is a great mindfulness activity so perfect for a bit of de-stressing while spending time with the family.

What You Will Need

It's so simple, all you need is one square of paper.

If you don't have any origami paper, just use a bit of printer paper and cut it down to a square.

If you are using white paper and want to colour it, it's best to do so before you start folding.

Tip: Try colouring on just one side of the paper - it'll make it easier to see which side is going to be the outside of your water bomb.

How To Make Your Paper Water Bomb

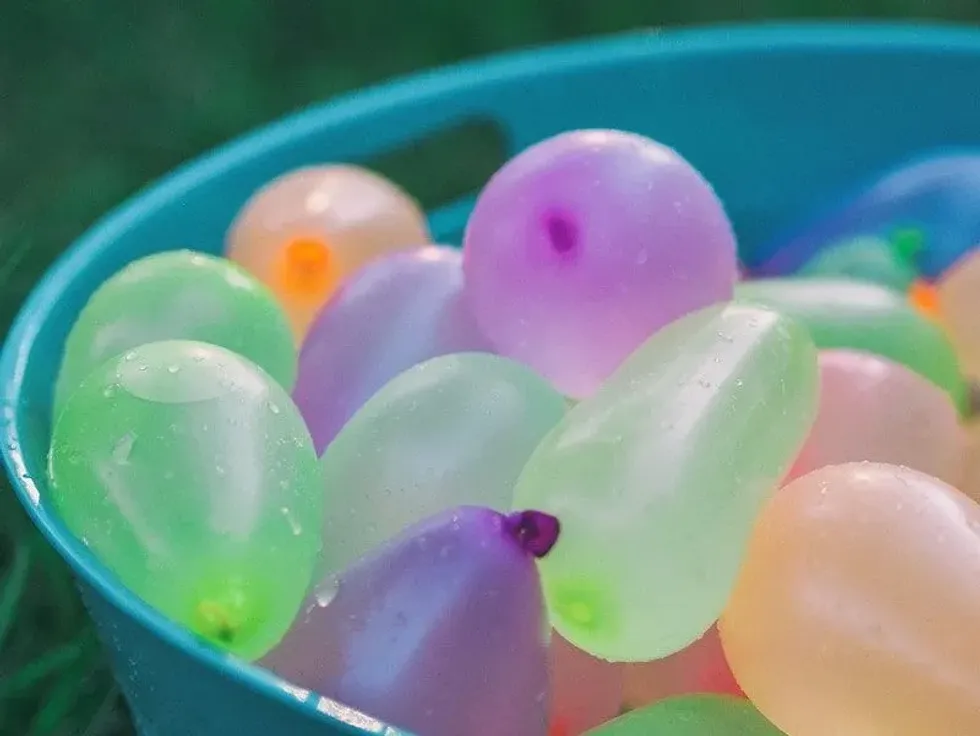
Waterbombs, made from different coloured balloons, in a big blue bucket.

Image © Aaron Burden

Step 1

To get started on your waterbomb base, fold your square corner-to-corner diagonally, pressing along the crease. Unfold the paper back into a square.

Step 2

Now fold your paper corner-to-corner along the other diagonal line, pressing along the crease. When you unfold the paper it should have an 'X' right through it.

Step 3

Make a horizontal fold so the paper forms a rectangle. Press along the centreline and unfold.

Step 4

Now make your water bomb base. Your flat piece of paper will have two plain triangles and two triangles with a crease down the middle. Use the crease down the middle to fold those triangles in half and tuck them in between the two plain triangles.  This is your starting point for the rest of your origami water bomb.

Step 5

Turn the long end of the water bomb base towards you and take each of the side corners of the side facing you. Fold these corners up to meet the top corner. Flip the paper over and do the same on the other side. You should have a small square with a line down the diagonal.

Step 6

Now make the pockets of your water bomb origami. Turn the water balloon square so the diagonal line is facing you vertically.

Take the left and right corners and fold them in to meet at the centreline. Flip the water bomb over and do the same on the other side. Your origami should now have straight sides and a point at the top and bottom.

Step 7

Next, we have to seal the water bombs - this is where it gets a bit fiddly!

On the side that is facing you, take one of the flaps at the top point of the origami balloon. Fold it down into a triangle in line with the centreline.

Take this triangle and fold it back on itself, tucking it into the opening of the little pocket you just made. Now do the same for the other half of the top point, and repeat for the bottom. Make sure you crease well along the folds.

Step 8

Flip your paper over and repeat on the other side. Each side of your four pockets should have a fold tucked into it.

Step 9

Your origami water bomb is ready to inflate! Find the hole at the top point of the water bomb. Blow into the hole to inflate it and you should end up with a small cube.

Step 10

Fill the origami balloon with water through the hole in the top.

Tip: Try using a pipette or funnel to fill the paper balloons with water.

Tips and Tricks For How To Make A Water Bomb, And How To Use It Safely

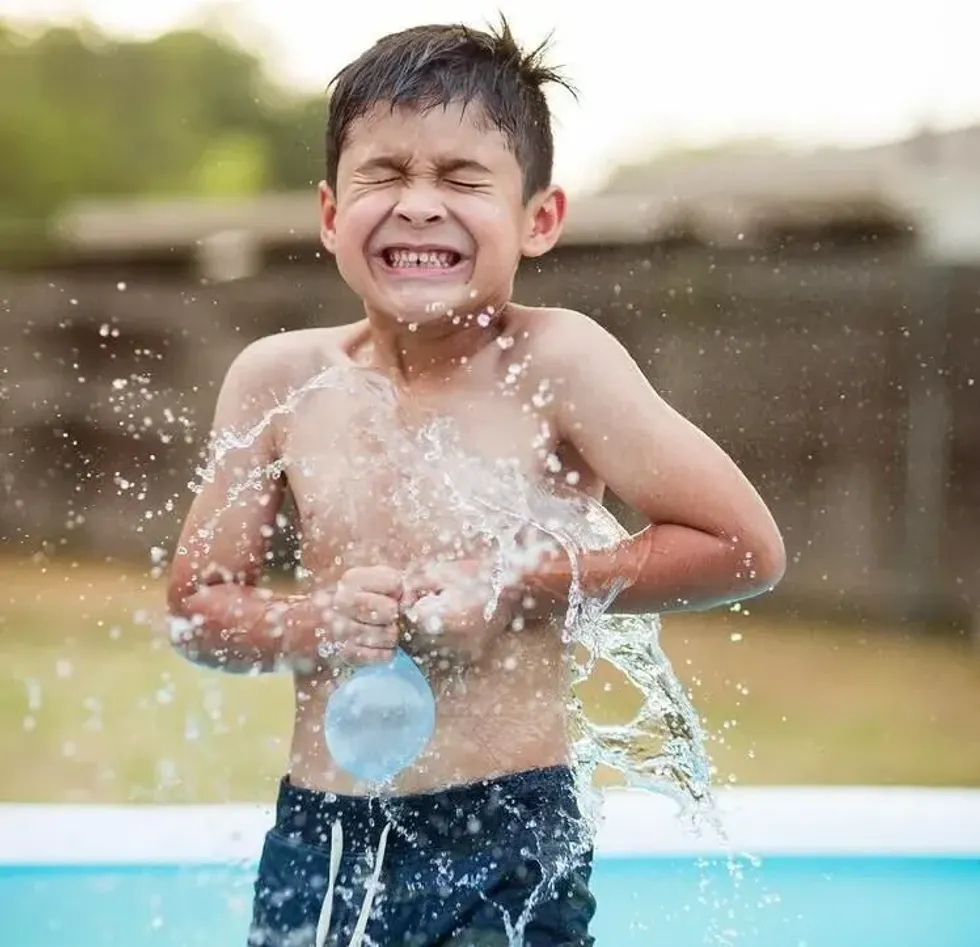
Young boy in a paddling pool in the garden getting splashed by a bursting water balloon.

Image © James Balensiefen on Unsplash

Make sure you press hard on your creases to get neat folds.

If you are making several origami water bombs, wait until you have finished making them all before putting the water in as the paper may go soggy if left for a long time.

Safety Tip: If you are using the origami models for a water fight, avoid throwing them at people's faces.

Balloon origami idea for the family: If you have managed to make lots of origami water bombs with your family, why not string them all together for a fun, colourful home decoration.

We Want Your Photos!

We Want Your Photos!

Do you have a photo you are happy to share that would improve this article?
Email your photos

More for You

See All

Written by Persis Love

Bachelor of Arts specializing in Spanish and Portuguese

Persis Love picture

Persis LoveBachelor of Arts specializing in Spanish and Portuguese

Growing up with three young siblings and cousins, Persis loves discovering new games to play and activities to keep them all entertained. She has a Bachelor's degree in Spanish and Portuguese from the University of Oxford. Having spent most of her life in London since the age of 11, she enjoys exploring the city on her bike, checking out different parks and cafes. When she's not busy with her adventures in the city, she loves to travel and indulge in her passion for lino cutting, often taking her kit with her on her travels.

Read full bio >