How To Make An Origami Horse: Two Amazing Ways For Beginners And Pros


Gallery
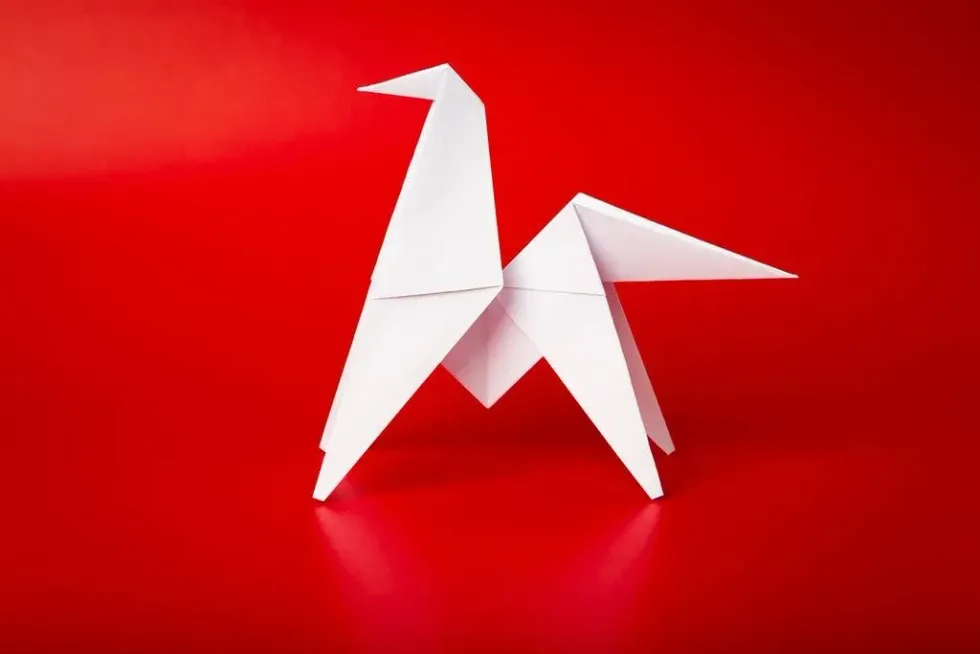
Image © iStock.
Origami is the art of paper-folding - a Japanese art that originated around the 17th century.
Traditionally, a square piece of paper alone would be folded repeatedly at different angles and in different ways (such as the 'mountain fold', the 'valley fold', the 'reverse fold', 'inside reverse fold', and so on) to create stunning designs. Originally, neither scissors nor glue were used.
Now a world-renowned craft, traditional and non-traditional variations of origami are popular among adults and children alike - especially origami animals.
Origami is great for kids to engage with because it develops the imagination, fine motor skills and sense of colour - who would have thought you could make so much from a square piece of paper? Following origami instructions helps to improve spatial awareness and concentration, boosting brain development too.
In other words, time spent making origami is time very well-spent.
Take a look at the epic origami horse instructions below - happy folding!

1) Easy Origami Horse Head
Follow the simple paper origami horse instructions and you'll have a horse head made of paper in no time!
Great For: Beginners.
You Will Need:
-Square origami paper, white on one side and a colour of your choice on the other side (20cm x 20cm).
-Coloured markers for drawing features on the paper origami horse.
Instructions:
1) With the coloured side down, take your square paper and rotate it so that it looks like a diamond.
2) Fold your origami diamond in half by taking the left corner and bringing it over to the right corner. Then unfold.
3) Fold your origami diamond in half a second time, by taking the bottom corner and bringing it up to the top corner. Unfold again after.
4) Take the bottom corner and fold it halfway, so that its tip is touching the centre of the square. Then unfold.
5) Turn your origami diamond over so that the coloured side is facing up. You should have one vertical crease going down the middle, one horizontal crease going halfway across the diamond, and one horizontal crease beneath the middle one.
6) Take the bottom corner again and fold it up, so that the tip of that corner lies on the second horizontal crease (beneath the middle crease). Do not unfold.
7) Turn over.
8) Take the left corner and fold the left edges inwards by about an inch, so that all of the white space looks like a wide 'up' arrow, but the bottom left corner hasn't been crossed over. Repeat for the right side.
9) Take the top corner and fold it down, over the intruding left and right flaps.
10) Fold part of the top flap back up, so that the corner sticks out past the rest of the origami by an inch or so.
11) Fold the top-left corner inwards, so that it lands on the top-left corner of the white area in the centre. Repeat for the top-right corner.
12) Fold everything in half, along the central vertical crease.
13) Rotate about 45 degrees clockwise so that you can see the horse's head: the white fold in the bottom-left corner is the mouth.
14) Grab some markers and draw some features on your horse!

Image © Wikimedia Commons
2) Awesome Origami Horse That Flips!
Fancy a challenge? Here's how to create an origami horse - specifically, how to make a horse that flips! Learn about the reverse fold and inside reverse fold, and give your fingers a workout creating this cool origami horse.
Great For: Pros.
You Will Need:
-Square origami paper, white on one side and any colour you like on the other side (20cm x 20cm).
-Scissors, as you'll need to cut part of the horse.
Instructions:
1) With the coloured side down, take your square paper and rotate it so that it looks like a diamond.
2) Fold your origami diamond in half by taking the top corner and bringing it down to the bottom corner. Keep folded.
3) Fold your origami diamond in half again by taking the left corner and bringing it over to the right corner.
4) Take the upper layer on the right, open it up and fold it down so that its corner is on top of the bottom corner of the paper shape. This is a squash fold.
5) Turn the origami over.
6) Take the flap on the left and squash fold it in the same way as in step 4), aligning its corner with the bottom corner of the paper.
7) You should now have two folded layers on the left, and two folded layers on the right. Take the first layer on the left (the one on top) and fold it inwards, so that the corner and edge are in the centre. Repeat for the upper-right layer.
8) Take the top corner and fold it down, over your left and right inward-facing flaps. At this point, the origami will have a shape like a ruby.
9) Unfold the top and side flaps to get the origami diamond again.
10) Lift only the top layer and cut it vertically, starting from the bottom corner and stopping at the top horizontal crease.
11) Lift the left half of the flap and fold it upwards, keeping the corners on the left and in the centre of the paper. Repeat for the right half of the flap.
12) The origami paper should appear to have a coloured diamond in the middle at the top, with two white 'kites' next to it. Lift the white 'kite' on the left and fold it in half along the crease, folding it up and into the middle. This will also reveal another coloured layer underneath on the left.
13) Repeat for the 'kite' on the right: fold it along the crease, into the centre. Then turn your origami over.
14) The origami horse will now look like a coloured diamond again, with two 'horns' sticking out behind it. Take the left corner of the diamond and fold its bottom edge in towards the centre, with the corner being on the centre crease. Repeat for the right side.
15) Fold the top corner of the diamond down, over the left and right sides.
16) Unfold the top, left and right flaps.
17) Grab the scissors again and cut along the middle of the top layer - only the top layer, starting from the bottom corner and stopping at the crease.
18) Fold the left and right flaps up, as in step 11). Two 'kites' on the left and right should appear again.
19) As in step 12), take the left 'kite' and fold it along the central crease, bringing it into the centre. Repeat for the right 'kite'.
20) Rotate the origami horse 180 degrees, so that it is now upside down.
21) Time for the first inside reverse fold for the horse's head: to do an inside reverse fold, take the left side of the tip and pinch the corner while bending it down. Then open it up slightly, bend it inwards and crease the side, so that the head is now sticking out like a little beak.
22) Take the top right corner and fold it across diagonally, so that the vertical edge is horizontal, in line with the top of the folded diamond below it. This will create the tail.
23) Unfold the horse's tail.
24) Inside reverse fold the tail by opening it up and bending it inwards, so that it rests horizontally again, but folded a different way this time.
Your origami horse is now complete!

Tips
-To flip the origami horse, take one finger and place it under the horse's tail. Then, sharply tip the horse upwards with your finger and watch it do a flip!
-To make this challenge extra fun, why not create a whole herd of origami horses?
-These instructions for how to make a paper horse can also be used for a paper zebra too.


We Want Your Photos!
More for You


See All
Bachelor of Fine Arts specializing in Fine and Studio Arts
Temitope AdebowaleBachelor of Fine Arts specializing in Fine and Studio Arts
A Fine Art student from the Central Saint Martins, University of the Arts London, Temitope has a passion for learning and expressing herself creatively. She finds great reward in tutoring children from primary school up to sixth form. When she's not teaching or writing, you can find Temitope painting, editing photos, baking, or building LEGO with her nephew.
Disclaimer
1) Kidadl is independent and to make our service free to you the reader we are supported by advertising. We hope you love our recommendations for products and services! What we suggest is selected independently by the Kidadl team. If you purchase using the Buy Now button we may earn a small commission. This does not influence our choices. Prices are correct and items are available at the time the article was published but we cannot guarantee that on the time of reading. Please note that Kidadl is a participant in the Amazon Services LLC Associates Program, an affiliate advertising program designed to provide a means for sites to earn advertising fees by advertising and linking to Amazon. We also link to other websites, but are not responsible for their content.
2) At Kidadl, we strive to recommend the very best activities and events. We will always aim to give you accurate information at the date of publication - however, information does change, so it’s important you do your own research, double-check and make the decision that is right for your family. We recognise that not all activities and ideas are appropriate for all children and families or in all circumstances. Our recommended activities are based on age but these are a guide. We recommend that these ideas are used as inspiration, that ideas are undertaken with appropriate adult supervision, and that each adult uses their own discretion and knowledge of their children to consider the safety and suitability. Kidadl cannot accept liability for the execution of these ideas, and parental supervision is advised at all times, as safety is paramount. Anyone using the information provided by Kidadl does so at their own risk and we can not accept liability if things go wrong.
3) Because we are an educational resource, we have quotes and facts about a range of historical and modern figures. We do not endorse the actions of or rhetoric of all the people included in these collections, but we think they are important for growing minds to learn about under the guidance of parents or guardians.