How To Make An Origami Purse


Gallery
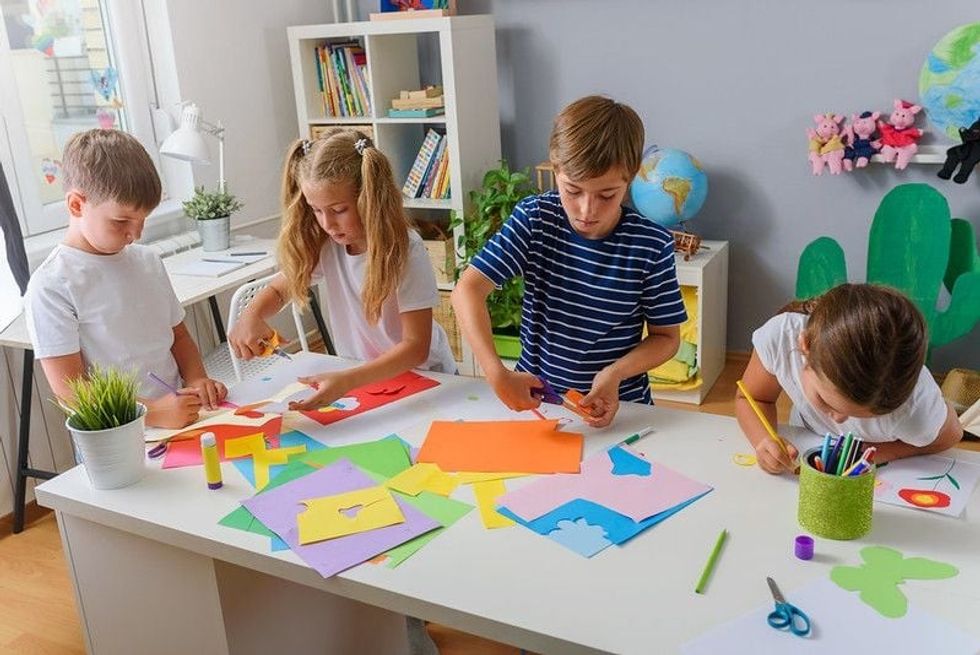
Image © Lauren John.
Ever looked up recipes, craft activities, or just found a fun project to do, but then found you haven't got all you need? One of the best things about origami is that you can do so many projects with a few items you have lying around at home.
The Japanese art of paper folding needs minimal materials, has projects suitable for beginners to more intricate designs, and is fun for all the family. Pick up your origami paper, fold those edges accurately, and enjoy our cute folded paper purse projects. All instructions are below, with handy pictures, so join us and get creating!
How To Make An Origami Clutch Bag
Kids will love this origami handbag with a twist. This is no ordinary clutch, it's a clutch with pockets, which when complete, they can decorate and use to store small items like stickers, dolls accessories, or coins they are saving for a treat.
This origami design takes a few different steps but is a fun weekend activity your children can do with friends.
To make one origami bag in this design you will need:
A sheet of A4 paper (any colour or pattern you like, but don't forget you can decorate your finished origami handbag when you've finished as well).
A ruler or bone folder.
Craft items to decorate your finished projects, such as stickers, metallic pens, glitter glue, or stick-on gems.
Step By Step Instructions

© Lauren John
- Fold your paper in half lengthways.
- Open out and fold in each of the four corners to make triangle shapes, making sure the creases are as neat as possible.
- You will have pointed tips at the end of each side of the paper. Fold each of these into the centre to the end of your previous fold lines.
- Next, fold the paper in half right to left.
- Turn open out the paper and fold both sides into the centre.
- Turn the paper over and fold in half right to left to get a square shape.
- Open the paper out again and fold each side into the centre scoreline.
- Fold the paper over from top to bottom, and you will have the two pockets of your origami pouch.
- To make it into a full clutch design, with a flap, pull out the end from the back pocket.
- You will then have a triangle to make the flap of your clutch origami handbag.
- To finish decorate the top with pens, gems, or other embellishments, and leave to dry.

© Lauren John
How To Make A Simple Purse - Tote Bag Design
Step By Step Instructions
© Lauren John
- Fold your paper in half lengthways.
- Open out and fold in each of the four corners to make triangle shapes, making sure the creases are as neat as possible.
- You will have pointed tips at the end of each side of the paper. Fold each of these into the centre to the end of your previous fold lines.
- Next, fold the paper in half right to left.
- Turn open out the paper and fold both sides into the centre.
- Turn the paper over and fold in half right to left to get a square shape.
- Open the paper out again and fold each side into the centre scoreline.
- Fold the paper over from top to bottom, and you will have the two pockets of your origami pouch.
- To make it into a full clutch design, with a flap, pull out the end from the back pocket.
- You will then have a triangle to make the flap of your clutch origami handbag.
- To finish decorate the top with pens, gems, or other embellishments, and leave to dry.
© Lauren John
How To Make A Simple Purse - Tote Bag Design
Once you start making origami purses, it might be hard to stop, so here's a different design to try out with an easy to follow tutorial. To make one of these tote bag style purses you will need:
Two sheets of coloured paper measuring 6 x 6 inches.
Ruler.
Glue.
Pens and glitter glue for decoration.
Step By Step Instructions

© Lauren John
- Place two 6x6 pieces of paper one on top of the other on a flat surface.
- Fold in half bottom left to top right to form a triangle.
- Fold again bottom to top to make a smaller triangle.
- Turn the paper so the triangle tip is pointing upwards.
- Fold the right side over and across, so the tip is just over the left edge as pictured.
- Turn over and repeat on the other side, this time folding the left side over to line up with the previous fold.
- Next turn round as pictured, and measure and mark 1.5cm across from the right edge.
- Cut in a diagonal direction up almost towards the folded over triangle shape. Younger children may need parental supervision with the scissors.
- Open the paper out to form the bag shape, then fold the top two layers of the inner triangle down. Repeat this on the other side to form two pretty flaps.
- Finally, glue both layers of each bag handle together.
- Your purse is complete, but now it's time to be creative and decorate it with pens, stick-on gems or stickers, bows, or glitter glue.
Top Tip: If your papers are plain on one side, lay the bottom one coloured side down, and the top one coloured side up, to get a funky lining to your origami handbag.


We Want Your Photos!
More for You


See All
Diploma of Higher Education specializing in Leisure Management
Lauren JohnDiploma of Higher Education specializing in Leisure Management
With roots in Essex and Welsh heritage, Lauren is an avid crafter and nature enthusiast. She has a Diploma in Higher Education with a specialization in Leisure Management from Writtle University College. In her spare time, she can be found inventing new games and outdoor activities to enjoy with her football-loving nephew.
Disclaimer
1) Kidadl is independent and to make our service free to you the reader we are supported by advertising. We hope you love our recommendations for products and services! What we suggest is selected independently by the Kidadl team. If you purchase using the Buy Now button we may earn a small commission. This does not influence our choices. Prices are correct and items are available at the time the article was published but we cannot guarantee that on the time of reading. Please note that Kidadl is a participant in the Amazon Services LLC Associates Program, an affiliate advertising program designed to provide a means for sites to earn advertising fees by advertising and linking to Amazon. We also link to other websites, but are not responsible for their content.
2) At Kidadl, we strive to recommend the very best activities and events. We will always aim to give you accurate information at the date of publication - however, information does change, so it’s important you do your own research, double-check and make the decision that is right for your family. We recognise that not all activities and ideas are appropriate for all children and families or in all circumstances. Our recommended activities are based on age but these are a guide. We recommend that these ideas are used as inspiration, that ideas are undertaken with appropriate adult supervision, and that each adult uses their own discretion and knowledge of their children to consider the safety and suitability. Kidadl cannot accept liability for the execution of these ideas, and parental supervision is advised at all times, as safety is paramount. Anyone using the information provided by Kidadl does so at their own risk and we can not accept liability if things go wrong.
3) Because we are an educational resource, we have quotes and facts about a range of historical and modern figures. We do not endorse the actions of or rhetoric of all the people included in these collections, but we think they are important for growing minds to learn about under the guidance of parents or guardians.