27 Star Crafts For Preschoolers

Content
- Chalk Pastel Shooting Star
- Wishing Stars
- Twig Star Decoration
- Felt Star Ornaments
- Spinning Star Mobile
- Magic Wand
- Nature Wand
- Starry Bird Feeder
- Stardust Paint
- Starry Suncatchers
- Yarn-Wrapped Star Ornaments
- Constellation Stitch Craft
- Secret Starlight Den
- Sun Catcher Star Craft
- Orange Peel Ornaments
- Night Sky Paper Mosaic
- Constellation Lamp
- Star Shape Crayons
- Space Rocks
- Crystal Decoration
- Lolly Stick Star
- Paper Plate Starry Twirler
- 3D Card Stars
- Sensory Constellation Bag
- Constellation Torch Discs
- Galaxy Play Dough
If you're looking for some sparkly inspiration for your home crafts, or fun ways to teach your little ones about the solar system that extends further than singing twinkle twinkle little star, check out our favourite fun kids' crafts that are all about stars!
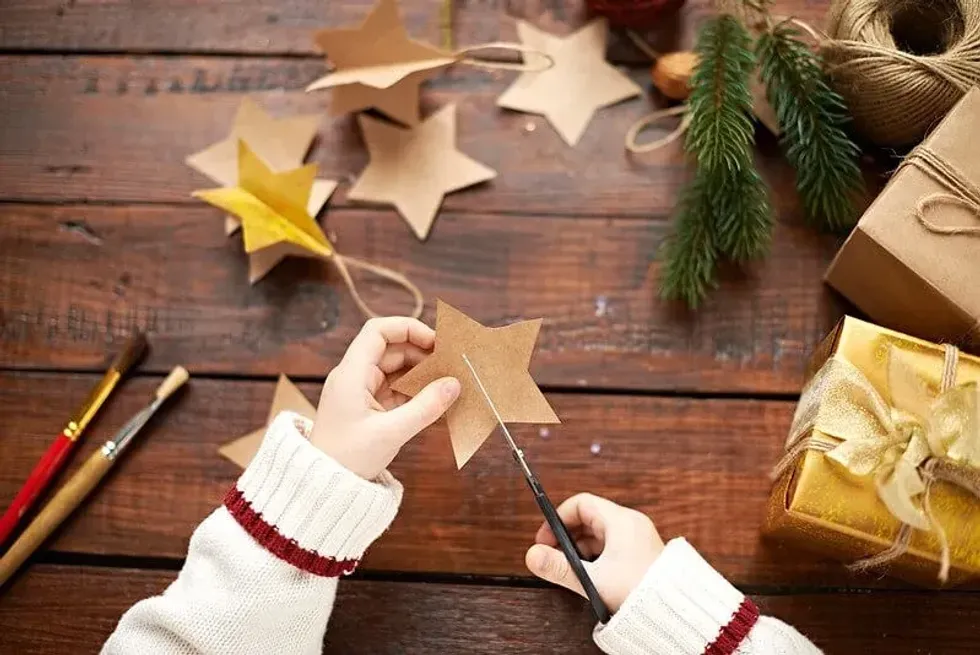
These craft ideas are all super simple and easy so get started now and create star crafts and star ornaments your kids will love. Most of these ideas double as fun and easy Christmas gifts too!
Chalk Pastel Shooting Star
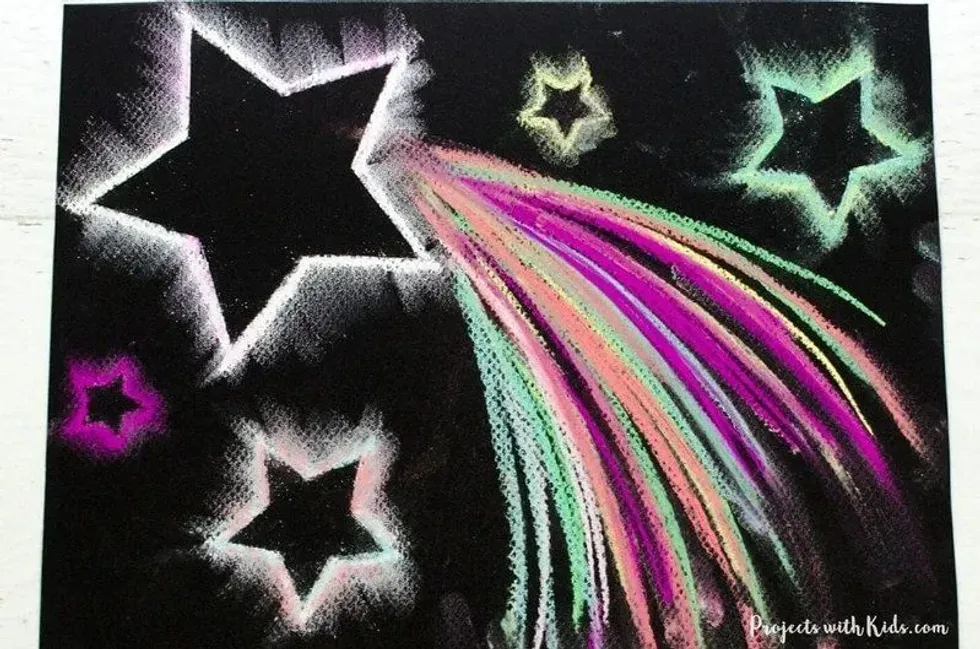
Image © Projects With Kids
You Need:
Black Paper
Chalk Pastels
Scrap cardboard
Scissors
Method:
Cut a star out of your scrap cardboard to use as a stencil.
Place the star on top of the black paper, and using your bright coloured pastels draw a line around the stencil.
With a finger, smudge the line outwards so the pastel looks like a ray of light.
Remove the stencil, and place in another position to draw another star. Get creative and try out lots of shapes and ideas!
Wishing Stars
You Need:
Card
Hole punch
Pens
String
Beads
Method:
This is one of our favourite kids' crafts because it helps us understand what our kids are thinking about!
Cut out stars from the cardboard, and punch a hole in the top.
Write down a wish on the card.
Thread through the string, and add special beads to help your wish come true.
Hang on a tree outside.
Twig Star Decoration
You Need:
5 twigs, roughly the same size
String
Method:
Tie two twigs together about 1cm from one end.
Pull apart about 30 degrees to make your first point. Make sure the twig on the right is sitting on top.
Tie the next twig to the end of the right twig, sitting on top of the others.
Now tie the next twig to the third, and weave in between the first triangle to create the next point.
Repeat with your final twig, and tie to the last stick, and your star ornaments are complete!
Tie a loop of string to the top edge and you can hang your crafts from your Christmas tree.
Felt Star Ornaments
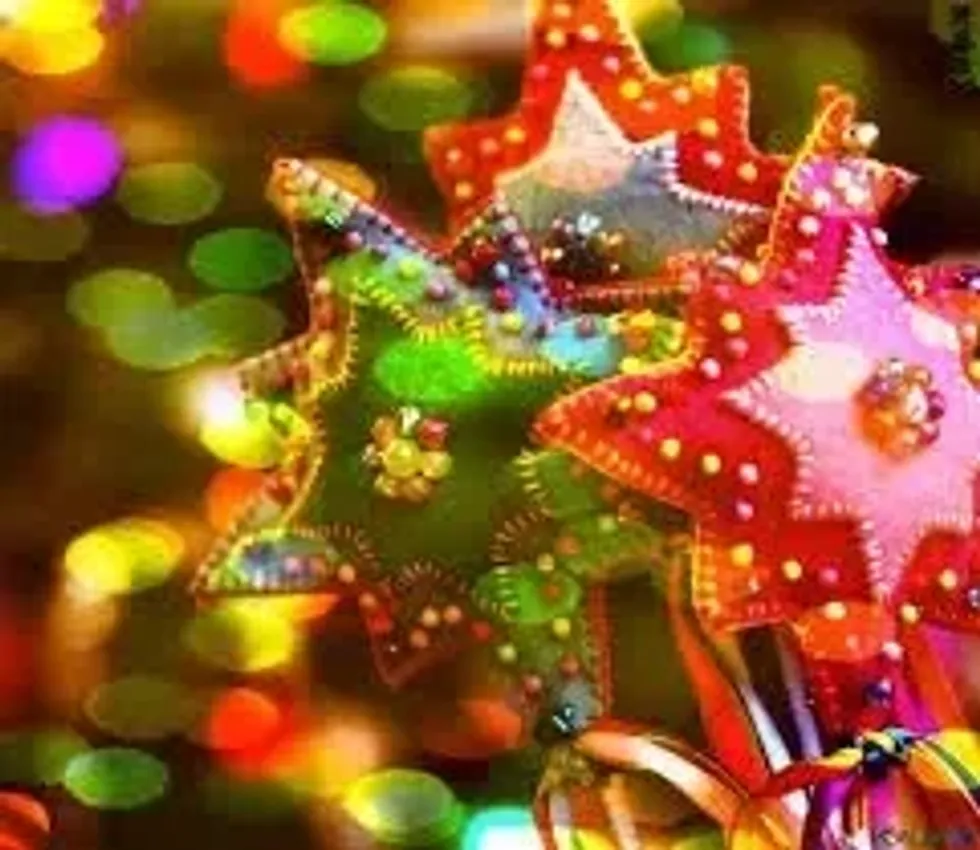
You Need:
Felt
Scissors
Needle and embroidery thread
Beads
Method:
Cut stars of different sizes out of the felt.
Layer two or three on top of each other, and sew through the middle to attach, adding a bead for decoration.
Keeping the thread attached, repeat with more stars, attaching higher up the thread, so you make a string of stars.
To finish, tie a loop in the thread so you can hang the ornaments you've made from your Christmas tree.
Spinning Star Mobile
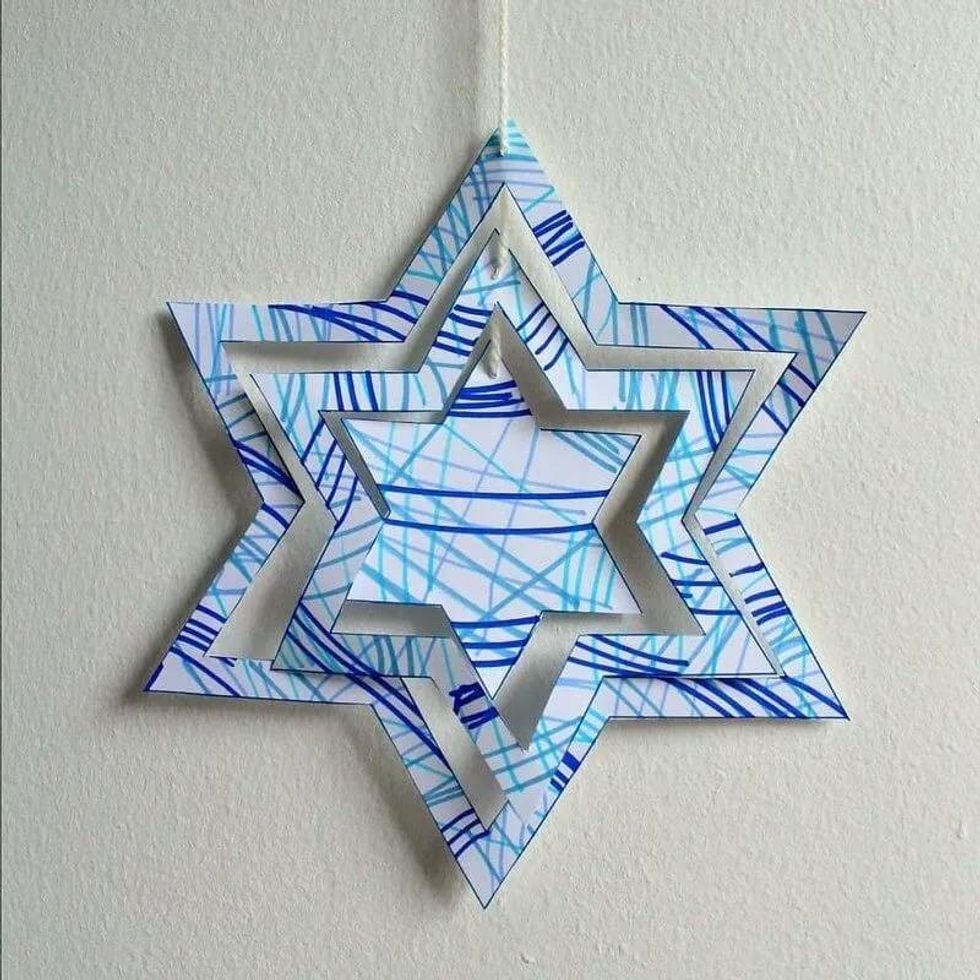
Image © NurtureStore
You Need:
Pen or pencil
String
Scissors
Thin card
Method:
The first step for this craft, draw a star on your piece of card or paper, roughly 15cm tall.
Next, draw the same shape around your star, 5cm wider.
Repeat again.
Decorate with pens, paint or whatever you have on hand.
Cut around each line, so you have one central little star and two larger hollow stars.
Using a pencil, pierce a hole in the top of each of your star ornaments, and weave the string through, so all three sit inside of each other and spin. These crafts make great Christmas decorations!
Magic Wand
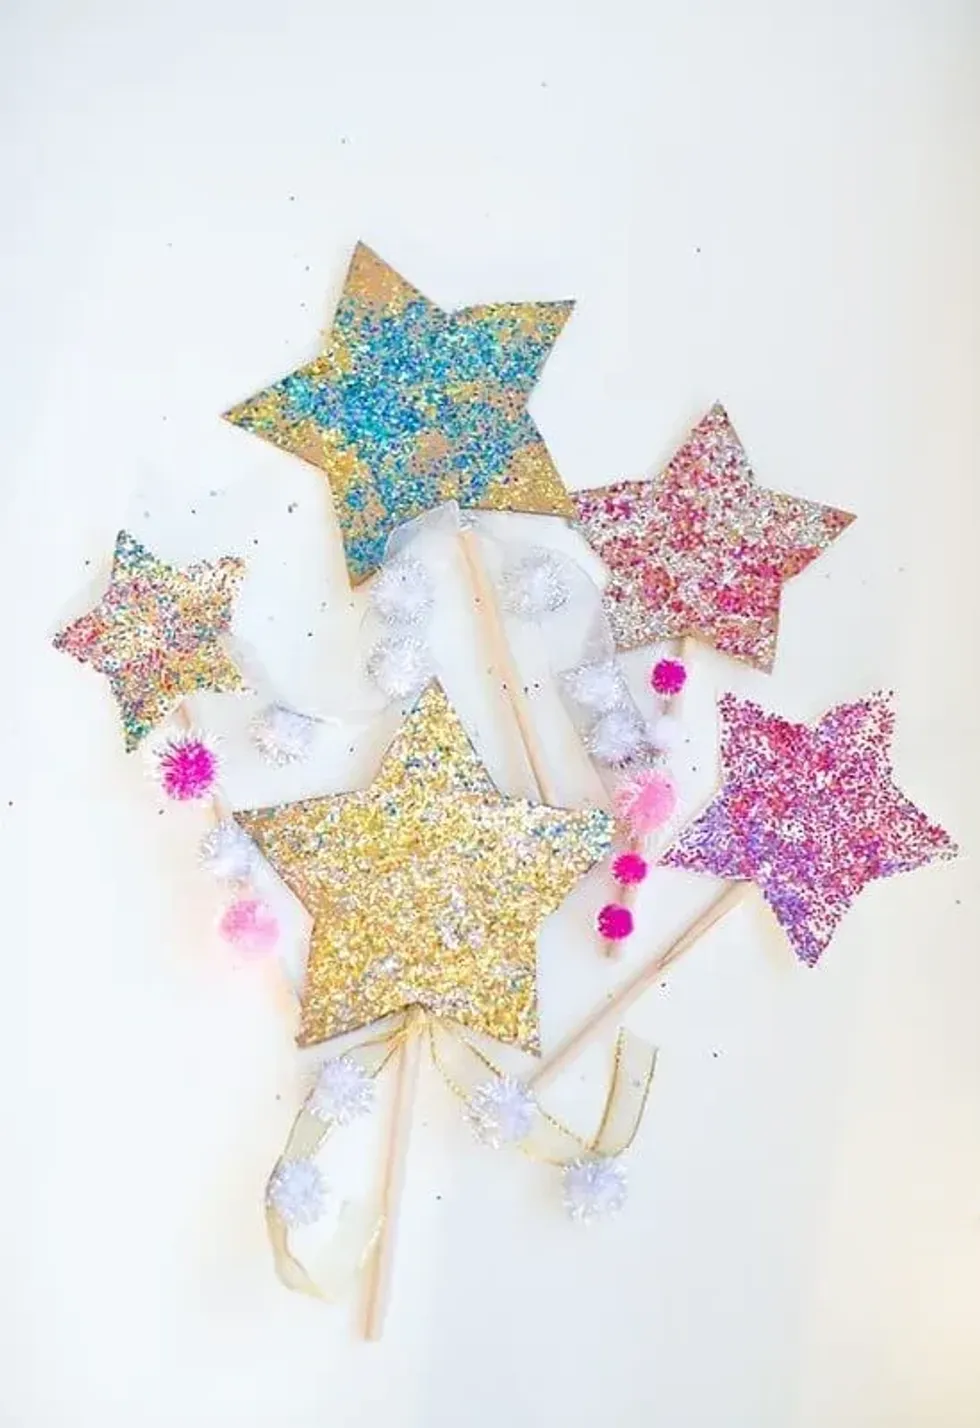
Image © Hello, Wonderful
You Need:
A stick small enough to fit in your little one's hand
Cardboard
PVA glue
Ribbon, glitter and pompoms (optional)
Method:
To make this craft, cut two of the same star from the cardboard, and stick together with the thinner end of your stick inside the two pieces.
If you're using ribbon, cut a few pieces half the length of your stick, and sandwich these between the stars alongside the stick, so they hang from the bottom of the star.
Once dry, decorate with glitter, pompoms and any other craft ideas you love, to make your wand magical!
Nature Wand
You Need:
Sticks - large and small
Pretty leaves
Glue gun
Method:
Create a small star using the twig decoration above, and using a glue gun, stick it to the end of a longer stick.
Weave some leaves through the twigs to decorate your wand, and your kids are ready to make some magic!
Starry Bird Feeder
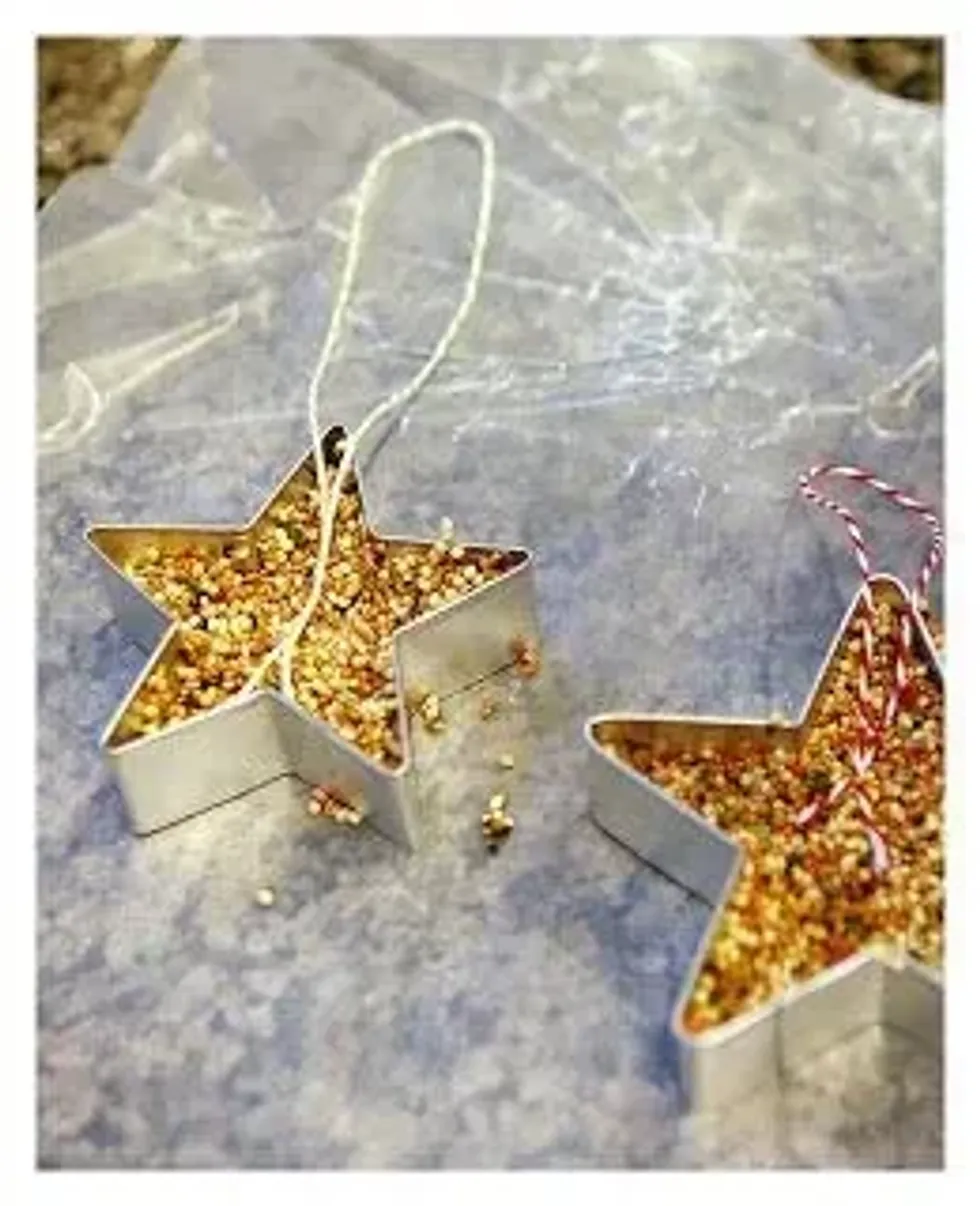
Image © eighteen25
Make sure the birds in your garden don't go hungry with these easy star ornaments.
You Need:
Birdseed
Gelatin
Corn Syrup
Water
Star Cookie Cutter
Straws
String
Method:
Pour two packets of gelatin into a bowl, with the amount of water you need according to the packet, and add corn syrup.
Stir in all of your birdseed, and pop into the fridge to make the mixture easy to put into moulds.
Spoon into cookie cutters on a baking sheet, and press down to fill.
Using a straw, poke a hole in the top to thread the string through.
Place your star ornaments into the fridge overnight, and then thread the string through the hole and hang on a tree. Birds will love to nibble on your creation!
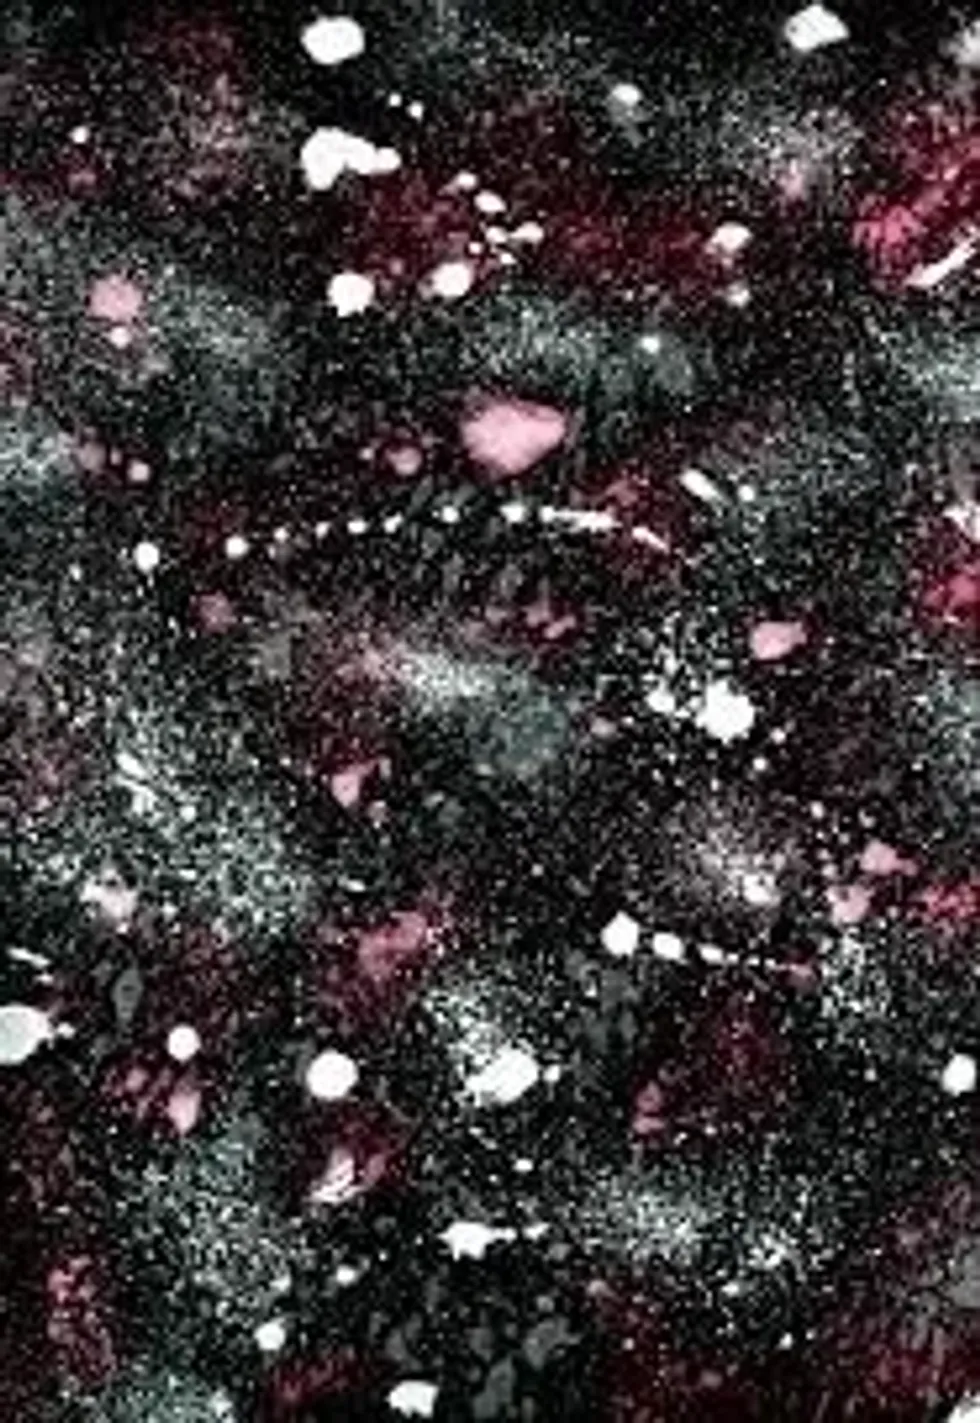
Stardust Paint
You Need:
Black Chalk
Water
Glitter
Method:
Crush the chalk into a powder, and add water drop by drop to make a paste.
Mix in the glitter with a paintbrush, and you're ready to use your magic stardust paint for any fun star crafts you fancy!
Starry Suncatchers
You Need:
PVA Glue
Plastic Beads
Baking paper and tray
Star-shaped metal cookie cutter
Glitter
Method:
To make these sun catchers, first, place your cookie cutter on the baking sheet on top of the tray.
Pour the PVA into the cookie cutter until it's roughly 1cm thick.
Add glitter and beads until it sparkles, and leave to dry. You can hang these star crafts from your Christmas tree as beautiful star ornaments!
Yarn-Wrapped Star Ornaments
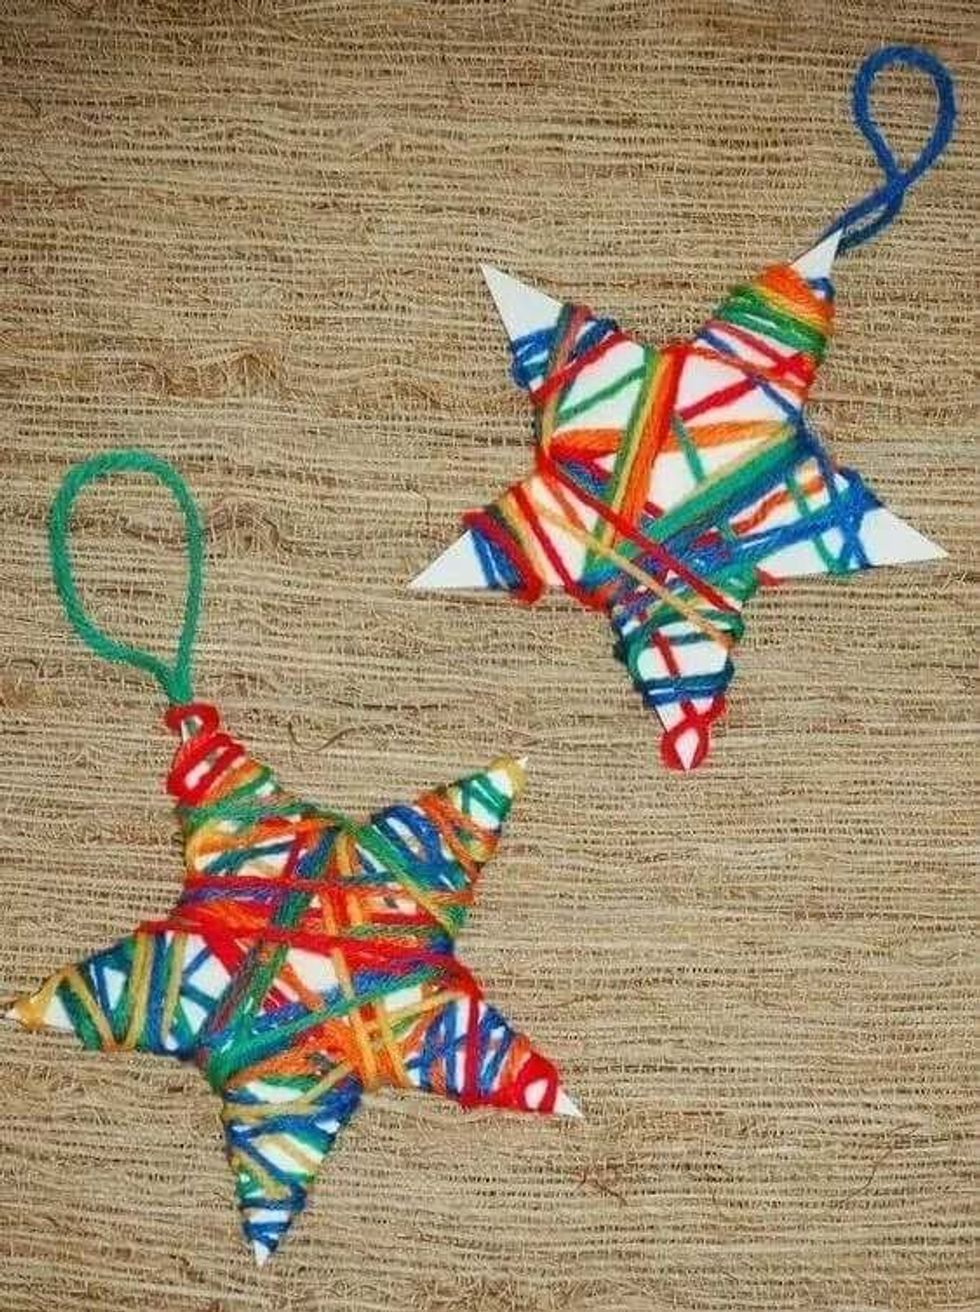
Image © Parenting Healthy Babies Information
You Need:
Thick Cardboard
Scissors
Sellotape
Colourful wool
PVA Glue
Method:
Draw a thick star on the card and cut out.
Using tape, stick the end of one piece of wool to the card, and wrap it around each point until you can't see the cardboard.
We love the idea of wrapping lots of colours to make Christmas decorations.
At the end, tuck your last piece of wool in, and add a blob of PVA.
Constellation Stitch Craft
You Need:
Card
Large needle and wool
Pencil
Method:
Get your kids to pick their favourite constellations.
Draw the simple shape of the stars on the card, and make holes where each star is.
With the wool, we then made stitches between each hole to follow the constellation, taping down at the back of the paper to keep secure.
These easy star crafts idea makes a great Christmas gift!
Secret Starlight Den
You Need:
A cardboard box
Fairy lights
Method:
Turn the box on its side so kids can slip in and out of the opening easily.
Count how many fairy lights you have, and poke holes in the top of the box.
Poke each fairy light through the hole, being careful to push them all the way through so the glass doesn't heat the cardboard.
Plug them in, fill your kids den with cozy cushions and you can read twinkle twinkle little star under the stars.
Sun Catcher Star Craft
You Need:
Sticky back plastic
Coloured paper
Tissue paper
Glitter
Method:
First step in creating these cute easy star ornaments, you'll need to cut out a star from your coloured paper. Once you've cut it out, draw a smaller star 1cm from the edge and cut this out too, so you have an outline of your star.
Stick the outline onto your sticky plastic, and sprinkle glitter on top.
Tear little bits of tissue paper, and layer them on top to cover, and then cover with another layer of sticky back plastic.
Cut the shape out again, and you're finished! These make great Christmas decorations for your window.
Orange Peel Ornaments
You Need:
Orange peels
Small star-shaped cookie cutter
String
A sharp pencil
Method:
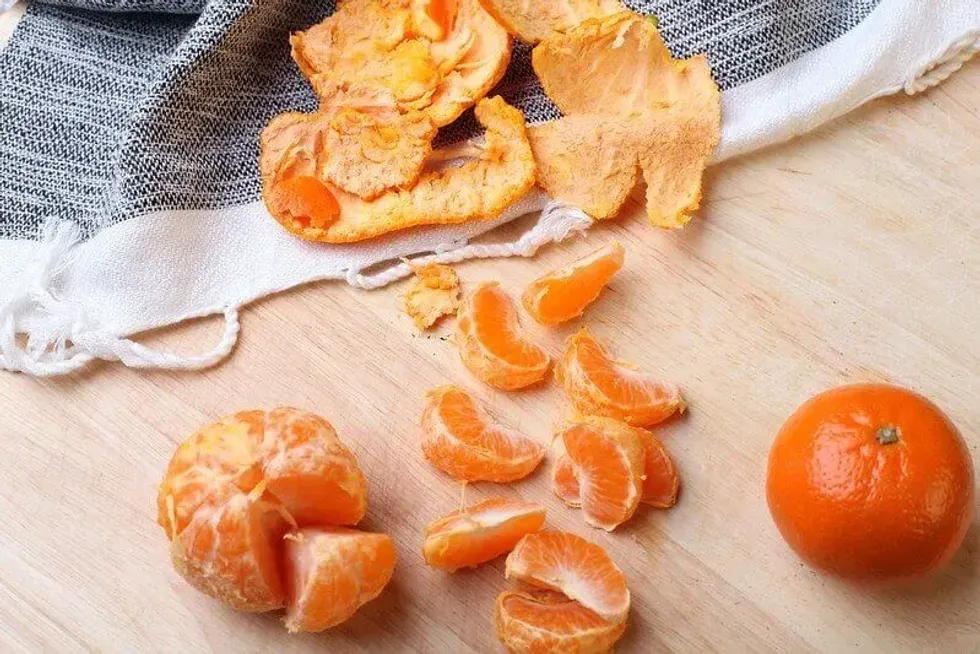
Cut out stars from your old orange peels with the cookie-cutter, poke a hole in the top with the sharp pencil and thread onto string to make an easy fun Christmas garland!
Night Sky Paper Mosaic
You Need:
Black paper
Scrap paper
Glue-stick
Method:
Cut out lots of tiny pieces from the scrap paper, and give to your kids to arrange as a night sky mosaic on their black paper.
Stick the pieces down in whatever style - get creative with your ideas and have lots of fun!
Constellation Lamp
You Need:
Glass jar
Stick on LED light
Tinfoil
Method:
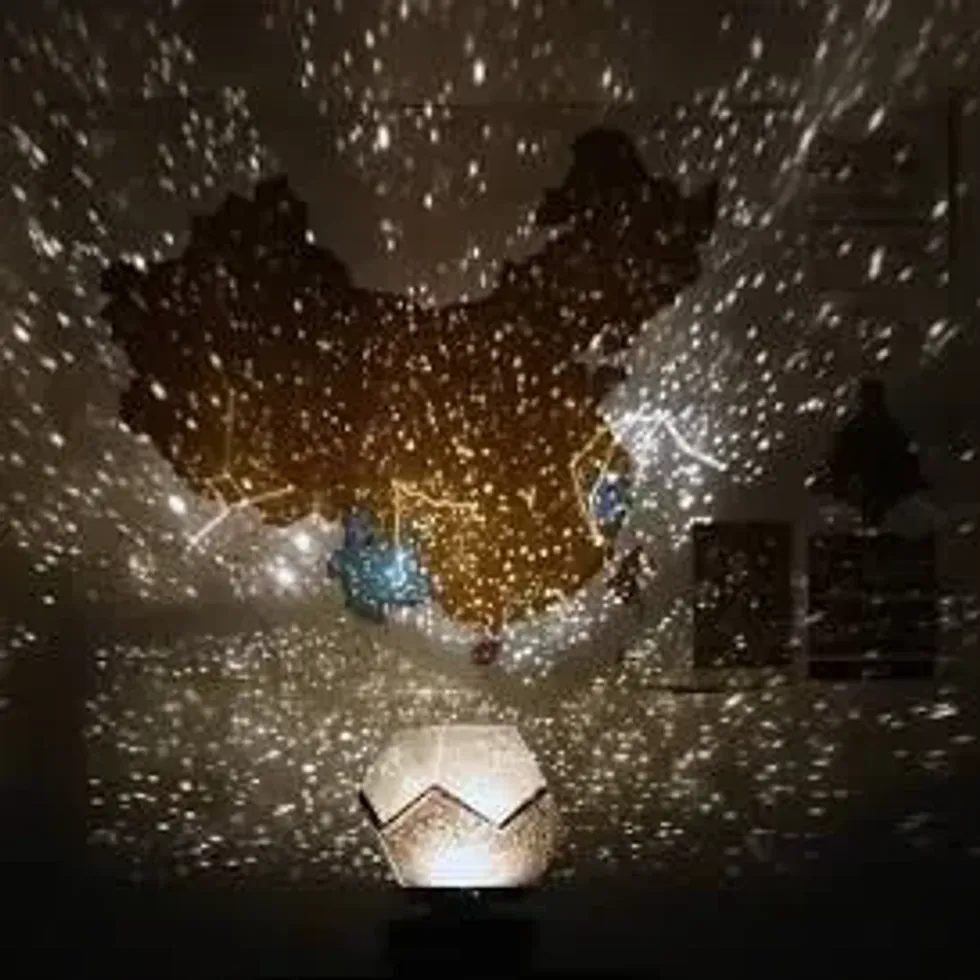
Cut a rectangle out of the foil that is small enough to wrap around the inside of the jar.
With a pen, make some constellations on the foil, and using a pencil poke holes where the stars go.
Add some extra smaller holes to represent other stars.
Place the foil inside your jar, wrapping around the sides, and stick the light in the bottom.
Turn on the light, and constellations will shine out around your room!
Star Shape Crayons
You Need:
Old, broken crayons (not washable crayons)
Star-shaped silicone mould
Method:
For these simple crayons, first, remove the paper from around old crayons.
Break the crayons into pieces, and place inside each mould, with lots of different colours in each one.
Preheat the oven to 220 degrees Celsius, and heat your crayons in the oven until they melt completely. Preschoolers should let grown-ups do this bit as they will get very hot!
Allow to cool completely once made, and you can pop them out and scribble down craft ideas!
Space Rocks
You Need:
Rocks
Blue, black and white paint
Method:
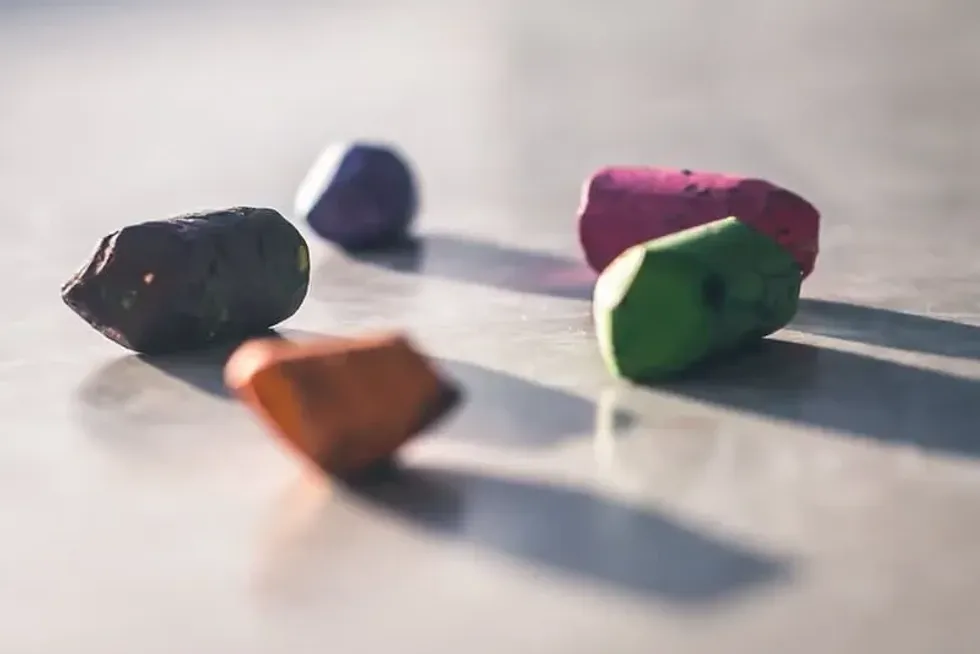
Paint your rocks black, and fleck them with blue and white paint to create a night-sky effect.
Crystal Decoration
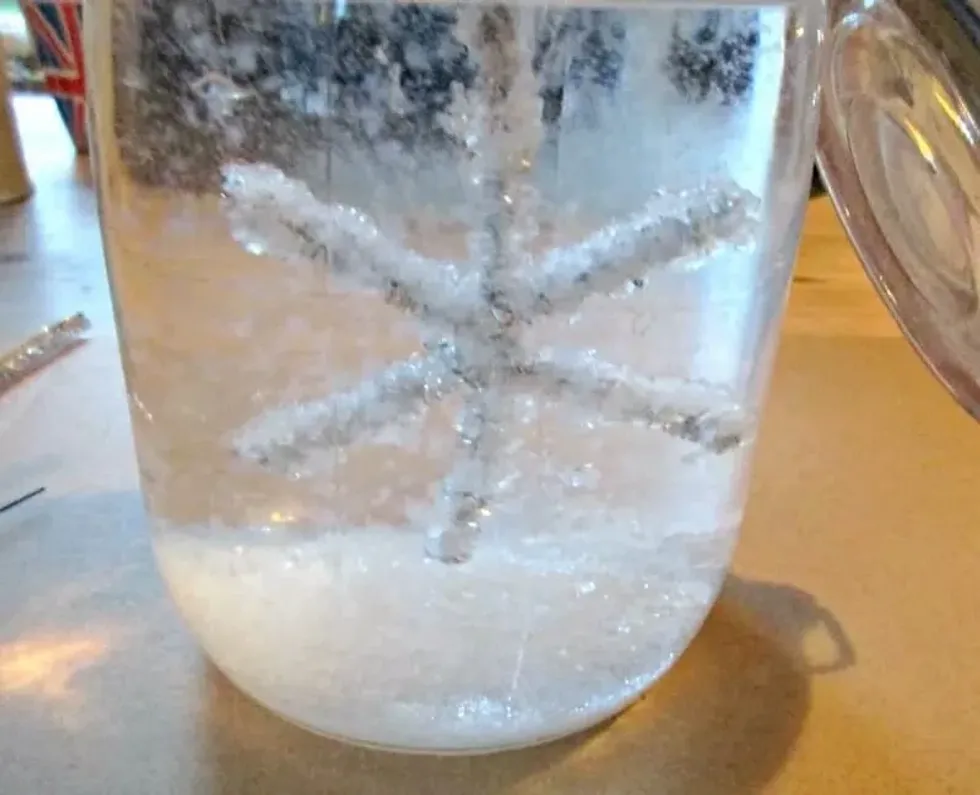
Image © Craft Invaders
You Need:
Borax
Glass jar
Wire
A pencil
Pipe cleaners
Method:
Kids can cut the pipe cleaners into three, and twist together to make a starry shape.
Twist the wire around one edge so you can hang the shape inside the jar, and twist the other end of the wire onto a pencil.
The pencil should sit on top of the jar, with the pipe-cleaners dangling inside.
Mix 1 litre of hot water with 10 tbsp of borax, and pour into the jar.
After two hours, your pipe-cleaner craft should start growing crystals!
Lolly Stick Star
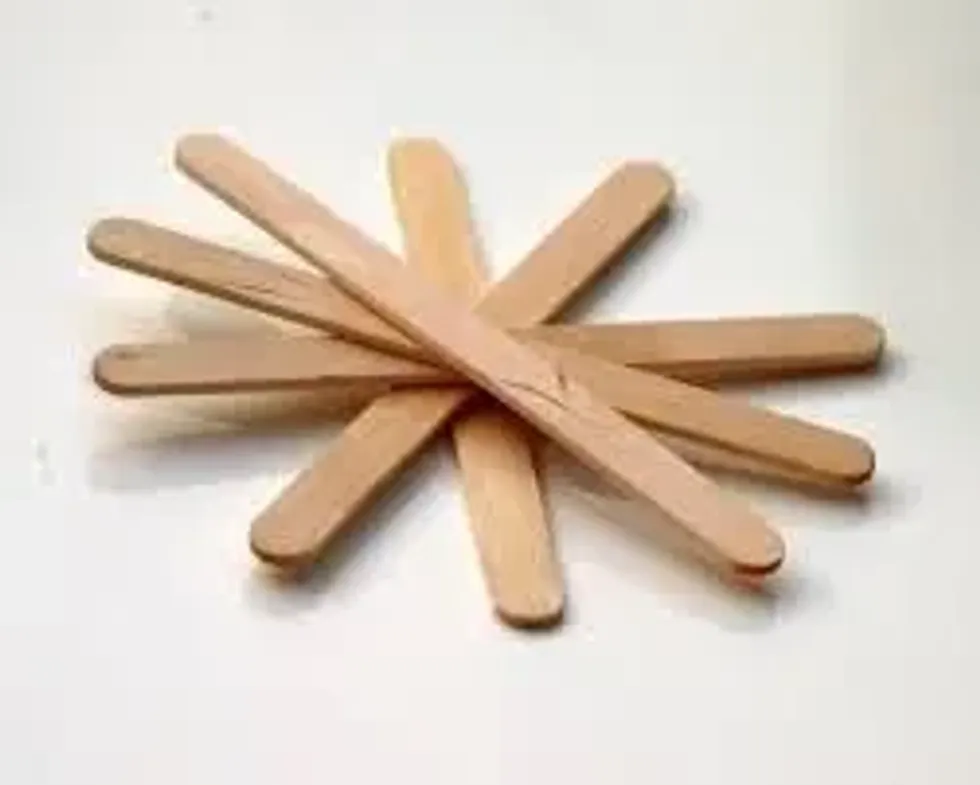
You Need:
Lollypop sticks
Paint
Pompoms
Method:
Decorate each lollypop stick with paint.
Using the same technique as our twig decoration above, help your kids stick their lollypop sticks together at each end to create a star shape.
Stick pompoms on the stars to decorate, and your star crafts are complete!
Paper Plate Starry Twirler
You Need:
Paper plates
String
Scissors
Glitter
Method:
Help your kids to paint the plate like a night sky.
Draw a spiral into the centre of the paper plate and cut out.
Poke a hole in the middle of the spiral, and add the string to hang up the twirler.
Cut out some stars from another of the paper plates, and paint yellow, with glitter. Stick these onto the twirler and hang up your starcraft!
Bedtime Galaxy Bottle
You Need:
Plastic bottle
Hair gel
Glitter
Glow-in-the-dark paint
Superglue
Glow in the dark mini stars
Method:
To make this bedtime craft kids will love, add glitter and a squirt of paint into the bottle, and pour in the stars.
Fill the bottle with hair gel, screw on the lid and superglue shut.
This simple starry craft is finished! Kids can watch it move at bedtime to feel calm.
3D Card Stars
You Need:
Thick Cardboard
Scissors
Method:
Cut two stars the same shape out of cardboard
Cut halfway through the middle from the bottom of one, and the top of the other.
Slot together to make a 3D star shape that's one of our favourite Christmas craft ideas!
Sensory Constellation Bag
You Need:
Freezer bag
Baby oil
Neon paint
Sellotape
Method:
Fill the bag a quarter full with baby oil and add 2 tablespoons of neon paint.
Seal and stick with tape to secure the opening, and young kids will love playing with this simple sensory starcraft!
Constellation Torch Discs
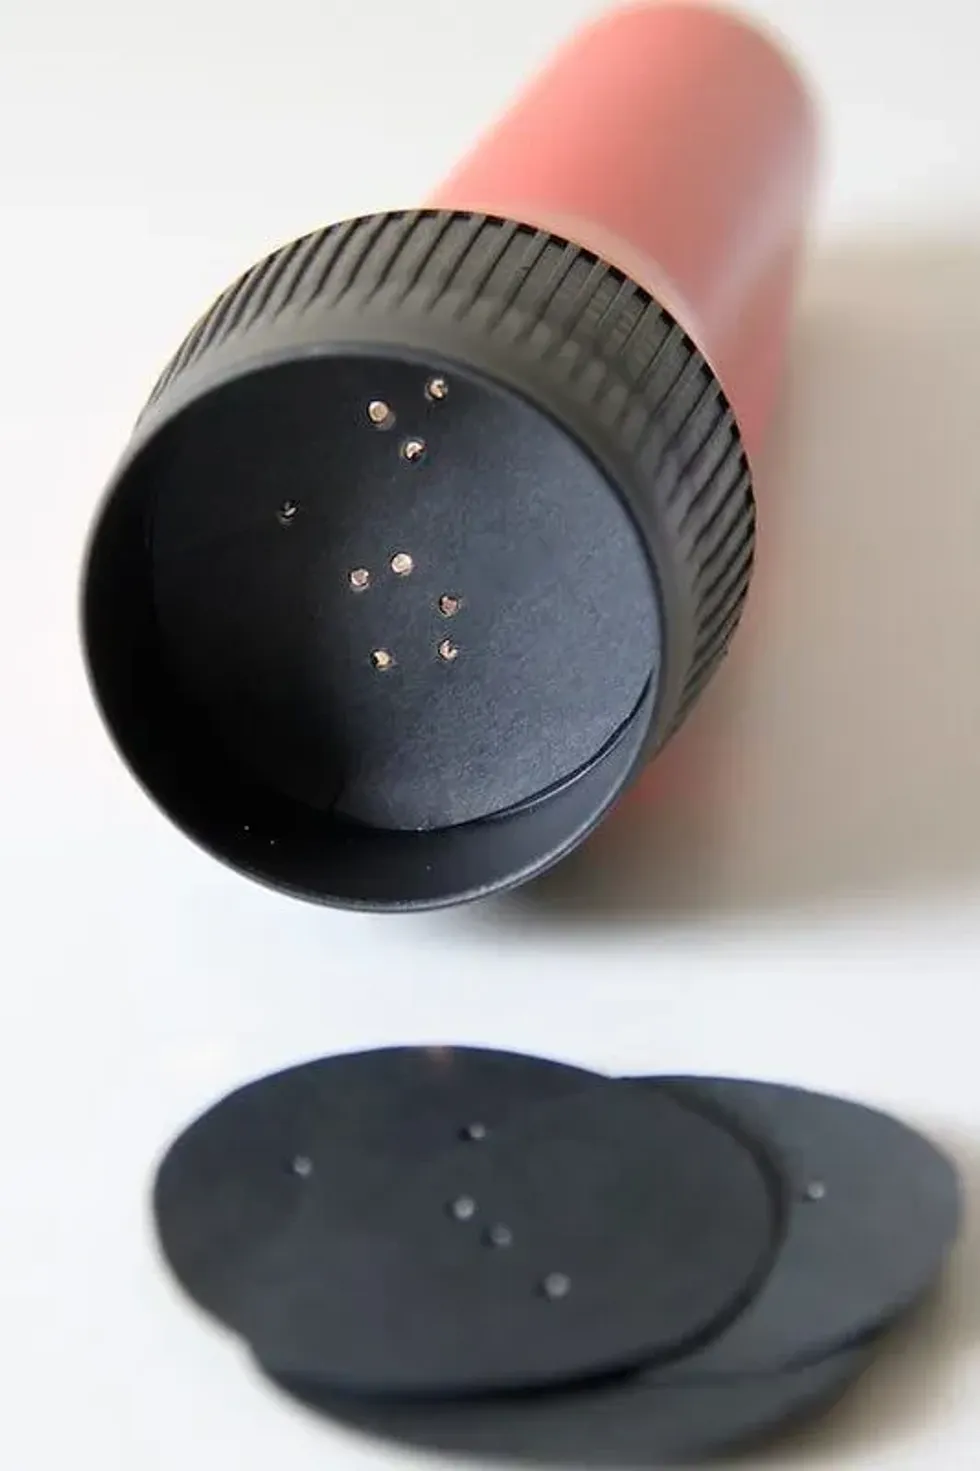
Image © Handmade Charlotte
You Need:
Torch
Black paper
Needle
Scissors
Method:
Trace around the end of your torch to make 5 circles, and cut out.
Pick your favourite constellations and draw the shape of each on each circle, and poke holes with the needle.
Place each individual disc on the front of the torch, and you can shine your constellations onto a wall!
Galaxy Play Dough
You Need:
Playdough
Black, purple and blue food colouring
Glitter
Method:
Split your playdough in two, and colour one-half black. With the other half, split again and colour some purple, and some blue.
Mix them all together so the colours swirl, and add glitter for a cool and easy galaxy craft that kids will love to play with!
If you enjoed this article and would like more fun crafts ideas, check out these awesome Space-Themed Crafts and Jedi Approved Star Wars Crafts.
We Want Your Photos!
More for You

An experienced Londoner, Emily loves to discover new and exciting places in the city, especially with her two younger brothers. She has a passion for fashion and design and is also involved in art charities that facilitate workshops for children with special needs and difficult home lives. Emily is a trained life coach and enjoys writing about general wellness, mindfulness, and healthy relationships.
Disclaimer
1) Kidadl is independent and to make our service free to you the reader we are supported by advertising. We hope you love our recommendations for products and services! What we suggest is selected independently by the Kidadl team. If you purchase using the Buy Now button we may earn a small commission. This does not influence our choices. Prices are correct and items are available at the time the article was published but we cannot guarantee that on the time of reading. Please note that Kidadl is a participant in the Amazon Services LLC Associates Program, an affiliate advertising program designed to provide a means for sites to earn advertising fees by advertising and linking to Amazon. We also link to other websites, but are not responsible for their content.
2) At Kidadl, we strive to recommend the very best activities and events. We will always aim to give you accurate information at the date of publication - however, information does change, so it’s important you do your own research, double-check and make the decision that is right for your family. We recognise that not all activities and ideas are appropriate for all children and families or in all circumstances. Our recommended activities are based on age but these are a guide. We recommend that these ideas are used as inspiration, that ideas are undertaken with appropriate adult supervision, and that each adult uses their own discretion and knowledge of their children to consider the safety and suitability. Kidadl cannot accept liability for the execution of these ideas, and parental supervision is advised at all times, as safety is paramount. Anyone using the information provided by Kidadl does so at their own risk and we can not accept liability if things go wrong.
3) Because we are an educational resource, we have quotes and facts about a range of historical and modern figures. We do not endorse the actions of or rhetoric of all the people included in these collections, but we think they are important for growing minds to learn about under the guidance of parents or guardians.

