Check Out This DIY Laptop Case Craft That Tweens And Teens Will Love

Gallery

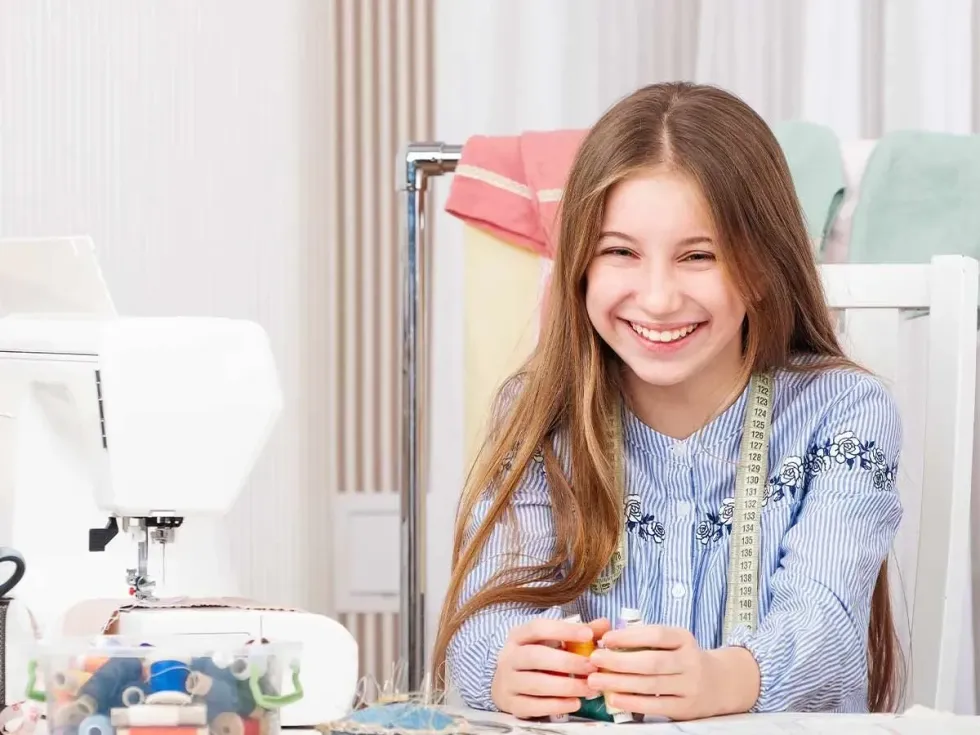
Image © user16172657, under a Creative Commons license.
Do you have a teen or tween at home with their own laptop?
Any screen time debates aside, we want that laptop to stay as good as new for as long as possible! Whether it's being used for homework, or catching up on the latest happenings on their favourite Netflix show, we have some solutions for keeping your big kid's laptop safe when it eventually gets put away.
With lockdown and a lot of homeschooling, you may wonder if kids even need a laptop sleeve. But, even for just storing at home, it never hurts to have a little extra padding just in case of bumps and knocks.
For cool laptop cases with some individual flair, DIY is the way to go. Below you will find some simple sewing projects and one DIY laptop sleeve that requires no sewing at all.
Check out our quick and easy sewing craft ideas below, with step by step instructions to find out how to make cute laptop cases from scratch.

Image © gorynvd, under a Creative Commons license.
Super Speedy Felt Laptop Sleeve
This laptop sleeve sewing tutorial is perfect for beginners, especially if you want to learn how to make a laptop case in no time at all. Choose a contrasting colour thread to your felt to make this DIY laptop sleeve really stand out.
Materials Needed: Around half a metre of felt (depending on the size of your laptop; you can find lots of colours here), a sewing machine, like this one, thread, scissors, chalk or a light coloured pencil, ruler, and two pieces of Velcro, about 2.5cm long.
Method:
1. To get your first fabric measurement, place your laptop on top of the felt, and make sure there is around 4cm of fabric around the edge as a seam allowance. You can use your ruler and chalk to mark this out. Cut two pieces of material this size.
2. Now take this initial measurement and add around 20cm, cut two more pieces of felt this size- this longer piece will fold over to create the flap to secure your DIY laptop case. Round off the edges of the rectangles to create the perfect shape.
3. Take your two smaller pieces, and sew them together along the top edge using a seam allowance of about 0.5cm. This will create a neat inside edge when you join the front and back of the laptop case together.
4. Now you can pin all four of the pieces of felt together, with the two smaller pieces on the front. Sew all the way around the outside of the case, joining the larger two pieces together at the same time. You can trim any wonky edges up to the stitch line to keep your laptop sleeve looking streamlined.
5. Mark where you would like your Velcro to go so that the inside of the top flap meets the right point on the main part of the case, you can sew these on or use super glue or a glue gun.
Alternatively you could sew a large button onto the main case and attach a loop of elastic or ribbon to the outside of the flap.

Image © freepik, under a Creative Commons license.
Leather Look Laptop Sleeve
This laptop computer case is super trendy, and you could use this same pattern to make a DIY clutch bag or a matching case for a Kindle or tablet. All of the materials are interchangeable, you just need something sturdy for the main fabric.
Materials Needed: Around half a metre of vinyl fabric (leather look/faux leather), a hole punch, ribbon of your choice (suede ribbon looks great), a magnetic fastening, fabric glue, chalk, a ruler, and scissors.
Method:
1. To get the measurement for the fabric, you will need double the length of your laptop, plus around 14cm on top of this to create the flap.
Use the chalk to mark the 14cm. Leave about 2cm around the edge, you do want it to be quite a snug fit. You should now have one large rectangle shape to cut out.
2. Measure 1cm in from the left and right sides of the vinyl, from below the 14cm mark which is going to be the flap. Fold the bottom of the fabric up to create the pocket where the laptop will fit. These two sides are where you will be punching the holes for the ribbon to go through.
3. If your hole punch can handle it, you can go through both layers at once- punch a hole every 0.5cm or every 1cm, just based on the size of your hole punch and how you want your case to look.
4. Now you can thread your ribbon through the holes down each side of the case, be careful not to pull too hard so that the vinyl bunches up, but you do want it to be secure.
You can either knot the ends or tuck them in and use fabric glue or even a hot glue gun to make sure it stays in place.
5. Attach your magnetic snap through the underside of the flap and on the top of the main case and you now have a particularly stylish new laptop bag.

Image © jcomp, under a Creative Commons license.
Last Minute Laptop Bag
This is without a doubt the quickest way to make a laptop bag, no sewing required and although you do need a hoodie- don't worry because it will still be totally wearable after you transform it into a case for your laptop. All it takes is some clever folding and you've got an amazing last minute DIY laptop case.
Materials Needed: A hoodie- that's it!
Method:
1. Lay your hoodie on a flat surface, with the front facing you.
2. Place your laptop in the middle of the hoodie, and fold the bottom of the hoodie over the top of the laptop and tuck in the sides.
3. Now pull the hood down and completely cover the laptop so it fits snugly around all sides.
4. Flip the whole thing over, and tie the strings of the hoodie to secure the back of the laptop.
5. Take the sleeves and either tie in a tight knot near the wrists to make a carrying strap, or tie them together close to the laptop for extra security, and you're done!
Top Tips
If your kids already have a cool laptop case but it could do with a bit of an upgrade, why not check out some more sewing crafts to see what could be added to it?
Iron on patches like these ones are really easy to apply, or you can get fabric paint that puffs up or glows in the dark to paint on. For more sewing ideas, you could embroider a laptop bag you already have, or use it as a base and totally re-cover it in a new fabric.
Within no time you could have a totally new bag for any laptop!


We Want Your Photos!
More for You


See All
Bachelor of Arts specializing in Fashion/Apparel Design
Amy LinesBachelor of Arts specializing in Fashion/Apparel Design
With a degree in Fashion Design from Falmouth University, Amy has a passion for textiles, tiles, art, ceramics, and houseplants which she enjoys filling her beautiful home in Hampshire with. She also has a keen interest in infant and child sleep patterns and mindfulness for adults and children, inspired by her energetic and chatty three-year-old daughter. When not exploring the outdoors, Amy can be found painting, knitting, and dancing at home.
Disclaimer
1) Kidadl is independent and to make our service free to you the reader we are supported by advertising. We hope you love our recommendations for products and services! What we suggest is selected independently by the Kidadl team. If you purchase using the Buy Now button we may earn a small commission. This does not influence our choices. Prices are correct and items are available at the time the article was published but we cannot guarantee that on the time of reading. Please note that Kidadl is a participant in the Amazon Services LLC Associates Program, an affiliate advertising program designed to provide a means for sites to earn advertising fees by advertising and linking to Amazon. We also link to other websites, but are not responsible for their content.
2) At Kidadl, we strive to recommend the very best activities and events. We will always aim to give you accurate information at the date of publication - however, information does change, so it’s important you do your own research, double-check and make the decision that is right for your family. We recognise that not all activities and ideas are appropriate for all children and families or in all circumstances. Our recommended activities are based on age but these are a guide. We recommend that these ideas are used as inspiration, that ideas are undertaken with appropriate adult supervision, and that each adult uses their own discretion and knowledge of their children to consider the safety and suitability. Kidadl cannot accept liability for the execution of these ideas, and parental supervision is advised at all times, as safety is paramount. Anyone using the information provided by Kidadl does so at their own risk and we can not accept liability if things go wrong.
3) Because we are an educational resource, we have quotes and facts about a range of historical and modern figures. We do not endorse the actions of or rhetoric of all the people included in these collections, but we think they are important for growing minds to learn about under the guidance of parents or guardians.