Easy Ways To Make Your Own DIY Sensory Touch Book


Gallery
Sensory Touch Books are a great way to help your baby's and toddler's development.
Engaging your little ones in sensory play has been proven to help language and cognitive development and help your child's ability to complete more complex learning task later in life. A sensory touch book is a must-have addition to your baby's toy box.
Use these easy tip to create your own DIY book for your kids to touch and feel to their heart's content. Or make them as a great gift for your friends with young kids.
Tips and Tricks for Your DIY Book
The most important part of the sensory book is exploring with different textures to simulate sensory boards. Some of the best materials that you can use are felt, bubble wrap, velvet, mesh, foam, feathers and even 3D objects like buttons and beads.
There are lots of different ways to construct your books - some will require just cardboard and glue to stick your materials down, others will consist of sewing things or even using velcro. It is up to you what you are comfortable making.
Feel free to mix and match the following ideas to make your touch book sensory personalised for your child.
Remember that while these are a great tool to young children's development they are also perfect gifts for children with special education needs or even visually impaired children as a leisure activity or to help support their literacy development.
Add a Splash of Colour
The easiest theme to make sensory books is in colours.
Dedicating each page to a different colour will help your child recognise colours and learn about them in a fun and interactive way.
Like all the other sensory books the most important thing is to explore different textures in each page and to ensure you have a good range of feels for each one.
You should also try to include the name of the colour in 3D letters on each page as well so that your child is learning the name for colours as well as how to recognise them.
This is also a perfect theme for visually impaired children as it will be an intense amount of colour and they can combine their impaired sight with their enhanced sense of touch and feel to help with learning the names and recognising colours.
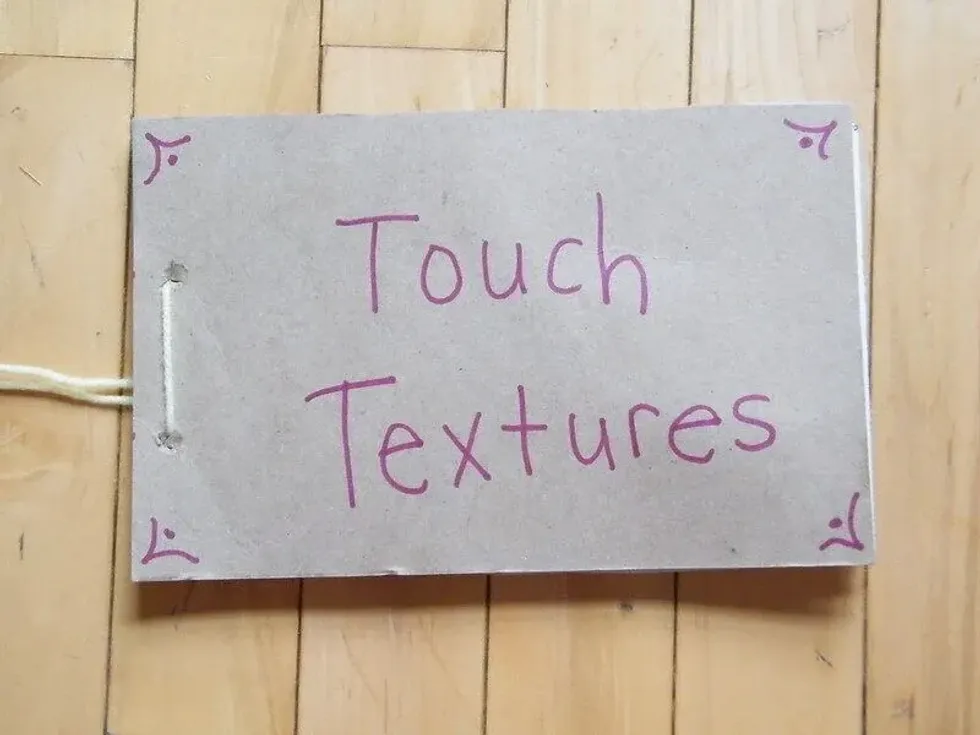
- Use cardboard to create the pages of your book. Try to make them smaller and even square to suit your baby's or toddler's need rather than trying to make them A4 sized. Also the less free space you have per page the better as it should be jam-packed with sensory goodness.
- Hole-punch or cut out circles on each cardboard page and attach them together with treasury tags, string or even metal hoops (if you have them).
It is up to you how many pages you use for your sensory touch book but I would advise doing at least 6 for the colour themes to cover your primary (red, blue, yellow) and secondary (purple, orange, green) colours for your child to learn.
You could also categorise them by the colours of the rainbow (red, orange, yellow, green, blue, indigo, violet) and sort it that way.
- You can use Pritt stick or PVA glue to attach your materials to your cardboard pages but try to avoid superglue as this could be harmful to your children if it gets on their skin and isn't dry properly. Also, Pritt stick and PVA is very child friendly in case of accidental eating while superglue may not be.
- Then fill each page with any coloured materials that you can find.
You can use recycled goods like food packaging, bottle lids and fruit mesh bags and other craft things such as felt, feathers, buttons, foam and other things you have access to. Try to range between soft and hard materials to get the most out of your sensory boards.
Try cutting the letters for each colour out of felt or other materials stuck to cut out cardboard so that the letters are slightly raised (especially important for visually impaired kids)
Remember that your sensory books don't need to be able to close so you can add as much as you like to each page.

Now I Know My ABC...
The alphabet is also another perfect theme for sensory books as this can help with language development and learning in your DIY book with textures sensory.
This could be a fun way for your toddlers to enhance their learning for just a good baby sensory book for your child to grow up with.
The assembling of this book is the easiest to do as the same as the colour-themed one but exchange the themes of the pages for letters instead of colours.
You could either allow one page per letter and just have the letter itself cut out of a particular material, changing from page to page, or you could dedicate the page to a letter by adding cut out shapes of things that start with that letter (e.g.
A is for Apple, Ant, Arrow, Axe, etc.).
For extra activities for your older toddlers, you could attach the letters to the book with velcro and get your child to practise putting them back in the right place - like a puzzle.
The Animals Went in Two by Two

This textures sensory book could combine your child's love for animals and fun while they touch and feel the different textures of the animal cutouts.
If you are really creative you could sew these animals into a book with old materials, e.g old clothes, sheets, pillowcases and even toilets, and make a 2D sensory book with a few added 3D elements.
The idea of a touch book is to engage your child in sensory play whether that is exploring with different materials or just having a quiet book that is also fun to put their hands on.
This is a helpful tutorial to sewing a fabric sensory book and you can use animal templates to make your animal shapes out of fabric.
Alternatively, you can use the same method as the other two books and create animal shapes and glue them on cardboard.
Buttons, Zips and So Much More

A really fun idea for making a touch and feel book sensory is giving your children activities to do within their quiet book. Young children are often fascinated by zips, buttons or anything else that clasps your clothes together, so why not give them the freedom to play.
Use old clothes to cut the zips off and stick them into your child's textures sensory book.
You can also use old or new buttons and create tabs with holes in them for your child to button and unbutton as many times as they want.
Help your kids learn how to tie shoelaces by adding two flaps of fabric with holes in them and threading an old shoelace through them. Find any clasps you can like clippers, velcro and carabiners - the options are entirely endless.
Looking for More Themes? Try These:
Patterns
Shapes
Fruit
Farm
Modes of Transport
Nature
And so much more...


We Want Your Photos!
More for You


See All
A London native with a passion for theater and music, Josie loves nothing more than getting lost in the vibrant world of the West End. With her family by her side, she can be found dancing to her favorite musicals and discovering new hidden gems across the city. Her older sister is a great resource for vegan dining recommendations, and Josie is always excited to explore new culinary adventures. When not in a theater seat or sampling new cuisine, she loves to visit the Victoria Palace Theatre and take in the sights and sounds of Borough Market.
Disclaimer
1) Kidadl is independent and to make our service free to you the reader we are supported by advertising. We hope you love our recommendations for products and services! What we suggest is selected independently by the Kidadl team. If you purchase using the Buy Now button we may earn a small commission. This does not influence our choices. Prices are correct and items are available at the time the article was published but we cannot guarantee that on the time of reading. Please note that Kidadl is a participant in the Amazon Services LLC Associates Program, an affiliate advertising program designed to provide a means for sites to earn advertising fees by advertising and linking to Amazon. We also link to other websites, but are not responsible for their content.
2) At Kidadl, we strive to recommend the very best activities and events. We will always aim to give you accurate information at the date of publication - however, information does change, so it’s important you do your own research, double-check and make the decision that is right for your family. We recognise that not all activities and ideas are appropriate for all children and families or in all circumstances. Our recommended activities are based on age but these are a guide. We recommend that these ideas are used as inspiration, that ideas are undertaken with appropriate adult supervision, and that each adult uses their own discretion and knowledge of their children to consider the safety and suitability. Kidadl cannot accept liability for the execution of these ideas, and parental supervision is advised at all times, as safety is paramount. Anyone using the information provided by Kidadl does so at their own risk and we can not accept liability if things go wrong.
3) Because we are an educational resource, we have quotes and facts about a range of historical and modern figures. We do not endorse the actions of or rhetoric of all the people included in these collections, but we think they are important for growing minds to learn about under the guidance of parents or guardians.