4 Fun Anglo-Saxon Craft Ideas (KS2)


Gallery
As a part of the History curriculum, your children will focus on the settlements of Britain spanning hundreds of years, lastly looking at Anglo-Saxon history.
This is where Kidadl come in- we are here to bring this world to life. What better way to learn than to bring Anglo-Saxon culture to your very own kitchen? With these creative craft ideas you can inspire educational discussion and have fun at the same time, learning some Anglo-Saxon facts along the way!
Who Were The Anglo-Saxons?
The Anglo-Saxon settlers arrived in 'Angle-Land' in the 5th Century. The Romans had just left Britain and these settlers were quick to sail across the North Sea and take their place in England.
These settlers originated from a variety of places, but the three largest tribes were the Saxons, the Angles and the Jutes. This is why we refer to them as the 'Anglo-Saxons' today.
They remained in England for hundreds of years and had a great impact on the country. The language, culture and art that we enjoy today have been influenced by Anglo-Saxons in many ways we probably never realised.
What Did The Anglo-Saxons Create?
The Anglo-Saxons were extremely skilled people. They made their own clothes, food and tools.
The metalworkers would make the knives and swords, jewellers would make brooches and bracelets and the builders made houses for the settlers. So, why not check out the list of activities below to take you back to 450 AD, with everything you could need to become an Anglo-Saxon!
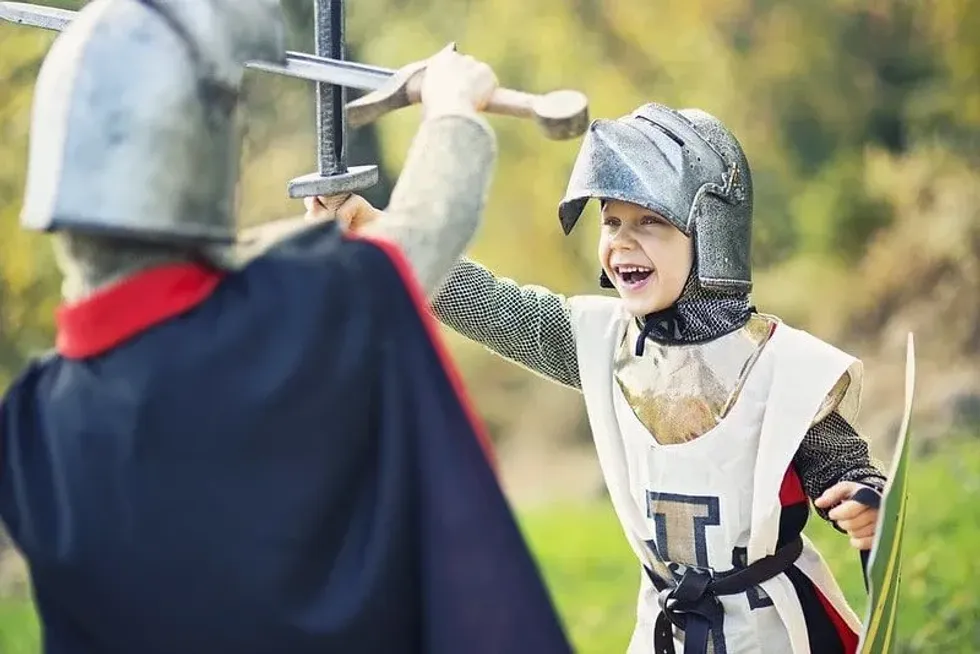
Make Your Own Helmet
These settlers were often at battle, and this required plenty of protection. This included a shield, sword and helmet for each of the soldiers.

You will need:
Cardboard.
Paint.
Masking tape.
Glue.
Gold paint.
Method:
1.Measure a strip of cardboard 5cm wide and long enough to fit around the circumference of your head.
2.Cut two strips 5cm wide and long enough to go over the top of the head (but make one strip longer than the other, so it goes beyond the headband). Stick in a '+' shape and attach to headband.
3.The longer strip will be the nose piece. Tape over the whole mask to make sure there is no cardboard visible.
4.Draw out two horn shapes. Cut these out to stick on to the helmet. At the bottom of the horns, make sure you draw a curved edge that follows the hat shape, so they can be stuck onto the side.
5.Stick these horns on to the helmet.
6.Leave these to dry. Paint the bottom of the horn black, and the top of the horn white. Paint the rest of the helmet grey, to look like metal, or brown for an old looking effect.
Your helmet is ready - perfect for an Anglo-Saxon costume or simply to wear around the house, but definitely not to fight in!
Make Your Own Cakes
This activity makes your very own Anglo-Saxon honey oat cakes. Anglo-Saxons grew a lot of wheat, barley and rye, which they used to make cakes and bread, which even the Kings would have eaten!

You will need:
250g porridge oats.
125g unsalted butter.
50g chopped dried apricots.
4 heaped tbsp runny honey.
1tsp ground cinnamon.
Method:
Before you start, pre-heat the oven to 180o C - remember to keep little hands away from the hot oven throughout!
1.In a mixing bowl, mix together the honey, oats, cinnamon and dried fruit.
2.Alongside this, in a saucepan, melt the unsalted butter. Once melted, take it off the heat and pour into the mixing bowl with the other ingredients.
3.Carefully stir everything together until it is all mixed completely.
4.Place baking paper on a baking tray, then put 12 spoonfuls of the mixture onto the tray. Flatten them gently to make a round, circular shape.
5.Place in the oven and cook for 10-12 minutes. Once cooked, leave them to cool.
Drizzle some extra honey over the top and feast on these biscuits like an Anglo-Saxon ruler!
Make Your Own Brooch
Anglo-Saxon women used to wear these on each shoulder to pin together their dresses, so they had to be very decorative. The women loved their jewellery! This activity is the perfect way to create some of the clothes many women and young girls would make.
You will need:
Pencil.
Scissors.
Card.
Tin foil (or gold embossing foil if you have it).
Safety pin.
Jewels (optional) .
Method:
1.Carefully cut out one square of card, and in the centre, draw a circle. You can choose the size.
2.Cut this out. Then draw around this circle onto tin foil, and cut a piece that is the correct shape.
3.Stick the tin foil on to the cardboard, so you have a shiny silver or gold circle. (If you have gold embossing foil, replace the tin foil with this.)
4.Once you have done this, using a sharpened pencil, draw a pattern on to the foil. Every brooch was different so be inventive! Just be careful not to rip the tin foil. Only press gently to make the patterns.
5.You can then stick jewels to the tin foil to add an extra sparkle.
6.After this, your brooch is almost done. Stick the safety pin to the back with tape or glue, but make sure it is very well secured so you can use it!
Your brooch is ready! Children will need help and supervision with their new brooch due to the sharp pin used to make it.
Make Your Own Rag Doll
Anglo-Saxon children played with homemade toys that their parents made. When they weren't farming or cooking, children would play with spinning tops and rag dolls. Why not make an easy peg rag doll to play with like the Anglo-Saxon children did?

You will need:
Wooden Peg .
Material/fabric
Coloured pens.
Clear nail varnish (optional).
Wool.
Ribbon.
Scissors.
Pipe cleaners.
Method:
1.(Optional) Paint the head of the peg with clear varnish before drawing on the face to prevent the pens from bleeding. Then allow to dry.
2.With pens, draw a face onto the dolls peg head, Then, cut strands of wool for the hair whichever length you would like, and stick them to the head to make their hair.
3.Then, draw a circle on your piece of fabric (use the bottom of a mug as a guide) to create the clothes. Then carefully cut the circle out. For an Anglo-Saxon effect, stick with dark materials such as brown, white and grey, but you can use whatever you would like!
4.Fold this circle into quarters and cut a small slit in the centre to use as the skirt. Push the peg through this hole and glue all the way around the edge to make sure it sticks.
5.Using left over material, wrap this around the top of the peg to make a top. Secure this with glue and make sure it dries completely before using the peg doll.
6.Tie a ribbon around the middle of the peg if you would like, to hide the top of the skirt and to make sure it remains secure. If you would like arms for your rag doll, you can use pipe cleaners to create hands and arms.


We Want Your Photos!
More for You


See All
Bachelor of Arts specializing in English Literature
Grace LeaBachelor of Arts specializing in English Literature
The oldest of three sisters, she was born in Portsmouth but currently studying at the University of Birmingham. With a 13-year age gap between her and her youngest sister, she enjoys finding activities that will make her the cool big sister. In her free time, she is an avid reader, writer, and has her own show on the university radio.
Disclaimer
1) Kidadl is independent and to make our service free to you the reader we are supported by advertising. We hope you love our recommendations for products and services! What we suggest is selected independently by the Kidadl team. If you purchase using the Buy Now button we may earn a small commission. This does not influence our choices. Prices are correct and items are available at the time the article was published but we cannot guarantee that on the time of reading. Please note that Kidadl is a participant in the Amazon Services LLC Associates Program, an affiliate advertising program designed to provide a means for sites to earn advertising fees by advertising and linking to Amazon. We also link to other websites, but are not responsible for their content.
2) At Kidadl, we strive to recommend the very best activities and events. We will always aim to give you accurate information at the date of publication - however, information does change, so it’s important you do your own research, double-check and make the decision that is right for your family. We recognise that not all activities and ideas are appropriate for all children and families or in all circumstances. Our recommended activities are based on age but these are a guide. We recommend that these ideas are used as inspiration, that ideas are undertaken with appropriate adult supervision, and that each adult uses their own discretion and knowledge of their children to consider the safety and suitability. Kidadl cannot accept liability for the execution of these ideas, and parental supervision is advised at all times, as safety is paramount. Anyone using the information provided by Kidadl does so at their own risk and we can not accept liability if things go wrong.
3) Because we are an educational resource, we have quotes and facts about a range of historical and modern figures. We do not endorse the actions of or rhetoric of all the people included in these collections, but we think they are important for growing minds to learn about under the guidance of parents or guardians.