How To Make A Brooch: A Simple Step By Step Guide


Gallery
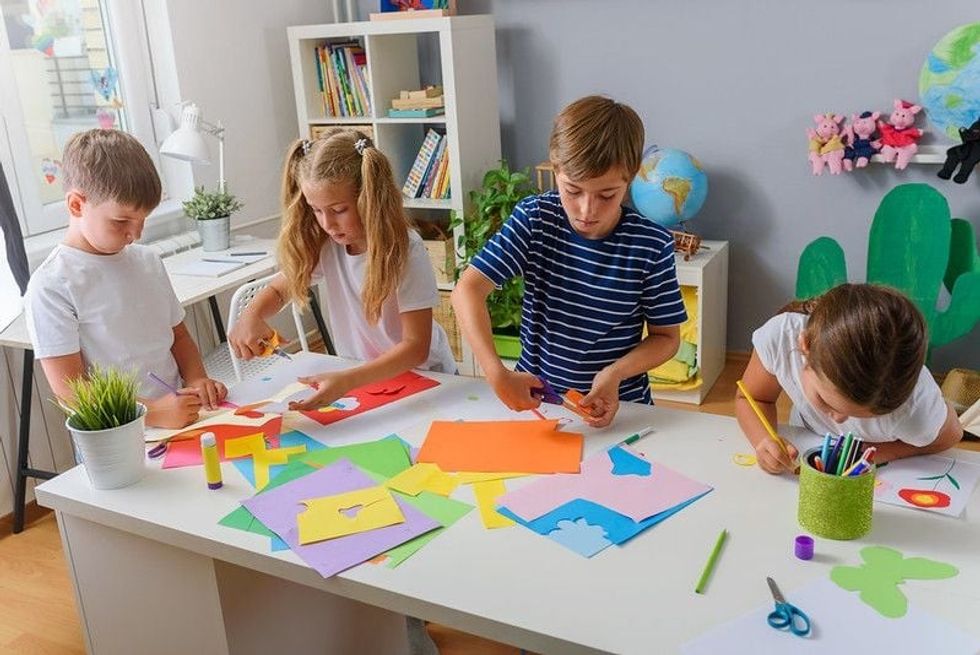
Image © Pexels.
Brooches are a timeless and stylish fashion accessory that you pin to your clothing for an extra sparkle or pop of colour. Making your own brooch is a cool and creative craft project for any child or tween.
Handmade brooches are also great gift ideas for any loved one, and make for wonderful presents for friends and family. Whether you want to make a more delicate fabric flower brooch or stand out with a truly unique design, this great guide to brooch making will definitely come in handy.
Check out Kidadl's ultimate guide to learn how to make your own flower-inspired brooch below.
Did You Know? Brooches first appeared in Denmark thousands of years ago, and have remained popular ever since.
Materials
Two pieces of fabric. These don't have to be the same type of fabric, and they can be different colours, too.
Scrap piece of felt
Scissors
Pencil
Button
Thread
Needle
Fabric glue or craft glue
Brooch pin (you can find these a craft store)
Top Tip: If you don't have a brooch pin, a safety pin will work just as well for the back of your brooch.
Step By Step Guide To Making Flowery Fabric Brooches
1.Cut or fold your first piece of fabric of your choosing, so there are 4 layers on top of one another.
2.Using your pencil, lightly sketch the outline of a big flower shape on the top layer. You can be creative here - the shape of your flower petals could be rounded, pointed or even heart shaped!
3.Repeat steps one and two on the second piece of fabric. For a polished look, try drawing a similar flower shape to your big flowers. If you want a more original look, why not try a different flower shape?
4.Cut out your flowers. You should have eight in total.
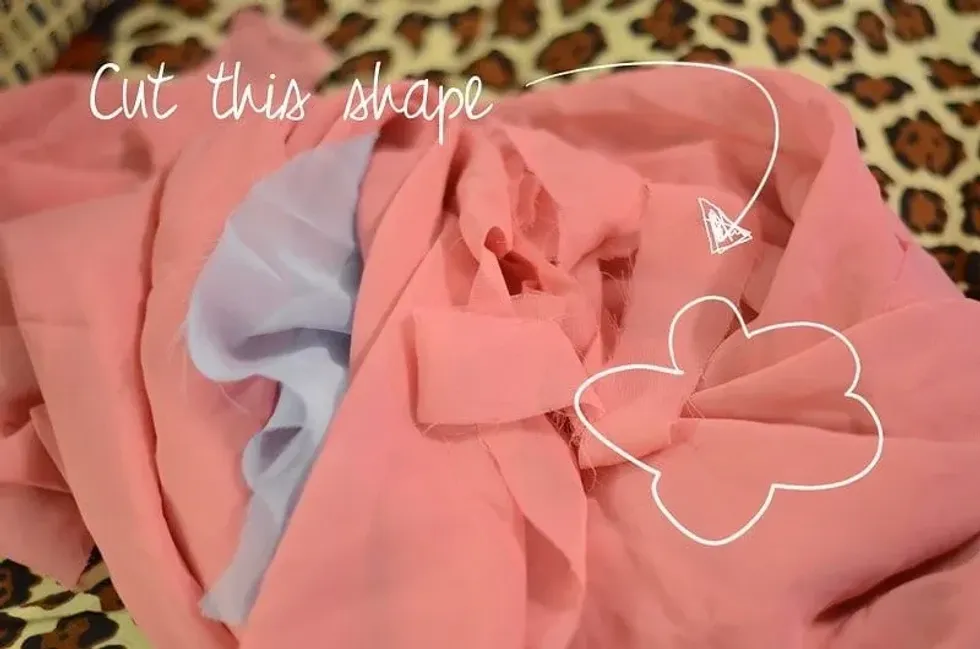
Image © Stacie under Creative Commons License
5.Place the big and small flowers on top of one another so that the petals sticking out of one layer fill in the gaps where there are no petals in the other layers.
6.Carefully thread your needle. Use your pencil to draw a small square shape at the centre of your flower.
Write the number 1 at the top left corner, 2 on the bottom right corner, 3 on the bottom left corner and 4 on the top left corner. Pierce the fabric with your needle from underneath at point 1, so the thread goes through, then pierce it back into the fabric at point 2.
Then, pierce the fabric from underneath at point 3, and back through it at point 4. This will create a cross stitch.
7.Turn your flower around. Tug your thread so it is nice and taut and make the loose end of the thread into a sturdy double (or even triple) knot. Cut off the last bit of thread attached to the needle.
8.Cut out a small thin rectangle or oval from your scrap felt. Use your craft glue or fabric glue to stick this to the back of the flower, where the fabric pulls in at the back.
9.Use your glue to stick the thick side of the brooch pin to the felt. Make sure it is very firmly attached. If you are more experienced at sewing, you could sew the brooch pin on, making use of the small ring shaped holes in the brooch pin.
10.Glue your button in the middle of your flower, and your brooch is complete.
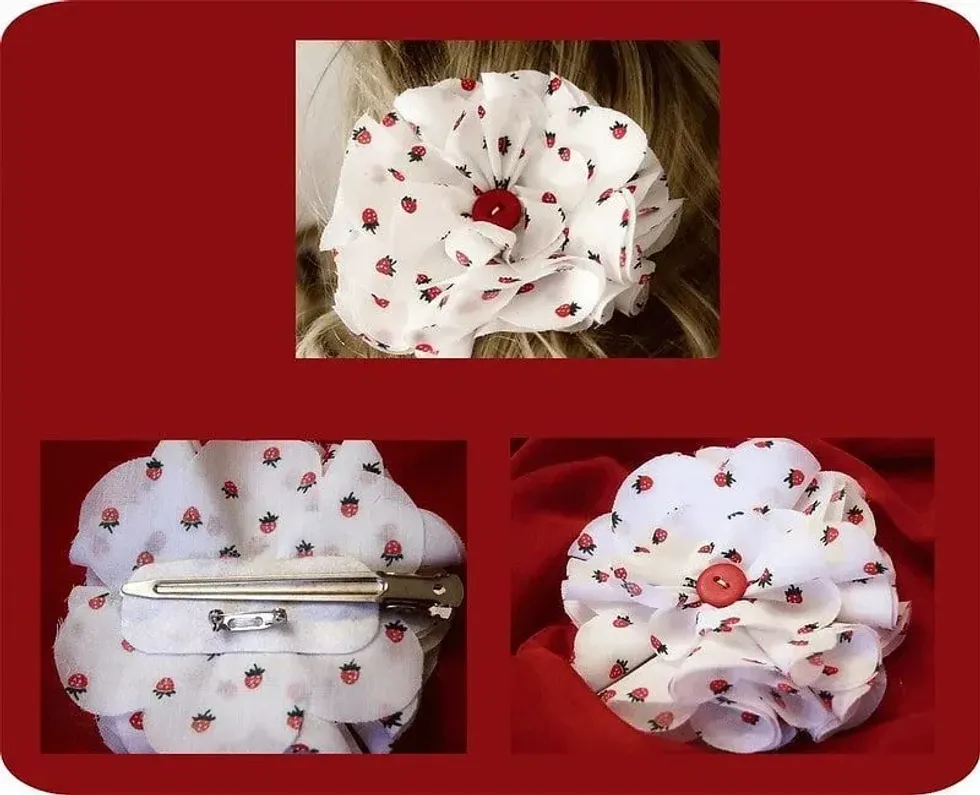
Image © LaurenBeth Collins under Creative Commons License
Extra Tips
Stick a large gem or some rhinestones or sequins in the centre of your flower instead of a button if you want a sparkly, more glamorous look.
For an authentic look, you could choose to copy a real flower - use pink or red fabric and draw softly rounded petals for a rose, or use bright yellow fabric and add an orange button in the middle inspired by a daffodil. For a more unique look, simply pick any fabric you like.
You could even design your own original shapes for flower petals!
Why not try this method for making a flowery brooch for making a statement hair clip, or hairband. Simply follow these instructions, and attach to a plain clip, or hairband instead of a brooch pin.


We Want Your Photos!
More for You


See All
Bachelor of Arts specializing in History
Mia ShindlerBachelor of Arts specializing in History
Originally from London, Mia has a Bachelor's degree in History from Durham University and loves to explore the city's museums and historical landmarks with her family and younger siblings. As a child, she was an avid reader of historical mysteries, particularly the 'Lady Grace Mysteries' by Patricia Finney. In her free time, Mia enjoys discovering new restaurants, theaters, and parks in the city, always on the lookout for exciting things to do.
Disclaimer
1) Kidadl is independent and to make our service free to you the reader we are supported by advertising. We hope you love our recommendations for products and services! What we suggest is selected independently by the Kidadl team. If you purchase using the Buy Now button we may earn a small commission. This does not influence our choices. Prices are correct and items are available at the time the article was published but we cannot guarantee that on the time of reading. Please note that Kidadl is a participant in the Amazon Services LLC Associates Program, an affiliate advertising program designed to provide a means for sites to earn advertising fees by advertising and linking to Amazon. We also link to other websites, but are not responsible for their content.
2) At Kidadl, we strive to recommend the very best activities and events. We will always aim to give you accurate information at the date of publication - however, information does change, so it’s important you do your own research, double-check and make the decision that is right for your family. We recognise that not all activities and ideas are appropriate for all children and families or in all circumstances. Our recommended activities are based on age but these are a guide. We recommend that these ideas are used as inspiration, that ideas are undertaken with appropriate adult supervision, and that each adult uses their own discretion and knowledge of their children to consider the safety and suitability. Kidadl cannot accept liability for the execution of these ideas, and parental supervision is advised at all times, as safety is paramount. Anyone using the information provided by Kidadl does so at their own risk and we can not accept liability if things go wrong.
3) Because we are an educational resource, we have quotes and facts about a range of historical and modern figures. We do not endorse the actions of or rhetoric of all the people included in these collections, but we think they are important for growing minds to learn about under the guidance of parents or guardians.