How To Make An Origami Eagle

Jade Scott
Dec 12, 2023 By Jade Scott
Originally Published on Sep 11, 2020
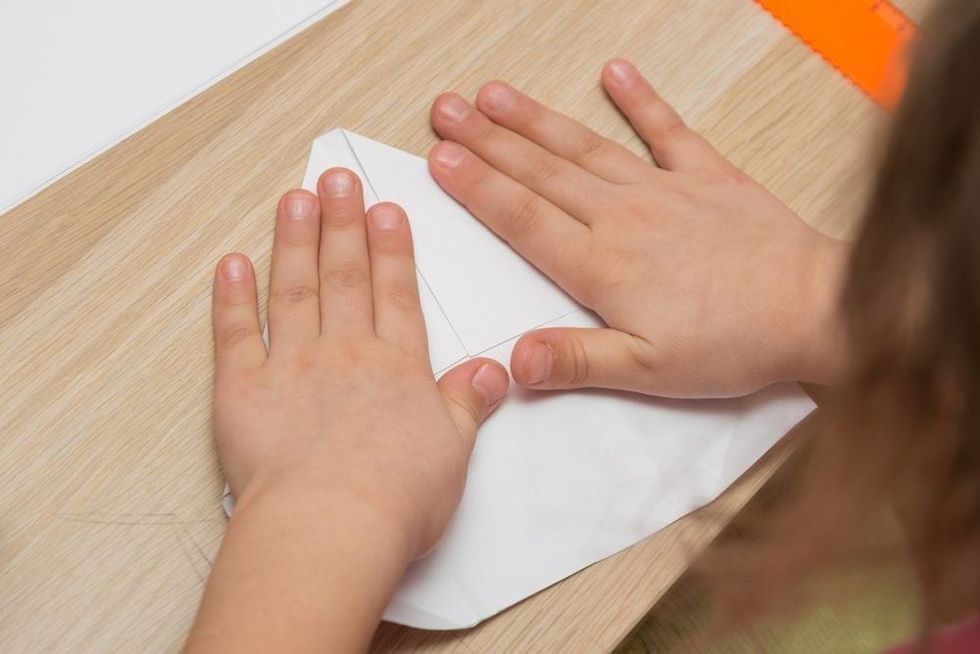
Girl is engaged in origami.
?
Age: 0-99
Read time: 3.5 Min

Origami, derived from the Japanese 'ori' meaning folding and 'kami' meaning paper, consists of folding a single sheet of paper to make decorative shapes and figures.

Animals are popular models to make, and origami birds such as the crane, crow and swan are among the most simple and most common.

There are numerous intricate origami tutorials online that teach you how to make a bald eagle, but we have created a simplified version for this paper bird tutorial that is ideal to do with kids for a fun, easy and mess-free craft.


Equipment

As with most origami animals, all you need to make an origami American eagle is a single sheet of square origami paper, approximately 21x21cm. We recommend using brown coloured paper, but really you can use any colour that you like.

Make An Origami Eagle

1) To begin making your simplified version of an American eagle, you must start with the coloured side of your origami paper facing up. Fold your paper in half vertically, open, then fold it in half horizontally, and open again.

2) Take the top right corner and fold to meet the bottom left corner. Crease well and unfold. Repeat but with the opposite corners.

3) Fold each of the corners into the centre of the paper then rotate your paper 45 degrees.

4) Take the bottom edge of the left hand triangle and fold it back to meet the edge of the paper. Unfold and do the same with the top edge of the triangle. Unfold and then pinch the centre line of the triangle and fold it upward on itself. This should create a triangle flap.

5) Rotate your model 90 degrees and do the same thing but this time, after pinching the centre line, fold the triangle downwards.

6) Rotate your model 180 degrees. Fold your model in half along the horizontal centre crease so that the two large triangles are facing you.

7) Take the top layer and fold it up, making a horizontal crease that is in line with the points of the flaps behind.

8) Fold your model in half, pushing the left hand side behind.

9) Take the top diagonal edge of your origami model and fold it to meet the left horizontal edge.

10) Next, flip your paper over and fold the bottom corner up to meet the top corner. You should have an origami shape that looks like a simple origami bird with a head, tail and wings pointing directly up.

11) Flip your model over and orientate so that thin, pointed triangle, which will become the head, is facing up. Fold back the triangle flap towards the bottom of the model and repeat on the other side.

12) Keeping the left corners pressed together, open your model slightly and fold in the corners behind the flaps. Take the corner of the front flap and fold it to meet the horizontal edge of the body of your origami eagle. Repeat on the other side.

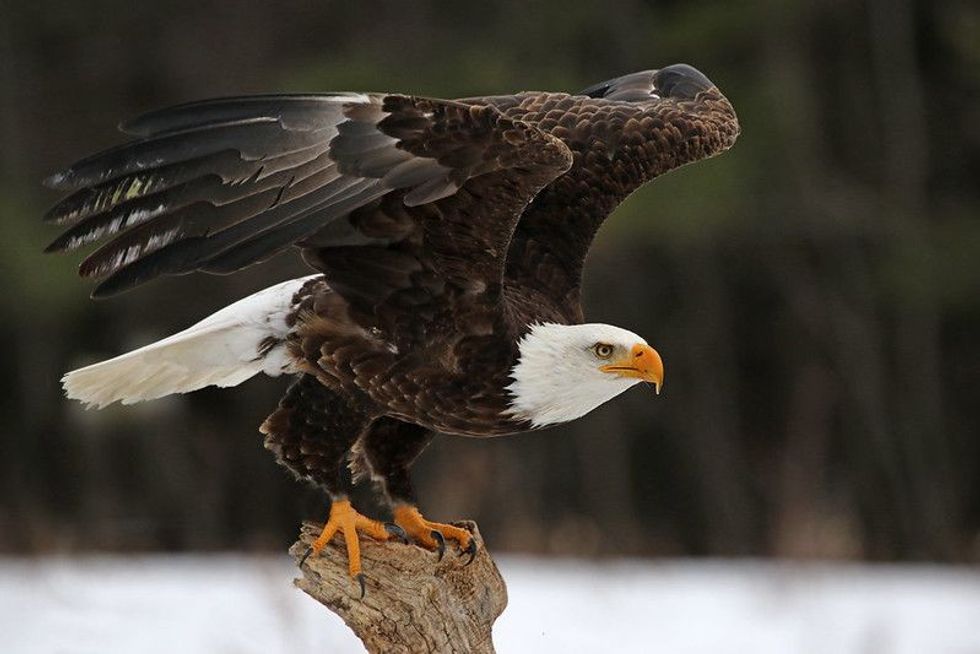
Eagle ready to take off.

13) Open each of the folds you have just done slightly and reverse fold in on themselves so that a small piece is left sticking out. These will create the claws of your origami eagle.

14) Take the head portion of your origami eagle and fold it towards you, creasing well. Lift back up, open slightly and then reverse fold in on itself twice to create the beak of your bald eagle.

15) Fold down the top front corners of the head of your origami eagle slightly to create eyes and then finally, curve in the wings to give it the look of motion. Your eagle origami is complete.

Tips And Tricks

To make step seven easier, you can use a pencil to mark on the top layer where the points of the flaps sit.

Use feathers and yellow coloured card to add to your origami eagle and make it more lifelike.

If you want to tie this craft into your child's homework, why not make an origami eagle as part of learning about America? It could spark a discussion about why the country has the eagle as a symbol.

We Want Your Photos!

We Want Your Photos!

Do you have a photo you are happy to share that would improve this article?
Email your photos

More for You

See All

Written by Jade Scott

Master of Science specializing in Criminal Investigation, Criminal Justice/Police Science, PCGE in Primary Education, Professional Diploma in User Experience Design

Jade Scott picture

Jade ScottMaster of Science specializing in Criminal Investigation, Criminal Justice/Police Science, PCGE in Primary Education, Professional Diploma in User Experience Design

Hailing from London, Jade now calls Lincolnshire home and enjoys the serene countryside that surrounds her. She has a wealth of experience as a primary school teacher, possessing a strong understanding of the curriculum, games, activities, and learning opportunities for children aged between 3-11. Jade is constantly on the lookout for new outdoor adventures and educational attractions to share with her two nephews. Her interests in science and crafts also enable her to provide fun, engaging, and educational activities for children to enjoy on rainy days. With a passion for discovering new experiences, she is always seeking out the latest deals and attractions to ensure a memorable time for all.

Read full bio >