How To Make Origami Stars For Cute Decorations


Gallery

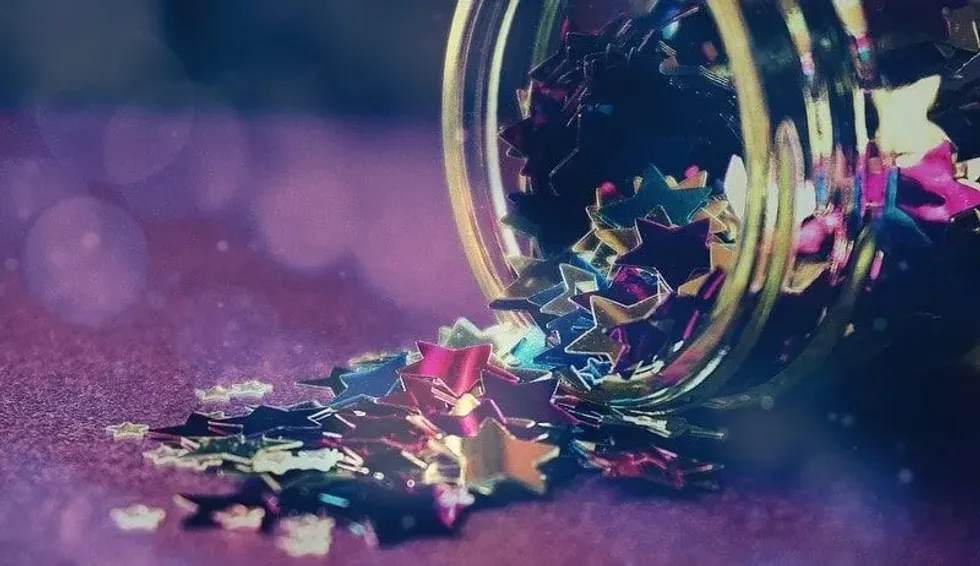
Image © Sanga Park.
This origami tutorial will show you how to make a paper star, perfect for Christmas or maybe even a bedroom decoration.
There are so many different types of origami stars that you can make. Our paper star instructions will tell you how to make a 5 pointed star.
Origami is the art of folding paper to create either 2D or 3D shapes. The word comes from the Japanese oru 'to fold' and kami 'paper'.
Traditionally origami is created from a single sheet of square paper but you can use any number of shapes and sizes to create your masterpiece. There are some easy origami shapes that can be made as well as some more difficult ones. Some people compete to see who can make the most complex shapes.
There is special origami paper which is preferable to use when doing origami, but it's not essential. Origami paper is thinner and provides sharp lines and corners. It comes in all sorts of colours and patterns, perfect for making decorations which could be used to decorate a bedroom, party or your house at Christmas.
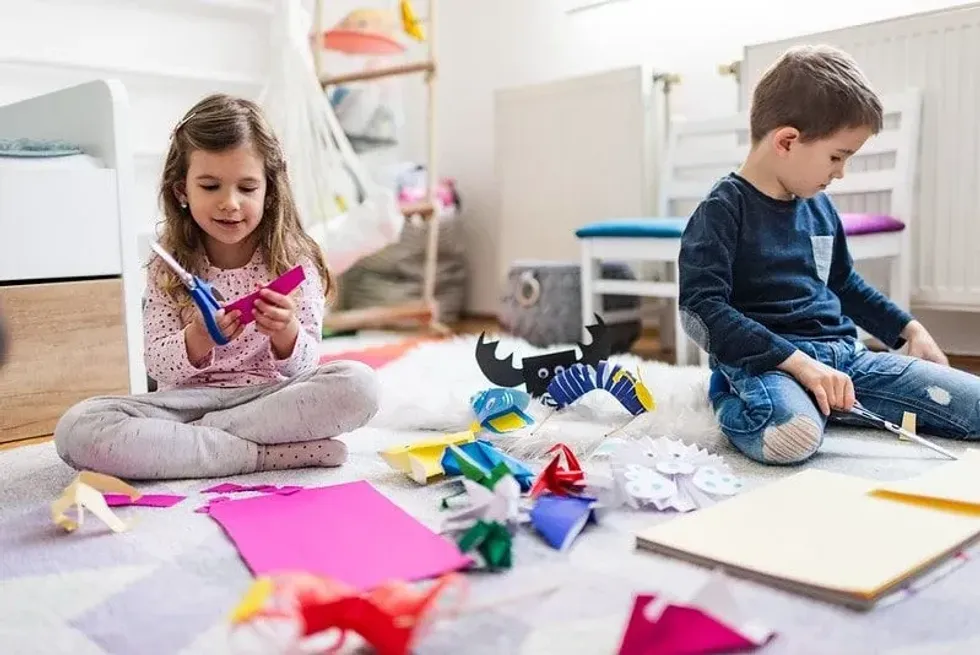
These easy origami stars are great for kids to try. Origami can take patience and practise but we think they'll have fun giving it a go.
Perfect for DIY origami Christmas party decorations, we hope they'll shine bright like a star and take centre stage this year. How about using some festive coloured paper such as gold and silver and tying some string to each star, making a row of paper Christmas star bunting.
For another origami paper tutorial to try, why not have a go at making this cute origami pig. You could also try some space themed crafts using these out of this world ideas.
How To Make An Origami Star
This origami star is perfect for older children to make. It takes a bit of concentration but the result in some beautiful paper stars you could use for your Christmas decorations.
Time to make: These easy origami stars will take about 5 minutes each to make.
Skill level: Beginner (8+).
Materials you will need: Two sheets of square origami paper, about 10x10cm (if you don't have origami paper then normal paper will work too). This will make one star.
Origami star instructions:
- Start with your square sheet of origami paper and position it like a diamond with the colour side facing up.
- Fold the top point down to the bottom point.
- Fold the left side of the top fold over so that the left edge and top edge align.
- Turn your paper over.
- Fold the left point over to the right point.
- Open the flap and squash it down to make a new point on the left.
- Get your second piece of paper and position it like a diamond with the colour side facing down.
- Fold the bottom point to the top point.
- Fold the left point over to the right point.
- Rotate your triangle so it looks like an arrow pointing downwards.
- Grab the piece you made earlier and rotate it so it looks like an arrow pointing upwards.
- Place your second triangle in between the flaps of your first.
- Glue your shapes together and there you have your origami 5 point star!
Easy Origami Star Tutorial
This is a super simple origami star that is perfect for small children to have a go at making some DIY Christmas origami. They could have some fun colouring the paper before making them or perhaps adding glitter afterwards!
Time to make: These easy origami stars will take about 5 minutes each to make.
Skill level: Beginner (3+ with adult assistance).
Materials you will need: Three sheets of square origami paper, about 10x10cm (if you don't have origami paper then normal paper will work too). This will make one star.
How to make a star:
- Fold the three squares of origami paper in half so they make triangles by folding the top point to the bottom point.
- Position two of the triangles one of top of the other so that they make the shape of an arrowhead, with the left point of one and the right point of the other becoming the new top point.
- Glue these together.
- Then place the third triangle on top, like an arrow pointing down, to form your star.
- Glue this in place and there you have your origami star.
- You can leave the top flap open if you fancied using the origami stars as Christmas card decorations and writing little messages in them. If you'd like to make bunting or other decorations then just glue the top flap down too.


We Want Your Photos!
More for You


See All
Bachelor of Arts specializing in Choreography and Dance
Jessica Walrond-RobertshawBachelor of Arts specializing in Choreography and Dance
An experienced professional from Surrey, Jess is currently residing in Hampshire. She has a passion for exploring and finding new places to visit, especially those involving water. She has a Bachelor's degree in Choreography and Dance from the University of Winchester. Accompanied by their two-year-old son, she enjoys spending time by the sea, in ponds, splash pads, or the garden indulging in water play. She has a keen interest in physical activities such as aerial acrobatics, paddleboarding, and obstacle course racing.
Disclaimer
1) Kidadl is independent and to make our service free to you the reader we are supported by advertising. We hope you love our recommendations for products and services! What we suggest is selected independently by the Kidadl team. If you purchase using the Buy Now button we may earn a small commission. This does not influence our choices. Prices are correct and items are available at the time the article was published but we cannot guarantee that on the time of reading. Please note that Kidadl is a participant in the Amazon Services LLC Associates Program, an affiliate advertising program designed to provide a means for sites to earn advertising fees by advertising and linking to Amazon. We also link to other websites, but are not responsible for their content.
2) At Kidadl, we strive to recommend the very best activities and events. We will always aim to give you accurate information at the date of publication - however, information does change, so it’s important you do your own research, double-check and make the decision that is right for your family. We recognise that not all activities and ideas are appropriate for all children and families or in all circumstances. Our recommended activities are based on age but these are a guide. We recommend that these ideas are used as inspiration, that ideas are undertaken with appropriate adult supervision, and that each adult uses their own discretion and knowledge of their children to consider the safety and suitability. Kidadl cannot accept liability for the execution of these ideas, and parental supervision is advised at all times, as safety is paramount. Anyone using the information provided by Kidadl does so at their own risk and we can not accept liability if things go wrong.
3) Because we are an educational resource, we have quotes and facts about a range of historical and modern figures. We do not endorse the actions of or rhetoric of all the people included in these collections, but we think they are important for growing minds to learn about under the guidance of parents or guardians.