Planting Vegetables With Your Kids


Gallery
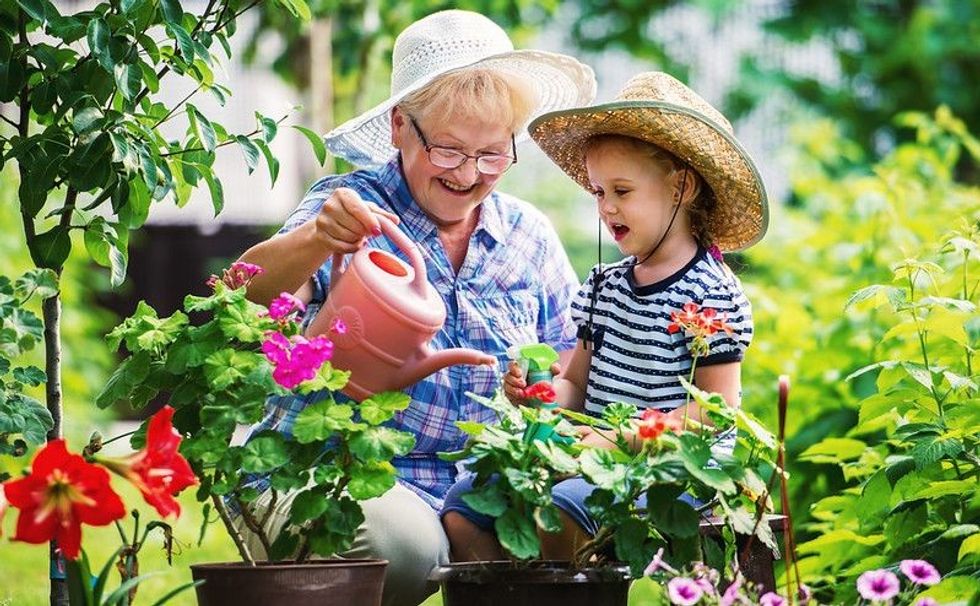
We all know kids can easily get discouraged. The holidays are a great opportunity to make their first experience of gardening fun, positive and, most importantly, bounteous!
Prepare to be amazed at what your children will eat if they have grown it with their own hands.
Spring is a perfect time to get started growing vegetables and, it is a great way to keep children occupied and teach them something along the way.
Five Things To Remember
1. Gardening is fun and easy;
2. You do not need to own a garden to get started. Vegetables can be grown on a balcony or a windowsill, if they are in the right container;
3. Growing vegetables is a brilliant way to get your kids to eat at least one of their five a day;
4. Tending to a garden (or a windowsill) instils a huge sense of responsibility and pride (not just for your kids!); and
5. Everyone has the potential for green fingers.
Follow the advice below and your whole family will be amazed at the delicious results!
Stage 1: Select Your Seeds
When selecting the choice of vegetables to grow, consider the following:
- What vegetables do your children enjoy eating?
- How easy are the vegetables to grow?
- How long does it take until you can eat them?
- What is your home set-up and what would grow best in your environment?
Take a bit of time to do your research. You want to give your growing experiment the best chance of success. It is worth considering that courgettes spread far and wide so they will take up a lot of ground space, whereas green beans and tomatoes need a structure to grow upwards, so they use up vertical space.
My suggestion would be to begin with green beans. They are quick and easy to grow taking only 50 – 60 days to go from seed to fully fledged bean. Pak choi, courgettes, radishes and tomatoes are also simple choices to start with. Once you have some confidence in your growing abilities, you can start experimenting!

Stage 2: Make Your Own Seedling Starter Pots Using Loo Roll
You can, of course, use plastic seedling trays but making your own starter pots is a fun, free activity to do with your kids! Homemade starter pots are environmentally friendly and you can plant them out directly in to soil or pots without disturbing roots during transplant time.
You will need:
- a collection of loo rolls;
- scissors;
- compost;
- seeds; and
- a watertight container e.g. Tupperware.
Method for homemade starter pots
1. Cut the loo roll in half so you have created two separate ‘pots’;
2. Make four cuts down the side of each roll, 1/3 of the way up;
3. Fold in each flap at the bottom like you would if you were closing a box;
4. Fill the pots with compost and pat down with your fingers;
5. Add your choice of seed, planting to its required depth. (see pack instructions for this);
6. Place the planted pots in a watertight container and give them a good watering. You want to completely soak the loo roll and keep it damp the whole time you are growing;
7. Place the watertight container in a sunny position by a window or find a spot in your greenhouse. Be sure to bring the container in from the greenhouse at night if there is a risk of frost; and
8. Keep watering your seedlings every day and watch with joy as little sprouts emerge!
Stage 3: Plant In The Ground Or A Container
Once the seeds have sprouted and you can see a healthy level of growth beyond the tip of the seed pot (roughly 3 weeks after sewing), it is time to plant out your seedlings.
This can be done in your garden or in a container filled with compost. If planting in a container, make sure there are holes at the bottom to ensure good drainage.
If you choose to grow green beans or tomatoes, you will need to build a structure to encourage the plants to grow upwards.
Method for building a bamboo structure:
1. Get hold of some bamboo canes which are readily available from garden centres or online;
2. Find a sunny position in your garden or on your balcony;
3. Build a tepee-like structure by placing the canes in the ground or container and pointing them up in a diagonal angle so the ends cross over;
4. Tie the canes together at the top using string;
5. Plant the seed pots directly into the soil at the base of each cane;
6. Water immediately; and
7. As the plants establish, encourage the shoots to grow around the cane using your fingers or string if necessary.
Stage 4: Nurture
Your plants are now established and in the best place to thrive, but you cannot give up on them yet!
Follow these crucial steps for guaranteed produce:
Watering
Your vegetables need to be watered daily, sometimes twice if it is hot and sunny. Why not pass on the responsibility of watering to your kids to give them a sense of ownership. You could create a wall chart to track the watering each day and build it into their daily routine.
Slug patrol
Slugs can eat their way through vegetables at an alarming rate and newly planted seedlings are particularly vulnerable. To keep on top of them you could either create a DIY beer trap to lure them away or get the kids to build a prickly barrier using eggshells or thorny cuttings to prevent them getting close.
Serenading!
If your kids like to sing, dance, play an instrument or read, then encourage them to perform to their growing vegetables. It could make all the difference!
What Now?
With a bit of luck, you will have successfully grown your own vegetables in two to three months. I guarantee they will taste better than anything you could ever buy from even the hippest greengrocer.
To make the project even more rewarding, document all the stages from start to finish by taking photos. It is astonishing to look back and see how quickly a tiny seed can produce a glutton of delicious food and it will help you to revel in your family’s impressive achievement.
Katy Gardener is perfecting her green thumb over at Becoming A Gardener - follow her adventures!


We Want Your Photos!
More for You


See All
Bachelor of Arts specializing in History of Art and French
Katy GardenerBachelor of Arts specializing in History of Art and French
With her green fingers and a passion for sharing her knowledge, Katy is a blogger chronicling her journey of growing in every sense. She has a Bachelor's degree in History of Art and French from the University of Reading.
Disclaimer
1) Kidadl is independent and to make our service free to you the reader we are supported by advertising. We hope you love our recommendations for products and services! What we suggest is selected independently by the Kidadl team. If you purchase using the Buy Now button we may earn a small commission. This does not influence our choices. Prices are correct and items are available at the time the article was published but we cannot guarantee that on the time of reading. Please note that Kidadl is a participant in the Amazon Services LLC Associates Program, an affiliate advertising program designed to provide a means for sites to earn advertising fees by advertising and linking to Amazon. We also link to other websites, but are not responsible for their content.
2) At Kidadl, we strive to recommend the very best activities and events. We will always aim to give you accurate information at the date of publication - however, information does change, so it’s important you do your own research, double-check and make the decision that is right for your family. We recognise that not all activities and ideas are appropriate for all children and families or in all circumstances. Our recommended activities are based on age but these are a guide. We recommend that these ideas are used as inspiration, that ideas are undertaken with appropriate adult supervision, and that each adult uses their own discretion and knowledge of their children to consider the safety and suitability. Kidadl cannot accept liability for the execution of these ideas, and parental supervision is advised at all times, as safety is paramount. Anyone using the information provided by Kidadl does so at their own risk and we can not accept liability if things go wrong.
3) Because we are an educational resource, we have quotes and facts about a range of historical and modern figures. We do not endorse the actions of or rhetoric of all the people included in these collections, but we think they are important for growing minds to learn about under the guidance of parents or guardians.