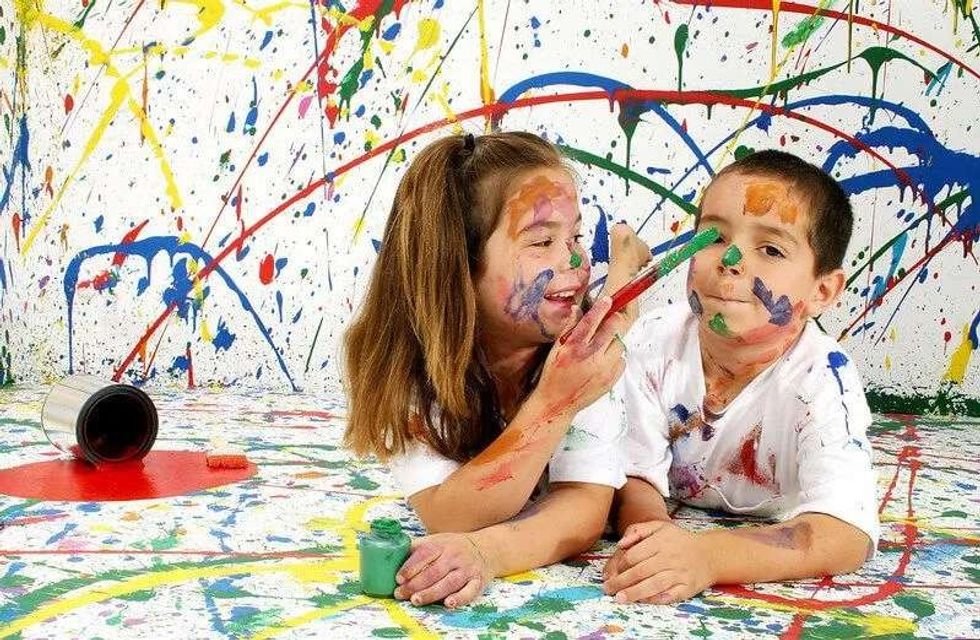
Create Amazing Splatter Paint Art In 5 Easy Steps


Gallery
There are so many different creative and exciting ways to experiment with paint, and if you haven’t tried out this splatter technique yet then you’re really missing out.
Whether your kids are arts and crafts lovers or simply love to get messy with colours, splatter painting is the perfect way to de-stress by flicking, dripping, or even throwing paint instead of the more traditional way of a brush to paper.
The activity not only makes for a fun way to pass the time but will leave you with a beautiful lasting memory that you can keep forever.
Check out the simple way you and your family can make your own splatter creations in just 5 steps!
What You’ll Need:
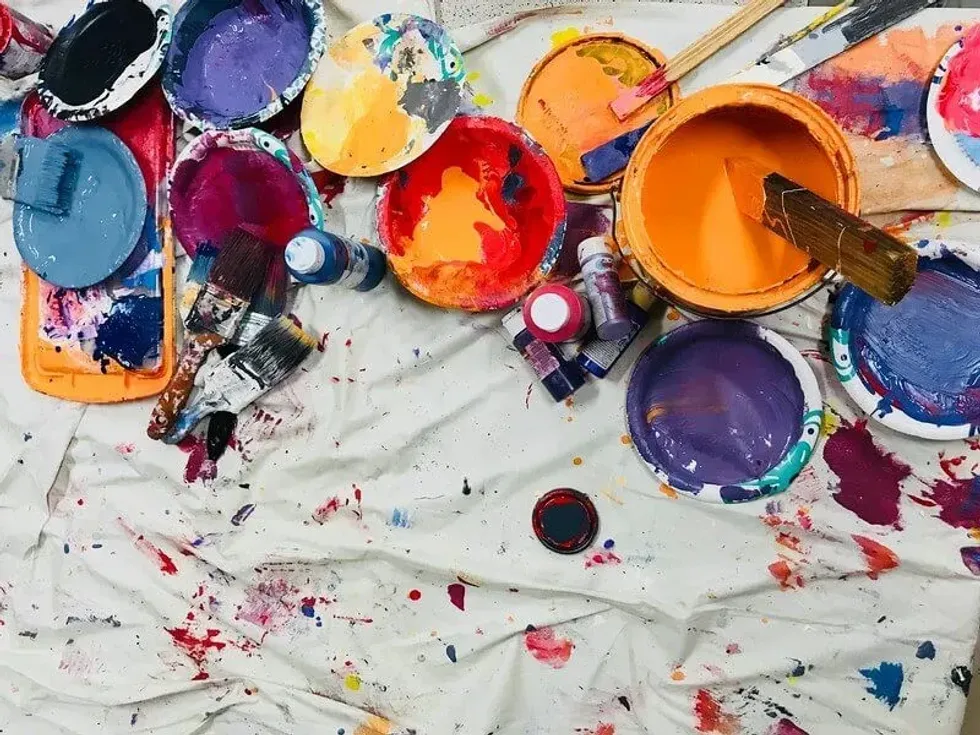
Acrylic paints, paintbrushes, plastic cups or bowls, a large canvas or thick paper, plastic gloves, old clothes (that you don't mind getting messy), and lots of newspaper or plastic to protect the area from paint.
Method:
1) You'll need to start off by prepping your artwork area. Ideally, you'll be able to head outside and place your canvas/paper on the grass to avoid mess indoors.
If you have no outside space, place plenty of newspaper or plastic down to cover the surrounding areas. Get yourself and the kids in some old clothes and gloves - and you're ready to start painting.
2) Mix the colours that you'll be using with a little bit of water in your plastic cups so that they're easier to splatter - and keep these separate from each other.
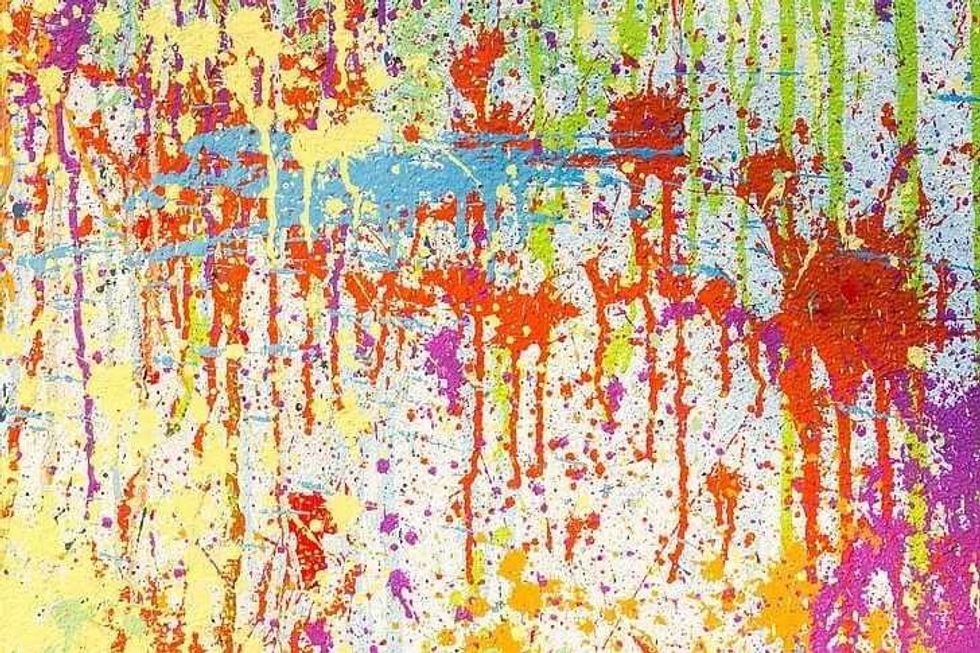
3) Pick up a brush, dip it in paint, and begin splattering. You can do this in several ways: from a distance, with different sized brushes (these will create unique patterns), dripping from above, or just straight up flicking the brush at the canvas.
4) Ensure that after the use of each colour, you give the paint a moment to dry slightly before using the next one. This will give your colours a more vibrant effect and stop them from mixing with each other! It's also a great idea to ensure that you use a different brush for each colour.
5) When you're all splattered out, allow your painting at least 30-60 minutes to dry before moving it - and then enjoy your masterpiece!
Tips and Ideas:
1) If you're stuck on ideas of what to do with your masterpieces after creation, there are plenty of options.
You could frame and hang it, stick it to a window and watch how the light shines through the colours (if you used paper), pop it on the fridge, or even frame it and deliver it to a family member or friend for a surprise gift that will be sure to make their day.
If you're really proud of it, you could even snap a picture of your art and share it on Facebook or Instagram for the world to see!
2) Whilst the acrylic paint that we suggested above is both cheap and probably the easiest to create art with, you can also use pretty much any type of paint that you have on hand. If you'd like to try something a little more unique, why not give watercolour paints a go for your splattering?
3) If you and the kids would like to try out a different style of splatter, there are several objects that you can use instead of just paintbrushes. Toothbrushes, straws, and spoons all work well - but you could even play around with a water gun for some extra fun!
4) After a more unique, or advanced painting? There are so many ways to have your art look more professional, or to create specific designs.
For one, you could experiment with covering certain sections of the paper whilst you splatter other sections.
You could also attempt to use stencils and see what effect that has on your creation. Another super creative way to give your piece an extra special touch would be to completely paint your paper in one solid colour and let that dry before you begin with your splattering.
5) If you're bored with painting on paper and want to create something even more exciting, why not attempt your very own splatter clothing? With just a pair of jeans, a t-shirt, and some fabric paint - you can follow the same method above and come out with pretty cool pieces!


We Want Your Photos!
More for You


See All
Bachelor of Arts specializing in Journalism
Rachel GarnerBachelor of Arts specializing in Journalism
Growing up in Switzerland, Rachel developed a love for exploring new places and trying new foods. She has a Bachelor's degree in Journalism from the University of the Arts London. She currently resides in Northwest London and enjoys discovering trendy spots around the city. Rachel is also passionate about planning fun activities for her family, particularly her little cousins. When she has some downtime, she can be found indulging in hobbies such as attending concerts, baking, or visiting her family in Essex. Her love for travel takes her beyond the UK, where she meticulously plans and researches each adventure before setting off to explore new places across Europe and beyond.
Disclaimer
1) Kidadl is independent and to make our service free to you the reader we are supported by advertising. We hope you love our recommendations for products and services! What we suggest is selected independently by the Kidadl team. If you purchase using the Buy Now button we may earn a small commission. This does not influence our choices. Prices are correct and items are available at the time the article was published but we cannot guarantee that on the time of reading. Please note that Kidadl is a participant in the Amazon Services LLC Associates Program, an affiliate advertising program designed to provide a means for sites to earn advertising fees by advertising and linking to Amazon. We also link to other websites, but are not responsible for their content.
2) At Kidadl, we strive to recommend the very best activities and events. We will always aim to give you accurate information at the date of publication - however, information does change, so it’s important you do your own research, double-check and make the decision that is right for your family. We recognise that not all activities and ideas are appropriate for all children and families or in all circumstances. Our recommended activities are based on age but these are a guide. We recommend that these ideas are used as inspiration, that ideas are undertaken with appropriate adult supervision, and that each adult uses their own discretion and knowledge of their children to consider the safety and suitability. Kidadl cannot accept liability for the execution of these ideas, and parental supervision is advised at all times, as safety is paramount. Anyone using the information provided by Kidadl does so at their own risk and we can not accept liability if things go wrong.
3) Because we are an educational resource, we have quotes and facts about a range of historical and modern figures. We do not endorse the actions of or rhetoric of all the people included in these collections, but we think they are important for growing minds to learn about under the guidance of parents or guardians.