10 Homemade Thank You Cards Ideas For Kids


Gallery
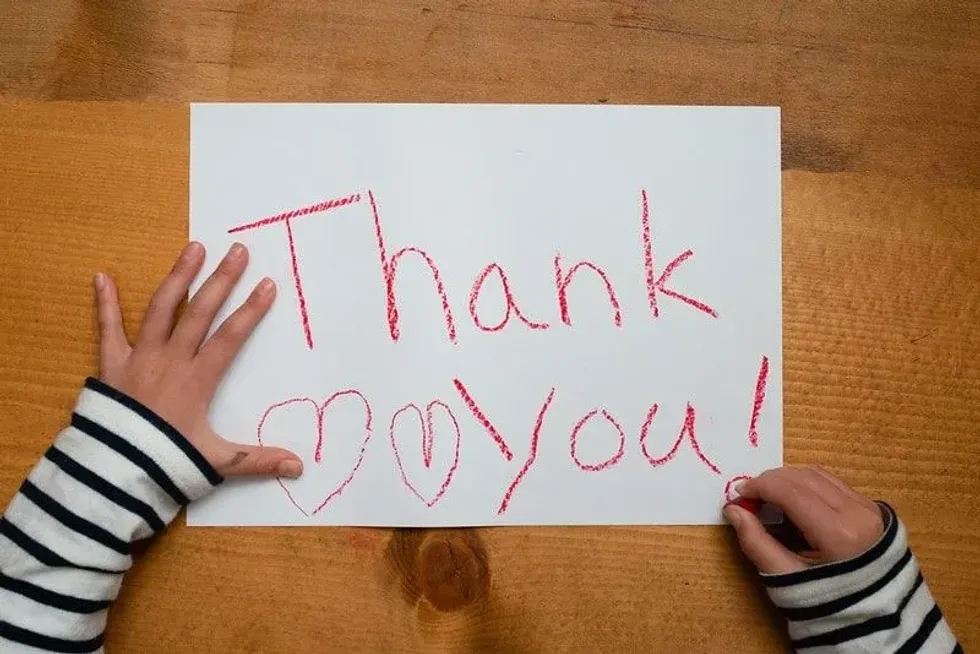
Whether it's Christmas, birthdays or the end of the school year, we've rounded up some of the best ideas for thank you cards for kids to make.
Everyone loves receiving something handmade. It makes the sentiment seem that much sweeter.
So take a look at these 10 ideas for homemade thank you cards which your children will have fun creating. There's some perfect for Christmas thank you cards.
Some DIY thank you cards that your teacher will love at the end of the year. And some great homemade thank you cards for handing out after a birthday party. We'll show you how to make cards that are sure to impress as well as keep your children occupied with a creative activity for a little while.

Image © Pexels
Recycled Art Thank You Cards
Got lots of kids artwork laying around your house? This super simple idea would make great thank you cards for teachers.
Age: 4+ with adult supervision.
Materials: Children's artwork, blank cards, scissors, glue.
Method:
- Collect up any unused artwork from around your house which your kids have made previously.
- Using scissors, cut shapes out of the artwork.
- Stick the shapes to your coloured cards using glue.
- Hey presto! There you have your handmade thank you cards.
Flower Fingerprint Thank You Cards
These cute thank you cards have the added personalisation of using your fingertips to create something special. These kids thank you cards will definitely be a hit.
Age: 2+ with adult supervision.
Materials: Brown pencil, white paper, coloured finger paints (suggest green, blue, yellow, orange & red), blank cards, scissors, glue.
Method:
- Cut a rectangle out of your white paper, slightly smaller than the cards.
- Draw a stem using the brown pencil.
- Pour the finger paints into small dishes or a tray.
- Using the green colour first, dip your finger in and press along the stem to create leaves.
- Using the yellow colour next, dip your finger and press at the end of the stems to create the centre of your flowers.
- Then one colour at a time, dip and press your finger to make the petals.
- Once dry, glue the paper onto the card.
Wax Resist Thank You Cards
These fun thank you cards look absolutely beautiful and children will enjoy the magic of making their words appear.
Age: 8+ with adult supervision.
Materials: Blank cards, white crayon, water colour paints, paint brushes, ice cube tray, water.
Method:
- Using the white crayon, write your 'thank you' message on the front of your card. You could perhaps draw a picture too. You won't be able to see what you're writing so this card making activity is probably best for older children, although the results will be magical whatever happens!
- Add a couple of drops of each colour of water colour paint into the ice cube tray and one fill one section with water.
- Dip the brush into the water then into the paint and swipe across s section of the card to reveal the message.
- Repeat with the other colours until you can see everything that was written/drawn with the crayon.
- Leave to dry.

Image © Dragos Gontariu via Unsplash
Shaving Cream Thank You Cards
Perfect for kids who love messy play, this card making isn't for the faint-hearted!
Age: 3+ with adult supervision.
Materials: Blank cards, letter stickers (which spell 'thank you'), shaving cream, food colouring, baking tray, skewer stick.
Method:
- Start by positioning the 'thank you' stickers onto your blank cards.
- Spray the shaving cream onto the banking sheet and smooth it down.
- Add drops of the food colouring onto the shaving cream. Using a skewer, swirl the colours around a little.
- Gently press your card, sticker side down, onto the shaving cream. Make sure all of the card is covered and leave it to sit for a minute.
- Slowly lift off and wipe off the excess cream.
- Peel off the stickers and leave to drive.
- There you have beautiful, swirly, homemade cards.
Top Tip: Let the kids play in the shaving foam afterwards for some wonderful sensory fun!
Pressed Flower Thank You Cards
This DIY thank you card idea requires a little patience as the pressing needs to be done a few weeks in advance.
Age: 4+ with adult supervision.
Materials: Blank cards, flowers/petals, a flower press or large book, PVA glue.
Method:
- Firstly you'll need to collect some flowers or petals to press. We suggest going out for a nice walk and keeping an eye out for wildflowers such as daisies and buttercups. Alternatively, head out into the garden and see what you can find.
- Place your assortment into the flower press, or a large book, and leave to dry for a couple of weeks.
- Once your flowers are ready, add a thin layer of glue to your blank card.
- Stick the flowers onto your card and leave to dry.
- Top tip: you could also add other things such as photos, glitter or sequins.
Apple Printing Thank You Cards
These simple thank you card designs would be perfect for a teacher.
Age: 2+ with adult supervision.
Materials: Blank cards, half an apple, red and green paint, brown and green felt tip.
Method:
- Pour your paint into a dish.
- Dip the apple, sliced side down, into the paint and lift up.
- Stamp the apple into the centre of your card and lift up slowly.
- Using the felt tips, draw a brown stalk and a green leaf.
- Write 'thank you' either above or below your apple print.
- Leave to dry.

Scribble Thank You Cards
These quick, homemade thank you cards and perfect for babies and toddlers to make.
Age: 6 months+ with adult supervision.
Materials: Blank cards, large heart-shaped hole punch, crayons, black felt tip.
Method:
- Help your baby or toddler to draw on the inside of the card where you would normally write your message.
- Judging where the most 'scribble' is, punch the heart shape out of the front of the card to reveal the drawing inside.
- Using the felt pen, write 'thank you' on the front.
- Your thank you cards are complete.
Present Thank You Cards
These homemade card ideas would be ideal as a DIY thank you card after Christmas or a birthday.
Age: 3+ with adult supervision.
Materials: Blank cards, used wrapping paper, glitter, glue, scissors.
Method:
- Collect up your used wrapping paper and cut some squares and rectangles out of it using the scissors.
- Glue one of the shapes onto a blank card.
- Make a cross with the glue over the wrapping paper and add a bow shape on top.
- Sprinkle glitter over the glue and leave to dry.
- There you have your children's thank you cards with cute, sparkly gifts on the front.
Bunting Thank You Cards
This idea to make your own thank you cards is for the older children as it's a bit fiddly and requires some patience.
Age: 8+ with adult supervision.
Materials: Blank cards, string, patterned paper, coloured paper, white paper, glue, felt tips, scissors.
Method:
- Cut a rectangle out of the patterned paper which is slightly smaller than your card and glue it on.
- Next cut a rectangle out of your white paper which is smaller than your patterned one. You want to have a patterned border about 1cm thick.
- Before sticking the plain paper on top of the patterned cut your string into two lengths, both longer than the plain paper. Place the string across the plain paper and tuck the ends behind. Then glue the paper down so that the ends of the string are secured.
- Cut small diamonds and rectangles out of the coloured paper. Fold these in half.
- Place the folded shapes over the string to create bunting. You need at least 5 flags on the top piece of string and 3 on the bottom.
- Glue these in place and leave to dry.
- Using the felt pen write the words 'thank you' one letter on each flag.
- There you have it, your finished thank you card!
Origami Star Thank You Cards
These cute thank you cards for kids make use of simple origami techniques.
Age: 3+ with adult supervision.
Materials: Blank cards, three sheets of square origami paper, about 10x10cm (if you don't have origami paper then normal paper will work too), glue.
Method:
- Fold the three squares of origami paper in half so they make triangles by folding the top point to the bottom point.
- Position two of the triangles one of top of the other so that they make the shape of an arrowhead, with the left point of one and the right point of the other becoming the new top point.
- Glue these together.
- Then place the third triangle on top, like an arrow pointing down, to form your star.
- Glue this in place.
- You can leave the top flap open to write a little thank you message in.
- Glue your origami star to your card and your thank card is complete.


We Want Your Photos!
More for You
See All
Bachelor of Arts specializing in Choreography and Dance
Jessica Walrond-RobertshawBachelor of Arts specializing in Choreography and Dance
An experienced professional from Surrey, Jess is currently residing in Hampshire. She has a passion for exploring and finding new places to visit, especially those involving water. She has a Bachelor's degree in Choreography and Dance from the University of Winchester. Accompanied by their two-year-old son, she enjoys spending time by the sea, in ponds, splash pads, or the garden indulging in water play. She has a keen interest in physical activities such as aerial acrobatics, paddleboarding, and obstacle course racing.
Disclaimer
1) Kidadl is independent and to make our service free to you the reader we are supported by advertising. We hope you love our recommendations for products and services! What we suggest is selected independently by the Kidadl team. If you purchase using the Buy Now button we may earn a small commission. This does not influence our choices. Prices are correct and items are available at the time the article was published but we cannot guarantee that on the time of reading. Please note that Kidadl is a participant in the Amazon Services LLC Associates Program, an affiliate advertising program designed to provide a means for sites to earn advertising fees by advertising and linking to Amazon. We also link to other websites, but are not responsible for their content.
2) At Kidadl, we strive to recommend the very best activities and events. We will always aim to give you accurate information at the date of publication - however, information does change, so it’s important you do your own research, double-check and make the decision that is right for your family. We recognise that not all activities and ideas are appropriate for all children and families or in all circumstances. Our recommended activities are based on age but these are a guide. We recommend that these ideas are used as inspiration, that ideas are undertaken with appropriate adult supervision, and that each adult uses their own discretion and knowledge of their children to consider the safety and suitability. Kidadl cannot accept liability for the execution of these ideas, and parental supervision is advised at all times, as safety is paramount. Anyone using the information provided by Kidadl does so at their own risk and we can not accept liability if things go wrong.
3) Because we are an educational resource, we have quotes and facts about a range of historical and modern figures. We do not endorse the actions of or rhetoric of all the people included in these collections, but we think they are important for growing minds to learn about under the guidance of parents or guardians.