Kids are smitten with furry friends, and what better way to celebrate this adorable bond than to make a birthday cake shaped like their dog?
Kids are naturally drawn to their pets, and it’s no surprise if they ask for a birthday cake shaped like their best friend for their birthday party. It might seem daunting, but we’ve found a recipe for a dog shaped cake that’s easy to make.
Whether you’re experienced or completely new to baking, this recipe for how to make a dog shaped birthday cake is simple. We have listed the ingredients to make a children's dog birthday cake complete with useful baking tips and suggested substitutes. If your child's favourite dog is a pug, check out this recipe.
This dog cake takes one hour and 45 minutes to make and yields 20 servings. It features brown icing, but feel free to substitute the food colouring gel based on your dog’s coat.
Ingredients
For The Dog Cake: 480g all-purpose flour, 150g cup shortening, 490g milk, 7 tsp baking powder, 2 tsp salt, 2 tsp pure vanilla essence, six large eggs.
For The Icing: Two and ½ containers of store-bought creamy white cake frosting, brown gel food colour, yellow gel food colour
Plus: Three large chocolate-covered candies, one stick chewy liquorice, baking spray with flour
Equipment: Two 13x9 inch pans, cardboard, scissors, and pen for tracing the dog shape template, whisk, large bowls, frosting spatula, small knife, icing decorating bag, grass icing tip (#233 or #234)

Method
1.) Preheat the oven to 180°C/350 °F and spray the surface of your baking pans. You can layer parchment paper if desired.
2.) Prepare your cake mix. In a large bowl, sift and mix together the flour, baking powder, salt, and set aside. In a separate bowl, cream the sugar and shortening until light and fluffy.
Add eggs one at a time and beat thoroughly after each one. Add in the flour mixture alternately with milk and combine with steady beating pulses. Finally, stir in the vanilla extract.
3.) Split and pour the batter into two 13x9 inch baking pans, and bake for 40 to 45 minutes each. The cakes are done if a toothpick comes out clean.
4.) Achieve the dog cake design by tracing and cutting out templates onto paper or cardboard. Cut the pieces and lay flat onto the cooled cakes. Cut around the set pieces with a small knife and assemble into a dog shape. For an easier frosting, freeze the cake for one hour.
5.) Mix brown and yellow gel food colouring into one frosting container to create a light brown colour. Use a spatula to evenly spread the frosting over the cake and to seal in stray crumbs. Use the extra frosting to glue on the nose, legs, and ears on the main layer.
6.) Create a dark brown frosting by mixing brown and yellow gels into half of the other container. Stuff an icing bag with frosting with grass icing tip (#233) and start with the ears, moving from the top and working your way down.
7.) Tint the remaining half of white frosting with brown and yellow gels to create a light brown colour and stuff into an icing bag. With the same icing tip, frost the head and the rest of the body. Create definition for the eyebrows by adding an additional grass tip frosting layer.
8.) Place the chocolate covered candies as eyes and nose.
9.) Using the chewy liquorice, decorate the dog’s collar and place just below the head. You can even put a charm in and write the initials of your kid, or spell “Happy Birthday!” with thinner liquorice pieces.
10.)Your dog shaped cake is now done! Cool in the fridge for at least an hour before serving.

Tips And Recommendations
For a clean result, personalise a methodical movement when frosting the cake. The grass tip has a serrated end that instantly creates automatic ridges. It’s perfect for mimicking the fur to complete the look of your dog cake.
Experiment with colours to match your dog’s natural coat. If your child’s dog has a darker coat, you can replace the brown and yellow colour gels with a black colour gel.
If you’re pressed for time, purchase ready-made cake mixes instead of making the cake layers from scratch. Simply follow the instructions on the packet. This will make your kids' dog birthday cake easier to whip up.
If you are expecting guests with wheat allergy, substitute cake flour with either coconut flour, almond flour, chickpea flour, buckwheat or millet flour. Just follow the same measurements.
For dairy-free options, use mashed banana instead of egg, dairy-free milk. Don't worry about the icing, as many store-bought frosting are accidentally vegan.

Alternatives
Dog Shaped Cake With Simple Frosting Layer: If creating a fur effect frosting is too much work, decorate the cake with a simple, even frosting layer using a palette knife.
Dog Face Cake: You can use this recipe to make a cake shaped like a dog face using a round baking tin. Layer with preferred frosting technique and add fondant icing to create the ears and tongue.
Dog Face Cupcakes: You can apply the same recipe for the cake and frosting and bake cupcakes in muffin trays. Style and decorate as you prefer.
Good To Know
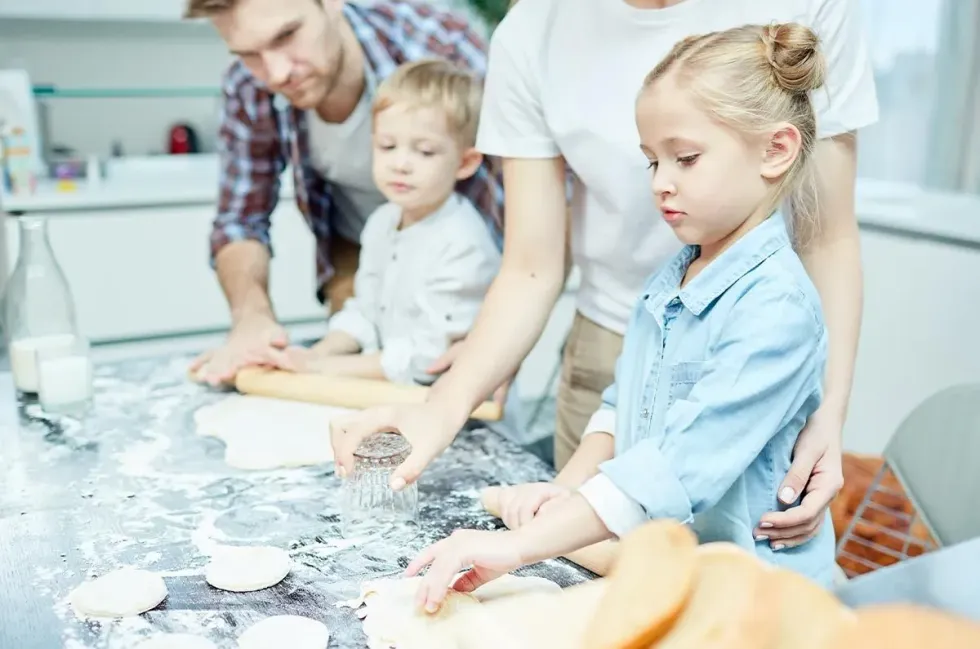
Make baking more fun by asking your kids to help out. If you have children aged between two and five, they can mix the cake batter. Children above seven or eight years old can trace the dog cake templates.
You can make this cake in advance and refrigerate for the next day, or up to four days. If you have a tray that’s long enough for the dog shaped cake, wrap with cling film to preserve freshness and save the icing work for the day of the birthday party.
If you have leftovers, keep the cake in an airtight container and freeze for up to two months.
You can customise this dog shaped cake to look like your pet by adjusting the length of the body and ears.
This cake is suitable for all ages. Even kids as young as one can enjoy it.


