There's just something charming about tractors, right?
They instantly evoke images of rustic farm life; stacks of hay bales, crisp morning air and adorable animals. Whether the child in your life loves farms, or it's the big vehicle side that's appealing, a tractor birthday cake is sure to be a hit with young ones.
Here we'll explain step-by-step how to make tractor cake, as well as alternative decoration ideas. You might also like our guides to farm-themed crafts and fun learning activities.
Ingredients To Make A Tractor Cake
For The Base Cake: 90g rolled oats, 100g shredded coconut, 1 tsp cinnamon, 1 tsp baking powder, 3 very ripe bananas, 3 eggs, 1 tsp vanilla extract, 50g room temp butter, 85g maple syrup, buttercream icing (pre-made or homemade is fine, any colour), green fondant.
For The Tractor Cake Topper: 225g room temp butter, 225g caster sugar, 225g self-raising flour, 4 large eggs, 1 tsp vanilla extract, splash of milk.
For The Tractor Decorations: Plain buttercream, brown frosting, green, black and grey ready-to-roll fondant, pack of small doughnuts (4 minimum).
Equipment: 20cm round cake tin, two rectangular cake tins (they should be smaller than the round tin), sharp knife, large mixing bowl, rolling bin, baking paper, piping bag, food processor/electric whisk.

How To Make A Tractor Cake Base
Since this cake is for toddlers and younger children, we're going to make a base that is a little healthier than a standard sponge. It still tastes great, and is incredibly easy to make!
1) Preheat your oven to 180C/160C Fan/Gas 4 and grease your round tin with butter, line with baking paper.
2) In a food processor or with an electric whisk, combine your ripe bananas, rolled oats, eggs, butter, baking powder, salt, cinnamon and maple syrup (everything should be really mashed together and not too lumpy).
3) Pour into your round cake tin and bake for 25-30 minutes, or until a skewer comes out smooth.
4) Leave to cool for 10 minutes, then transfer to a wire rack and leave for another 5 minutes.
5) Use your palette knife to scrape a thin layer of buttercream over the top and around the sides of your cake. The is called a "crumb coat" helps fondant stick to the cake.
6) Roll out your green fondant icing on a clear surface (a little icing sugar will prevent it from sticking) and place it completely over the cake, covering the top and sides. Use a knife to cut off any excess, and your hands to smooth over any lumps or cracks.

How To Make A Tractor Cake Topper
If you want to keep things simple then you can always finish with the above recipe and buy edible or non-edible farm-themed cake toppings.
However, this cake tutorial will go further and show you how to create a tractor cake topper with wow factor!
While our base is a healthy banana cake, we're going to make the tractor cake topper out of a traditional sponge (see ingredients above).
1) Use your electric whisk or processor to combine the ingredients, then pour into your two rectangular cake tins. Bake for 25-30 minutes, then leave to cool for 15 minutes on a wire rack. If you have time, freeze the cakes for 20 to 30 minutes so they are easier to cut.
2) Take one sponge, which will be the base of your tractor. Using a sharp knife, slice the front edge in a diagonal motion (as if it was a car and you were creating a bonnet).
3) Cut your other rectangle in half, so you have two squares. Cover half of the other cake in frosting, and place the square on top of the un-cut end. It should look like a big 3D 'L' shape.
4) Cover the whole thing in a buttercream crumb coat, and put in the freezer for another 20 minutes.
5) In this recipe, we'll mimic the famous John Deere tractor style. When the cake is ready, roll out green fondant, drape it over the cake and smooth it down, using a knife to cut any excess.
6) Using toothpicks for internal support if necessary, place the new 'L' shaped cake on top of your base cake.
7) Now it's time to add some wheels. Get four doughnuts and cover them in black fondant, then stick them to the sides of your tractor using a little water (plus toothpicks if needed).
A tractor has two larger wheels, so use 1 and a half doughnuts (the second sliced lengthways) for the back wheels, and double or triple wrap them in fondant. You could also get inventive and use Oreos or party rings to create the shape out of different things.
8) Get your brown frosting and put it on the top of your bottom base cake, around the tractor, so it looks like it is sitting in mud. Sprinkle some chocolate flakes or crumbled biscuits on top too if desires.
9) Roll out your black, yellow and grey fondant. Using a knife, cut out shapes for grey windows and front panelling, plus black detailing and use water to attach these to the tractor cake.
Your tractor cake is now ready to ride!

Good To Know
This is a fairly complex recipe, so we recommend leaving at least 3.5 to 4 hours for the entire thing (including ingredient prep, leaving cakes to cool/freeze and washing up).
You will be making two cakes, so this recipe should feed at least 15 people if cut in sections.
The tractor birthday cakes will keep at room temperature for three days. To store in the fridge just place it uncovered for 15 minutes so the icing hardens, then cover in clingfilm. The sponge cakes will be fine to freeze, but we don't recommend freezing the entire iced cake in case of damage.
If this cake tutorial sounds too complicated, you could use a simple cupcake recipe to make a tractor cake. Simply bake a batch of cupcakes and arrange them on the table in the shape of a tractor.
Ice each one to look like a the part of the tractor that it represents (two at the bottom iced grey to represent wheels, lots of red ones for the main body of the tractor and so on...).
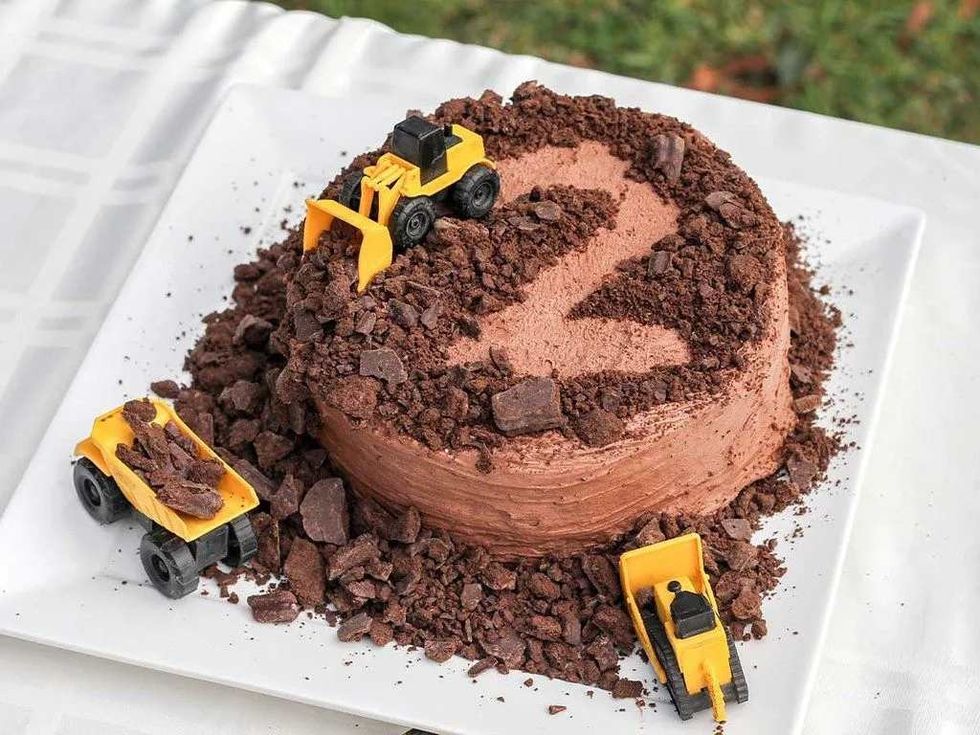
By far the easiest way to make a cake tractor themed is to put a couple of your child's small toy tractors (after washing them thoroughly) on top of a regular sponge cake. For time strapped parents, this is a great alternative!


