5 Cool Ideas For Sewing For Boys (Plus Projects For Them To Do Too!)

Gallery

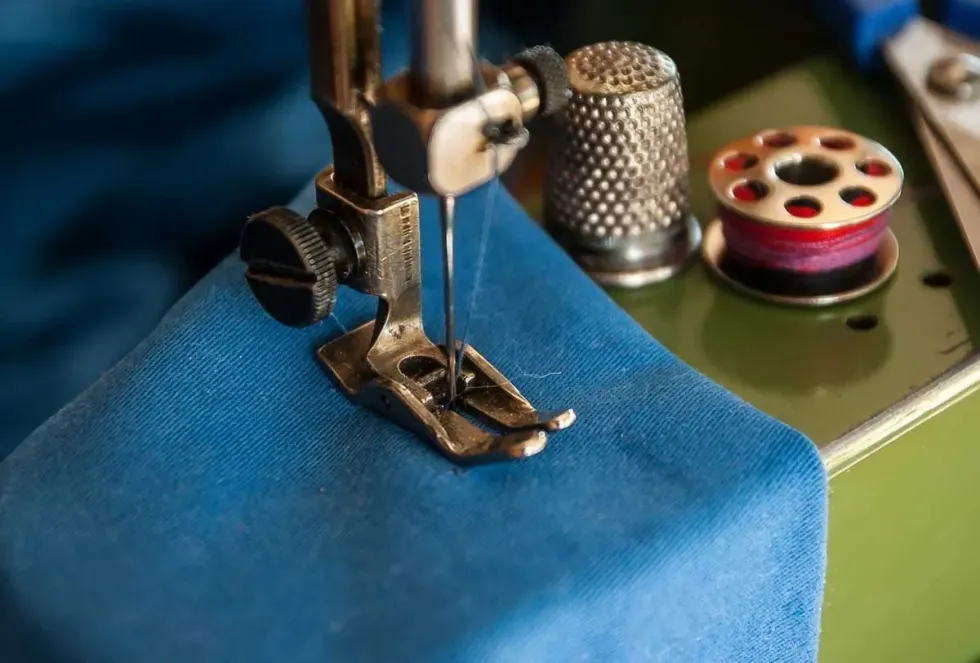
Image © jackmac34, under a Creative Commons license.
Dust off the sewing machine, get out the fabrics and check out these fun sewing for boys craft projects!
Looking to jazz up your little man’s wardrobe or sew some new accessories for his room? Check out these cool sewing projects for the boys in your life, including a cool pillowcase, gadget bag, and some groovy PJ bottoms.
As well as plenty of ideas of projects for parents to try a hand at, we have also included some fun sewing techniques and sewing projects for your boys to get involved with. Sewing can help to improve dexterity and coordination, as well as develop fine motor skills and creativity.
Your little boy is bound to want to help with these projects.
but some are more difficult than others.
Experts suggest children should be around 3-4 years old before learning hand sewing and around 6-7 before they can start learning how to work the sewing machine. As well as our top 5 sewing projects for boys, we have also included some tips and tricks for teaching kids how to sew.
Practice With Plates
Age: 4-7, this one is just for the kids, but you will need to supervise and support if needed.
You Will Require: Styrofoam plate, thick thread and embroidery needles.
Instructions:
Styrofoam plates are an excellent way to teach children the basics of sewing as they are much easier to sew than fabric. When you are first teaching how to hand sew, it is best to use thicker thread and embroidery needles.
Encourage them to draw simple shapes on the plates and then follow the pattern. You could also use this material to show them various examples of stitches and how they can be used.

Image © Victoria_Borodinova, under a Creative Commons license.
Felt Puppets
Sewing felt crafts is a great way to develop basic sewing skills and felt puppets are so much fun. Everybody loves a puppet!
Age: 5-9, parents will need to help when cutting the felt.
You Will Require: Felt in the colour of your choice, scissors, needle, thread and embellishments.
Instructions:
1. Cut the basic outline for your puppet. Either a long oblong for a finger puppet or a hand-sized one. You will need two of these, and they need to be the same size.
2. Sew your two pieces of felt together on three sides, leaving the bottom open.
3. Embellish your puppet.
One of the best things about making puppets is that you can start with a basic concept and then work your way up to something more complicated. Sew buttons on for the eyes, add ears as you like, and embroider on details such as a mouth and nose.
You could also create clothing for your puppets, such as simple t-shirts or even superhero capes.
Pillow Case Craft
Pillowcases are one of the easiest projects when sewing for boys and this cool case would be ideal for his room, travelling or sleepovers.
Bonus Tip: At the fabric store, let kids chose their own design to promote autonomy. However, try to encourage them to stick to cotton or flannel as these are much easier to sew.
Age: 5+, kids and adults can both have a go at this!
You Will Require: Fabric, measuring tape, scissors, pins, sewing machine and thread.
Instructions:
1. Cut fabric into one large rectangle. The size you cut will depend on the pillow you are using, but the UK standard is 29.5 inches x 19.5 inches. You will need to add an extra inch for seams and hems.
2. Hem the shortest ends of your rectangle.
3. Fold one end towards the centre, but not quite. To work out how much you need to fold the equation is x= (pillow size/ 2) + 2.
4. Fold the opposite one to the centre, so each side overlaps by two inches.
5. Sew the open sides.
6. Turn the cover right side out.
7. Iron before adding your pillow.

Image © Foundry, under a Creative Commons license.
Boys' PJ Bottoms
Another fun and easy project, sewing for boys' PJ pants is a great way to practice your skills, and your boy can never have too many pyjamas!
Age: This is a project for parents.
You Will Require: Sewing patterns for boys' pyjamas, fabric, elastic waistband, sewing machine and thread.
Instructions:
1. Start with your boys' sewing patterns for PJs and measure your child for size.
2. There should be four different pieces, two for the front and two for the back.
3. Depending on the pattern that you use, you will usually sew the inner leg seam before you do the centre seam. This can be difficult, so open up the pieces and press them so the seam is flat.
4. Once you have got the centre seam right, it should be easy to pin and seam the outsides of the trouser legs.
5. You will then need to form the casing for adding elastic into the waist. Feed the elastic through using a safety pin.
6. Turn the PJs right side out, iron them, and are ready to go!
Gadget Bag
This easy drawstring bag can hold your child’s favourite gadget such as a game console, pencil case or phone. Alternatively, if your kids collect cards or marbles, this would be excellent at keeping their collection together. Whether it is LEGO carriers, gadgets, or anything else, this fun sewing for boys project is quick and easy.
Age: This is a project for parents.
You Will Require: One rectangular piece of fabric (10’’ x 15’’ or to the size you require), 2 yards ribbon/string/ twine, safety pin, sewing supplies and sewing machine with 1D Presser Foot.

Image © prostooleh, freepik.com, under a Creative Commons license.
Instructions:
1. Cut a rectangular piece of fabric in the size you desire; the longer the fabric, the deeper the bag.
2. Fold each of the two ends around 1 and 1/2 inches. Sew both sides to create a pocket for the string.
3. Fold your fabric in half with the right side in.
4. You will want to sew these together, but you need to be careful you do not sew over the holes in the folded parts you have just created.
5. Turn your bag to the right side out.
6. Threading your string can be tricky, but using a safety pin can make it easier. Use the pin as a guide and feed it through the holes at the top.
7. Then when it is out the other side, remove the safety pin and tie the two ends together. Each side will have two ends of string which should then be tied together at the bottom.
8. Cinch up your bag ready for storing your boys' treasures.
Tips For Teaching Sewing For Boys
Like with most things, patience is key when teaching your boy how to sew. Here are some of our favourite tips.
Safety First: Start with a safety talk and ensure that children know they need to be careful.
Practice: Before you start your project, use practice cloths to break down the basics. This is also a great way of modelling skills and teaching different stitches.
Slowly Does It: When sewing for boys, remind your boy that a stitch in time saves nine and encourage them to take it slow.
Trace: If you are using sewing patterns for boys, tissue paper can be difficult to work with. Trace the pattern onto thick paper or card instead.


We Want Your Photos!
More for You


See All
Bachelor's degree specializing in Social Inclusion and Justice
Sarah WilkinsonBachelor's degree specializing in Social Inclusion and Justice
With a Degree in Social Inclusion and Justice and a teaching qualification under her belt, Sarah has lived in various countries worldwide, including Turkey, Spain, and Poland. For a decade, she taught children before transitioning to writing. Sarah is enthusiastic about child and adolescent mental health and plans to pursue her dream of becoming a child psychologist. Currently residing in her hometown of Wigan, Sarah spends her free time writing about her interests and bonding with her family.
Disclaimer
1) Kidadl is independent and to make our service free to you the reader we are supported by advertising. We hope you love our recommendations for products and services! What we suggest is selected independently by the Kidadl team. If you purchase using the Buy Now button we may earn a small commission. This does not influence our choices. Prices are correct and items are available at the time the article was published but we cannot guarantee that on the time of reading. Please note that Kidadl is a participant in the Amazon Services LLC Associates Program, an affiliate advertising program designed to provide a means for sites to earn advertising fees by advertising and linking to Amazon. We also link to other websites, but are not responsible for their content.
2) At Kidadl, we strive to recommend the very best activities and events. We will always aim to give you accurate information at the date of publication - however, information does change, so it’s important you do your own research, double-check and make the decision that is right for your family. We recognise that not all activities and ideas are appropriate for all children and families or in all circumstances. Our recommended activities are based on age but these are a guide. We recommend that these ideas are used as inspiration, that ideas are undertaken with appropriate adult supervision, and that each adult uses their own discretion and knowledge of their children to consider the safety and suitability. Kidadl cannot accept liability for the execution of these ideas, and parental supervision is advised at all times, as safety is paramount. Anyone using the information provided by Kidadl does so at their own risk and we can not accept liability if things go wrong.
3) Because we are an educational resource, we have quotes and facts about a range of historical and modern figures. We do not endorse the actions of or rhetoric of all the people included in these collections, but we think they are important for growing minds to learn about under the guidance of parents or guardians.