How To Make An Origami Basket With Kids

Gallery

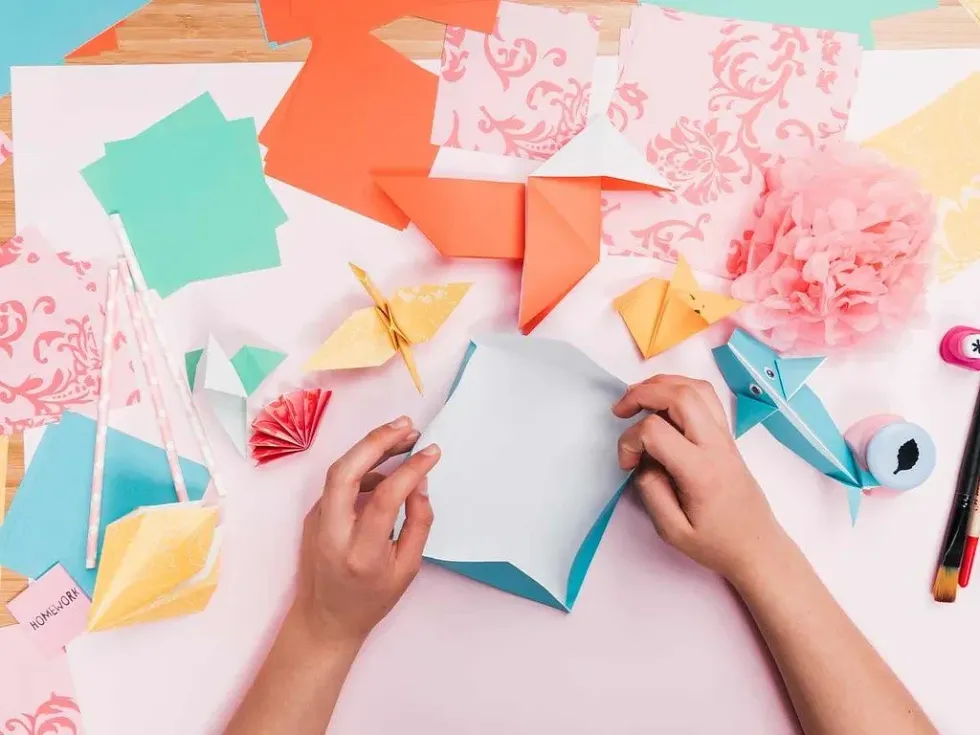
There's a kind magic to the craft of origami.
Creating something from (almost) nothing is not just satisfying, it can also be beneficial to kids' understanding of geometry and boost their problem-solving abilities. Plus, origami is cheap, fun, and can be done at home with minimal mess.
Origami is the Japanese art of folding paper to make new 3D objects. While cranes, fish and boats are all popular shapes to create, an origami basket is a slightly more ambitious project that's nonetheless very achievable for children under 10.
So read on for our easy origami instructions and learn how to make baskets out of paper (before you move onto making origami bowls and purses).
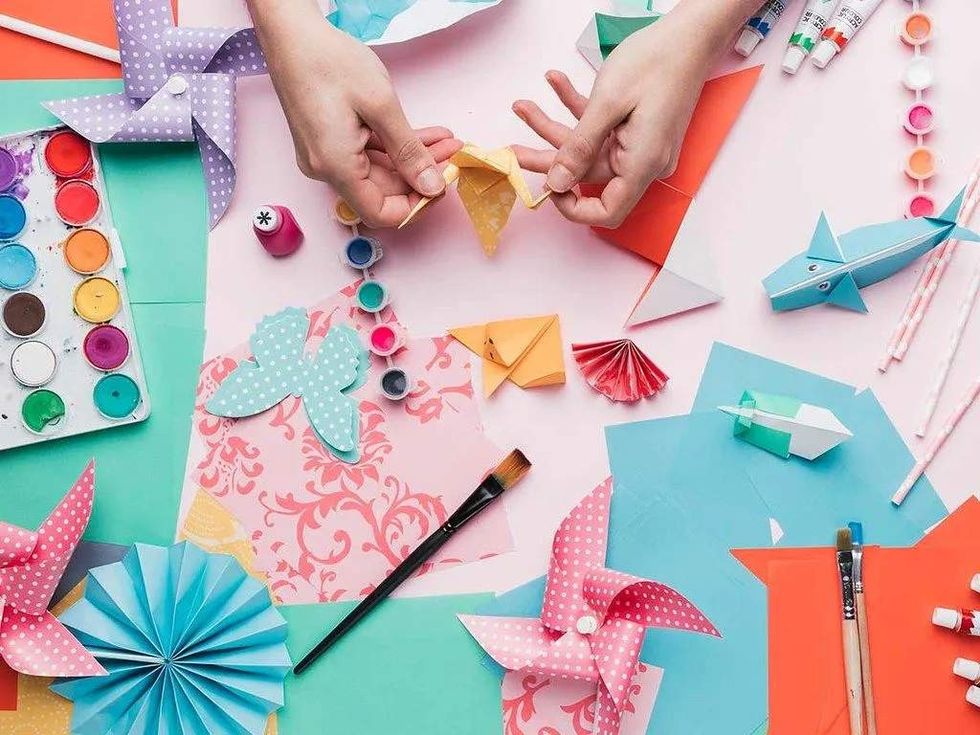
What You'll Need
A few pieces of 20cm by 20cm pieces of origami paper. Non-origami paper will do, but it should be square and easy to fold.

How To Make A Basket From Paper
1. Fold each corner diagonally in half, then return it back out, so your square ends up with four folds intersecting in the middle.
2. With the square facing you, take the top and bottom corners and fold them towards the middle.
3. Fold the long, non-pointed sides in towards the middle and stand them upright to form the edges of the basket.
4. Fold up each of the 'pointy' sides and wrap the point over the side it's on, as if you were wrapping a present.
5. Use your nails to firm down the creases on what should now be a complete origami basket.
Adding A Lid To Your Origami Basket
The above method is super easy, but you may want to extend the fun for a bit longer by creating a basket with a lid. Don't worry, it still counts as quick origami.
For this you'll need at least two pieces of paper. We'll also show you slightly different instructions for how to make a paper basket.
For The Basket:
1. Take your square, fold it in half two ways to create two creases down the centre, then fold all four corners into the centre, so it looks like a card envelope.
2. Make sure it's facing you as a square, not a diamond. Fold the top and bottom edges into the centre and unfold, then unfold the top and bottom triangles outwards.
3. Fold the left and right edges into the centre.
4. Take the bottom edge and fold it upright at a crease, so it's standing where it will be the edge of the basket.
5. Unfold the left and right creases so they are also standing upright, forming the sides of the box.
6. Repeat what you did to the bottom edge to the top edge.
7. Flatten all the flaps down to form your box.
For The Lid:
1. Take a new square of paper. Just like with the box, fold it in half two ways to create two creases down the centre, then fold all four corners into the centre.
2. Again, make sure the paper is facing you as a square, not a diamond. But this time, when you fold the top and bottom edges into the centre, leave an even gap on each side (the paper should not touch in the middle). Create a crease, then unfold.
3. Unfold the top and bottom triangles. Fold the left and right edges in towards each other, but again, leave a gap in the middle, with each side not touching. Leave folded down.
4. Like you did with the box, fold up the top end so it's standing upright. Open up the left side and right side, then bring up the bottom end to join them. Fold over all the flaps and strengthen the creases.
5. You should now have a box that's slightly larger than the original, which you can pop on top as a lid.
Tips And Tricks
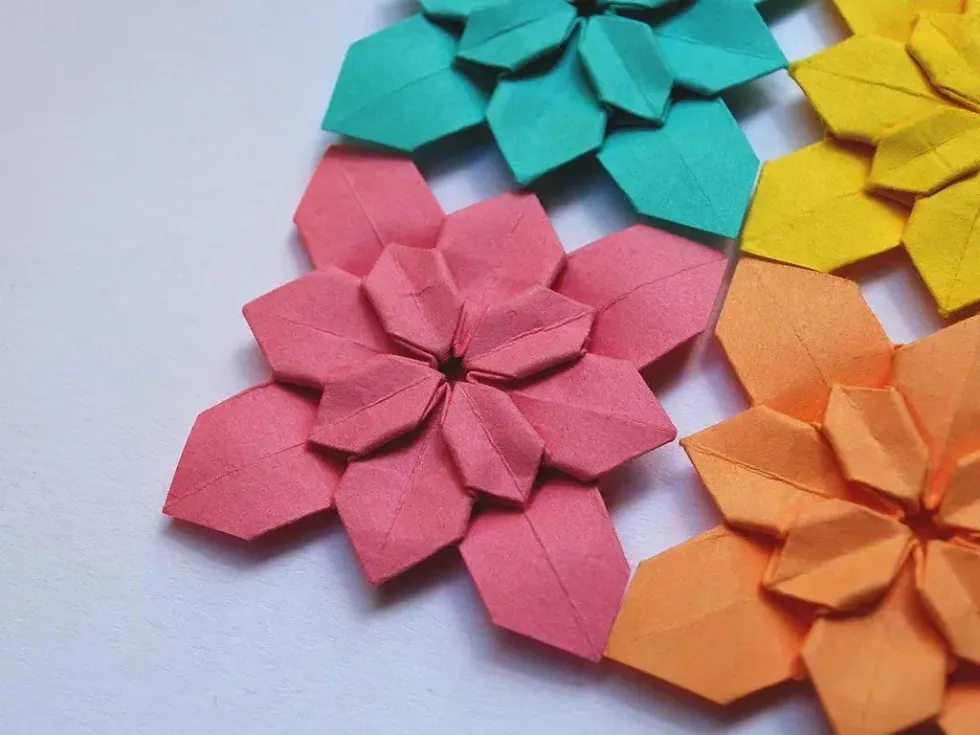
Why not use origami paper in a variety of colours to make a colourful assortment of different easy origami baskets?
Make sure that each origami fold you do is a firm fold, to ensure the best origami basket final product.
It's best to have more than one sheet of origami paper in case you make a mistake on one basket and want to restart.


We Want Your Photos!
More for You
See All
Bachelor of Arts specializing in French with Film Studies, Bachelor of Arts (Year Abroad) specializing in Literature, History, Language, Media, and Art
Georgia StoneBachelor of Arts specializing in French with Film Studies, Bachelor of Arts (Year Abroad) specializing in Literature, History, Language, Media, and Art
Georgia is an experienced Content Manager with a degree in French and Film Studies from King's College London and Bachelors degree from Université Paris-Sorbonne. Her passion for exploring the world and experiencing different cultures was sparked during her childhood in Switzerland and her year abroad in Paris. In her spare time, Georgia enjoys using London's excellent travel connections to explore further afield.
Disclaimer
1) Kidadl is independent and to make our service free to you the reader we are supported by advertising. We hope you love our recommendations for products and services! What we suggest is selected independently by the Kidadl team. If you purchase using the Buy Now button we may earn a small commission. This does not influence our choices. Prices are correct and items are available at the time the article was published but we cannot guarantee that on the time of reading. Please note that Kidadl is a participant in the Amazon Services LLC Associates Program, an affiliate advertising program designed to provide a means for sites to earn advertising fees by advertising and linking to Amazon. We also link to other websites, but are not responsible for their content.
2) At Kidadl, we strive to recommend the very best activities and events. We will always aim to give you accurate information at the date of publication - however, information does change, so it’s important you do your own research, double-check and make the decision that is right for your family. We recognise that not all activities and ideas are appropriate for all children and families or in all circumstances. Our recommended activities are based on age but these are a guide. We recommend that these ideas are used as inspiration, that ideas are undertaken with appropriate adult supervision, and that each adult uses their own discretion and knowledge of their children to consider the safety and suitability. Kidadl cannot accept liability for the execution of these ideas, and parental supervision is advised at all times, as safety is paramount. Anyone using the information provided by Kidadl does so at their own risk and we can not accept liability if things go wrong.
3) Because we are an educational resource, we have quotes and facts about a range of historical and modern figures. We do not endorse the actions of or rhetoric of all the people included in these collections, but we think they are important for growing minds to learn about under the guidance of parents or guardians.