How To Make An Origami Peacock


Gallery
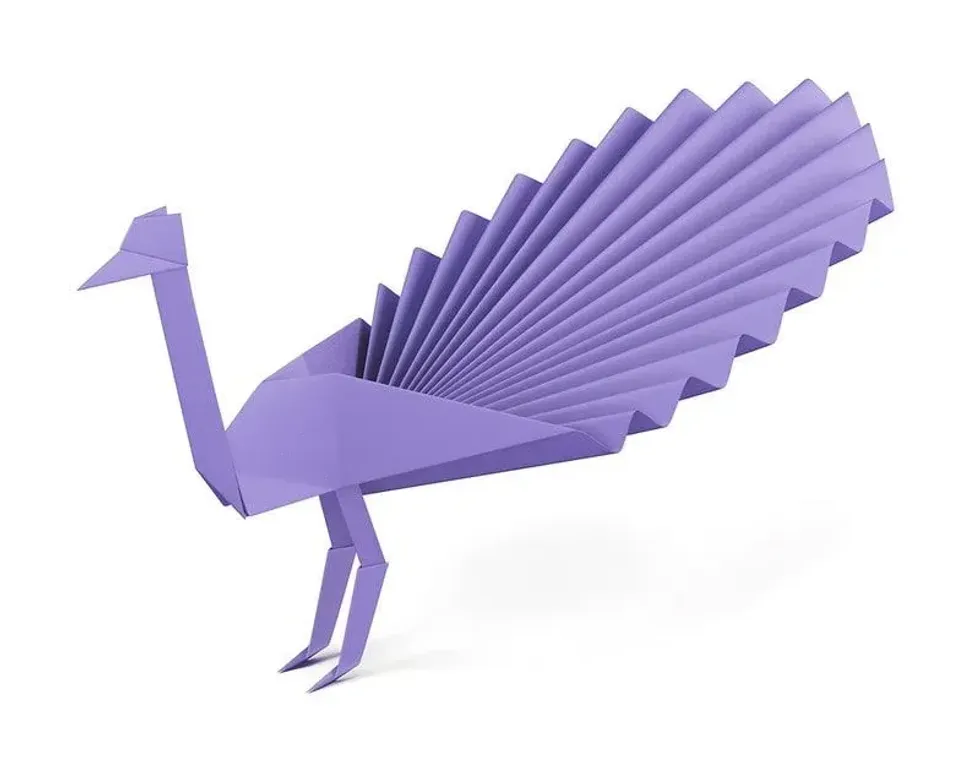
Image © iStock.
Origami is the famous art of paper-folding, which originated in Japan around the 17th century.
Kids love origami because there's no limit to what you can create with a few folds! Origami is fun and very practical, giving kids the independence to make whatever they like.
With freedom in the choice of colours and textures, origami shows kids the potential of paper, simply by folding and creasing in different ways. Often, origami can be practised without scissors or glue too!
An origami peacock is a great animal to make because it helps you gain more folding practice, enabling you to take on more complex origami in future. The origami peacock craft requires concentration and attention to detail, which are great skills to have and can help kids when engaging in other activities too!
Rewarding and challenging, peacock origami is almost as captivating as the animal itself! The body of a peacock is a deep, rich blue, a bit lighter than ultramarine. Peacock feathers are brown but reflect green, blue and turquoise light. They also appear iridescent. Needless to say, the peacock is quite striking.
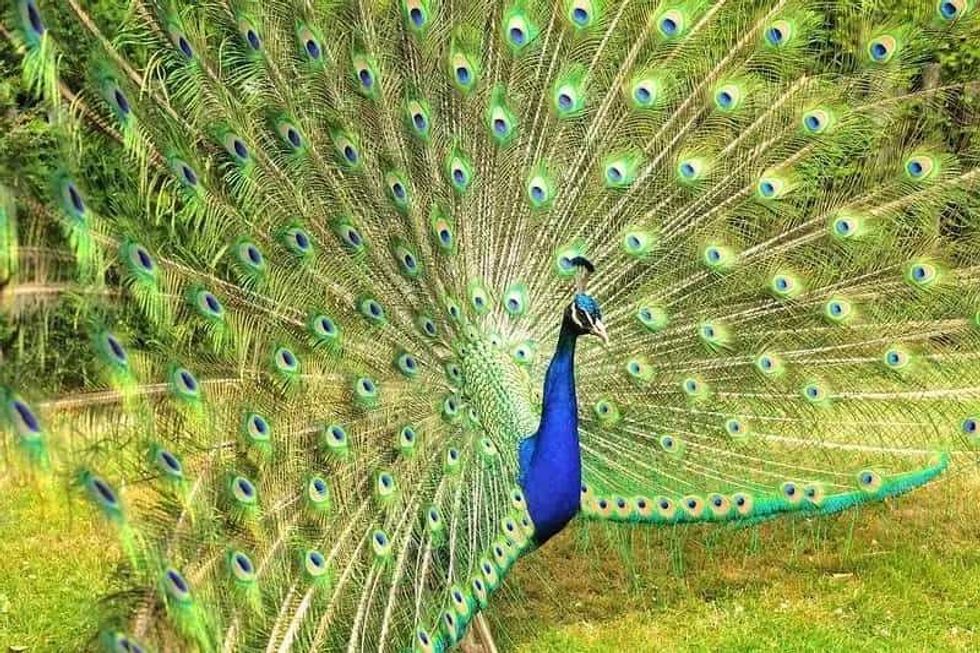
Image © Groombridge Place
Easy Origami Peacock Instructions
Here's how to make a peacock using easy origami techniques - happy folding!
You Will Need:
Square origami paper, deep blue on one side and white on the other (20cm x 20cm).
Method:
1) With the coloured side down, rotate the square so that it looks like a diamond.
2) Fold the paper peacock-in-the-making in half to create a horizontal crease, then unfold.
3) Take the top corner of the origami paper down to the middle horizontal crease, such that the entire left edge is also on the middle crease.
4) Repeat for the bottom corner and right crease, to turn the paper diamond into a sideways kite.
5) Lift one of the corners on the horizontal crease and fold it back to the edge of the kite. So the top corner that was on the middle crease is folded back to the left edge and the bottom corner is folded back onto the right edge.
Don't unfold the kite to do so, simply fold the corners as far back as they need to be to reach the edges of the kite.
6) Rotate the paper peacock origami 90 degrees anticlockwise and fold the kite in half, such that the bottom corner meets the top corner.
7) Take the corner on top of the folded paper and fold it down towards the right, so that the corner sticks out an inch or so past the bottom right corner, creating a triangle.
8) Fold the right side of the paper behind, to meet the left. While doing so, pull the bottom right corner triangle from step seven out a bit and flatten it along its backside.
9) Fold the right corner up and to the left until it reaches the middle, forming a new crease.
10) Now perform a hood fold along the crease in step nine: on the crease, separate a corner and fold it back over itself, creating a new triangle.
11) Do a second hood fold at the top of this new triangle, to form the peacock's beak.
12) Mark an imaginary vertical line around an inch from the peacock's body. Take the top right corner and fold the top layer inwards along this line.
13) Fold the layer in half, backwards.
14) Turn over and repeat steps 12 and 13 on the other side.
15) Unfold the last four folds to form the tail feathers of the peacock.
16) Fold the top corner back to spread the feathers out more, and you're done!
Top Tips
A sprinkle of glitter on the paper before starting will give the peacock a lovely iridescent sparkle.
Origami paper is recommended here as ordinary copy paper can wrinkle more easily, or even rip.
For a larger origami peacock, try working with a larger square or origami paper.
For more precise folding, crease the corners first, then press the middle, then crease everywhere else along the fold.
If stuck along the way, unfold and try again, rather than trying to force the fold.
Before creasing, always fold the paper lightly first, only securing the fold when the positioning is correct.


We Want Your Photos!
More for You

See All
Bachelor of Fine Arts specializing in Fine and Studio Arts
Temitope AdebowaleBachelor of Fine Arts specializing in Fine and Studio Arts
A Fine Art student from the Central Saint Martins, University of the Arts London, Temitope has a passion for learning and expressing herself creatively. She finds great reward in tutoring children from primary school up to sixth form. When she's not teaching or writing, you can find Temitope painting, editing photos, baking, or building LEGO with her nephew.
Disclaimer
1) Kidadl is independent and to make our service free to you the reader we are supported by advertising. We hope you love our recommendations for products and services! What we suggest is selected independently by the Kidadl team. If you purchase using the Buy Now button we may earn a small commission. This does not influence our choices. Prices are correct and items are available at the time the article was published but we cannot guarantee that on the time of reading. Please note that Kidadl is a participant in the Amazon Services LLC Associates Program, an affiliate advertising program designed to provide a means for sites to earn advertising fees by advertising and linking to Amazon. We also link to other websites, but are not responsible for their content.
2) At Kidadl, we strive to recommend the very best activities and events. We will always aim to give you accurate information at the date of publication - however, information does change, so it’s important you do your own research, double-check and make the decision that is right for your family. We recognise that not all activities and ideas are appropriate for all children and families or in all circumstances. Our recommended activities are based on age but these are a guide. We recommend that these ideas are used as inspiration, that ideas are undertaken with appropriate adult supervision, and that each adult uses their own discretion and knowledge of their children to consider the safety and suitability. Kidadl cannot accept liability for the execution of these ideas, and parental supervision is advised at all times, as safety is paramount. Anyone using the information provided by Kidadl does so at their own risk and we can not accept liability if things go wrong.
3) Because we are an educational resource, we have quotes and facts about a range of historical and modern figures. We do not endorse the actions of or rhetoric of all the people included in these collections, but we think they are important for growing minds to learn about under the guidance of parents or guardians.